
How to Sharpen a Kitchen Knife with a Whetstone
Sharpen a straight-edged kitchen knife on a water stone using a steady angle, alternating sides and a light finishing pass. For routine edge maintenance between sharpenings, see how to use a honing steel.
Updated
What you need
Tick off what you already have.
Tools
Materials
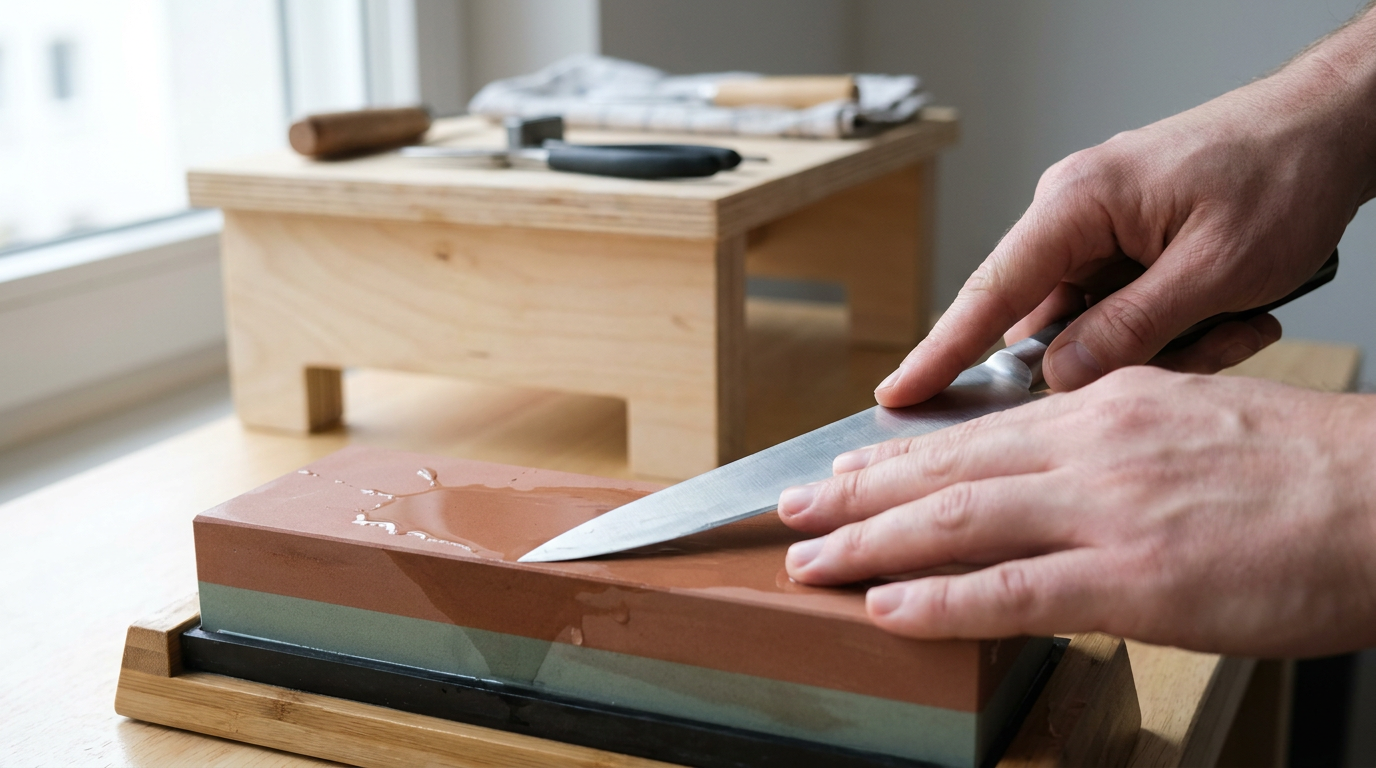 AI illustration
Step 01 / 06
Check the knife and stone
Use this method for a conventional double-bevel, straight-edged steel kitchen knife. Do not use it for single-bevel, serrated, ceramic or badly chipped blades. Read the stone maker's instructions and confirm whether the stone should be soaked or only wetted.
1. Check the knife and stone
Instructional illustration generated with AI for Howmigo. Use this method for a conventional double-bevel, straight-edged steel kitchen knife. Do not use it for single-bevel, serrated, ceramic or badly chipped blades. Read the stone maker's instructions and confirm whether the stone should be soaked or only wetted.
2. Prepare a stable sharpening station
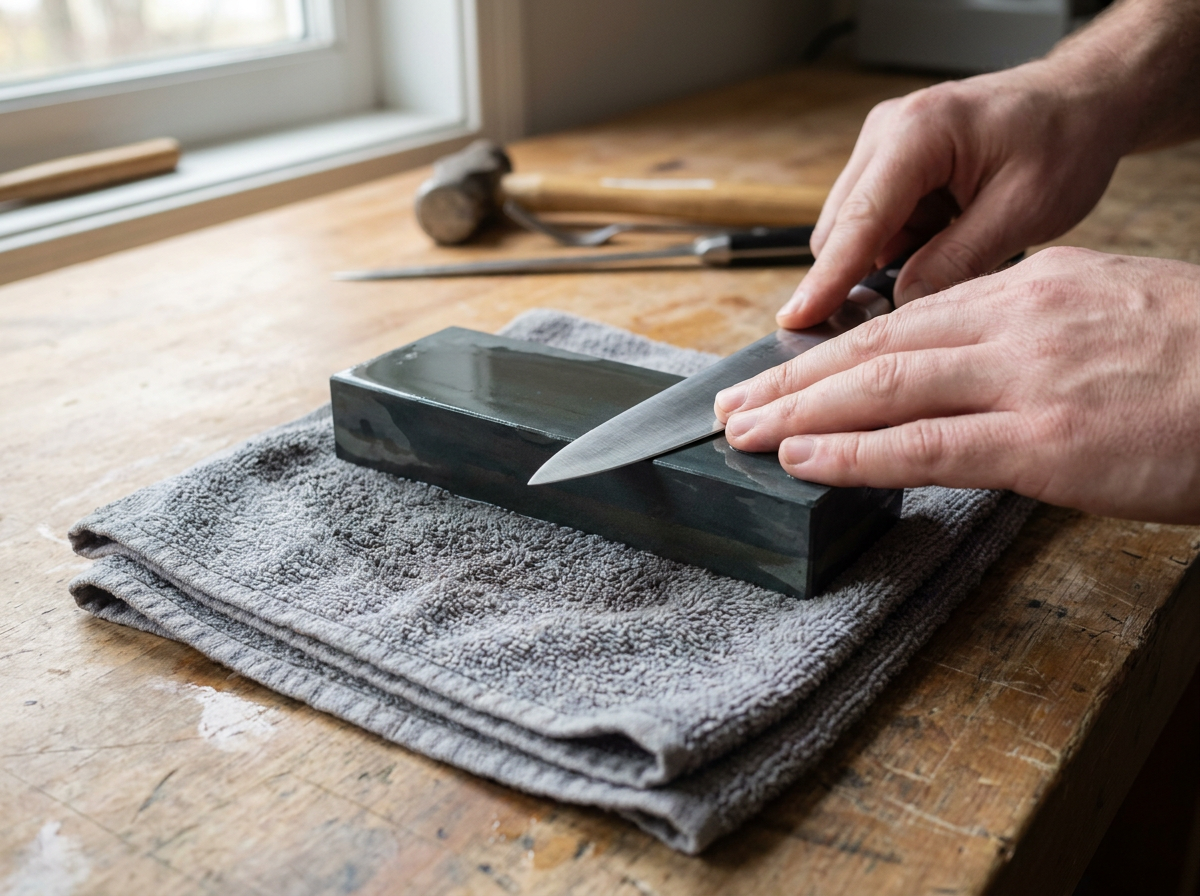
Instructional illustration generated with AI for Howmigo. Soak the stone only if instructed, then place its coarse side up in a non-slip holder or on a damp folded towel. Keep the work surface clear, well lit and away from children. Maintain a thin film of water on the stone.
3. Set a consistent angle
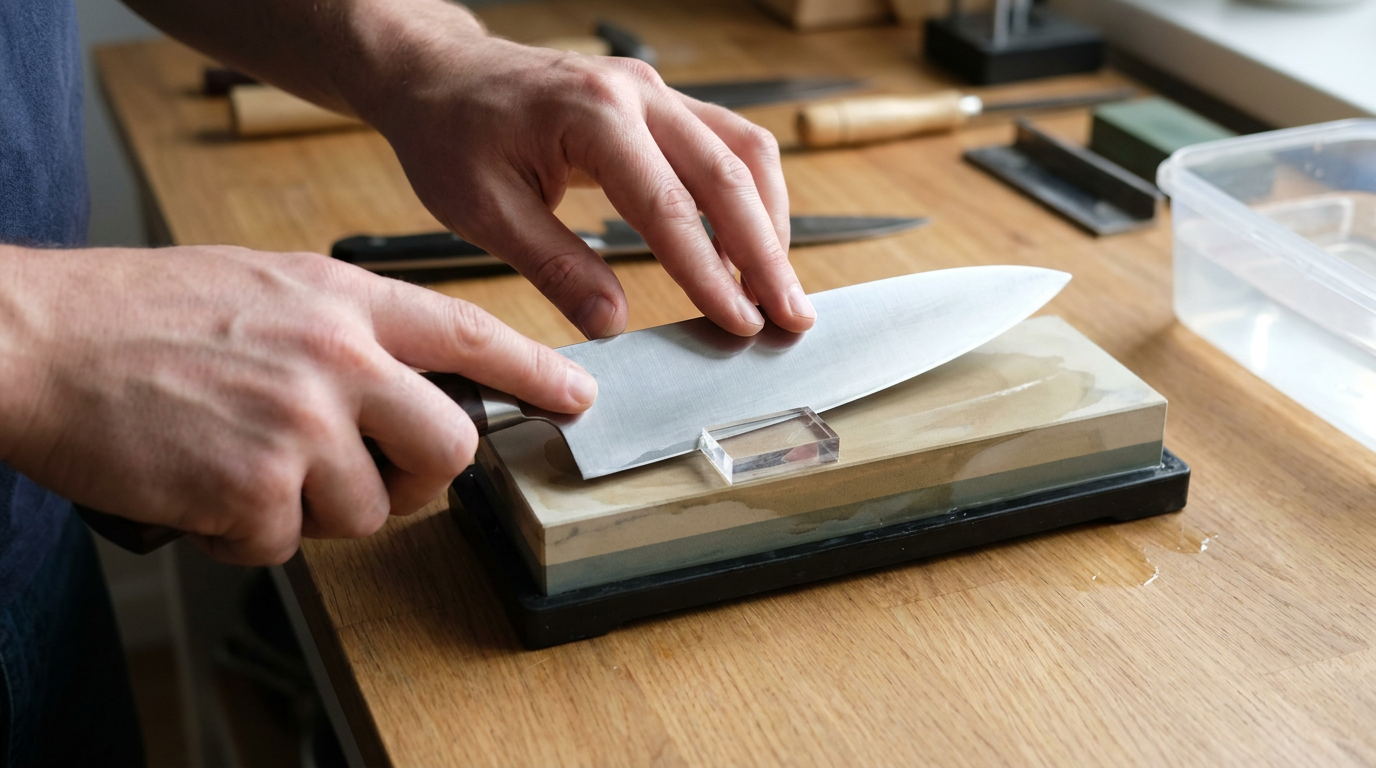
Instructional illustration generated with AI for Howmigo. Place the heel of the blade on the stone and raise the spine to the knife maker's recommended angle, commonly about 15–20 degrees per side. An angle guide can help, but steady repetition matters more than an exact universal number.
4. Sharpen the first side
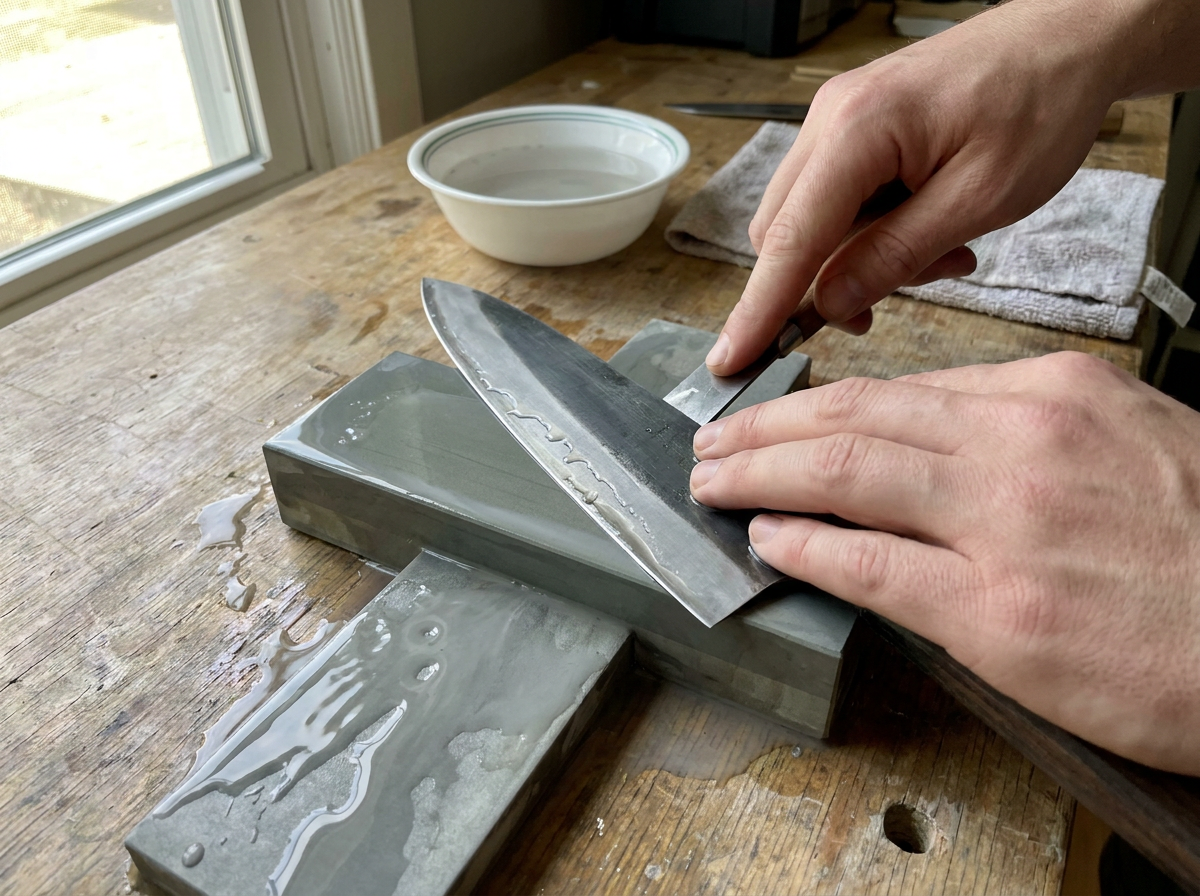
Instructional illustration generated with AI for Howmigo. With fingertips on the blade's flat, safely above the edge, move the edge over the stone from heel to tip using controlled, even pressure. Repeat until a small burr forms along the opposite side. Stop moving the knife before checking: gently brush from the blade's flat toward and off the edge, never along it. If unsure, use magnification rather than touch.
5. Sharpen the second side
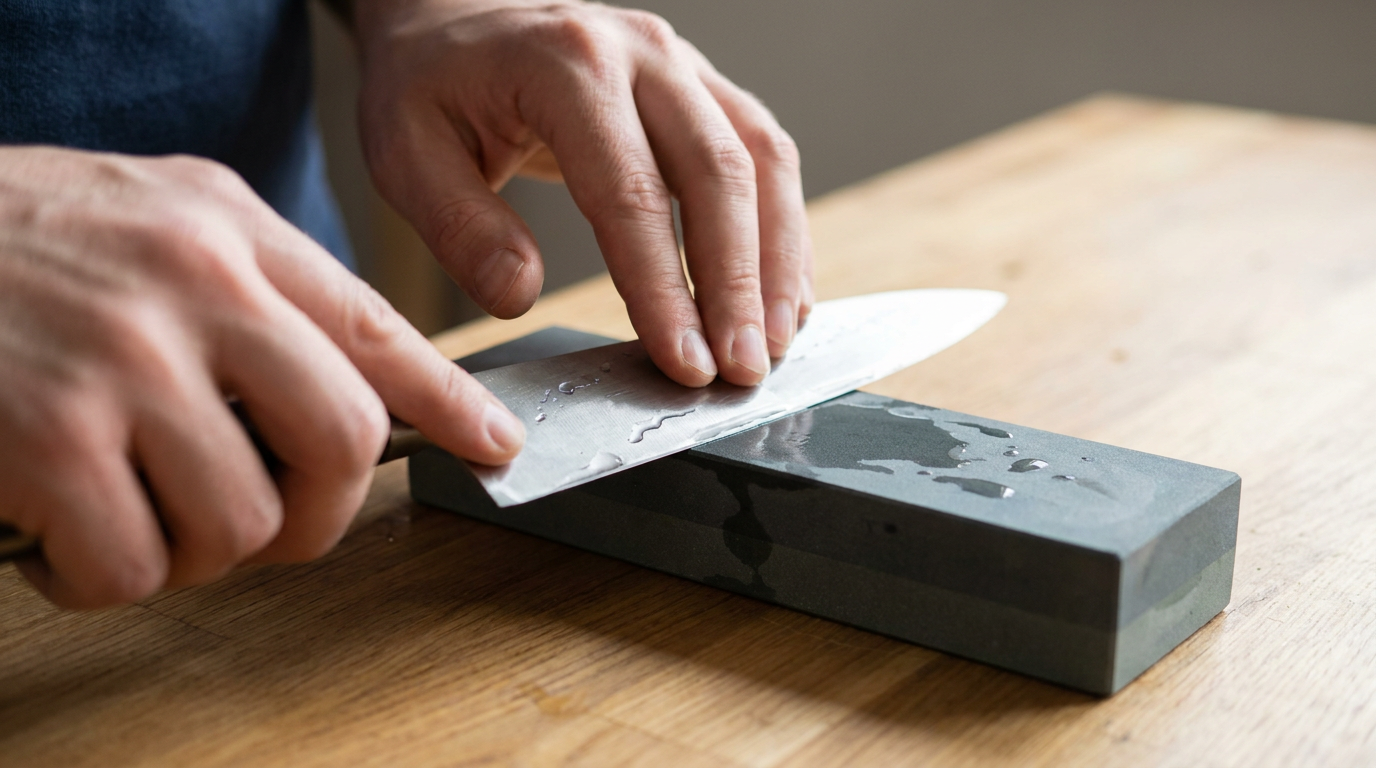
Instructional illustration generated with AI for Howmigo. Turn the knife over and sharpen the other side at the same angle with controlled heel-to-tip strokes. Check that the burr forms along the full opposite edge; equal stroke counts alone do not guarantee this. Keep the bevels balanced, then reduce pressure before finishing.
6. Refine, clean and test
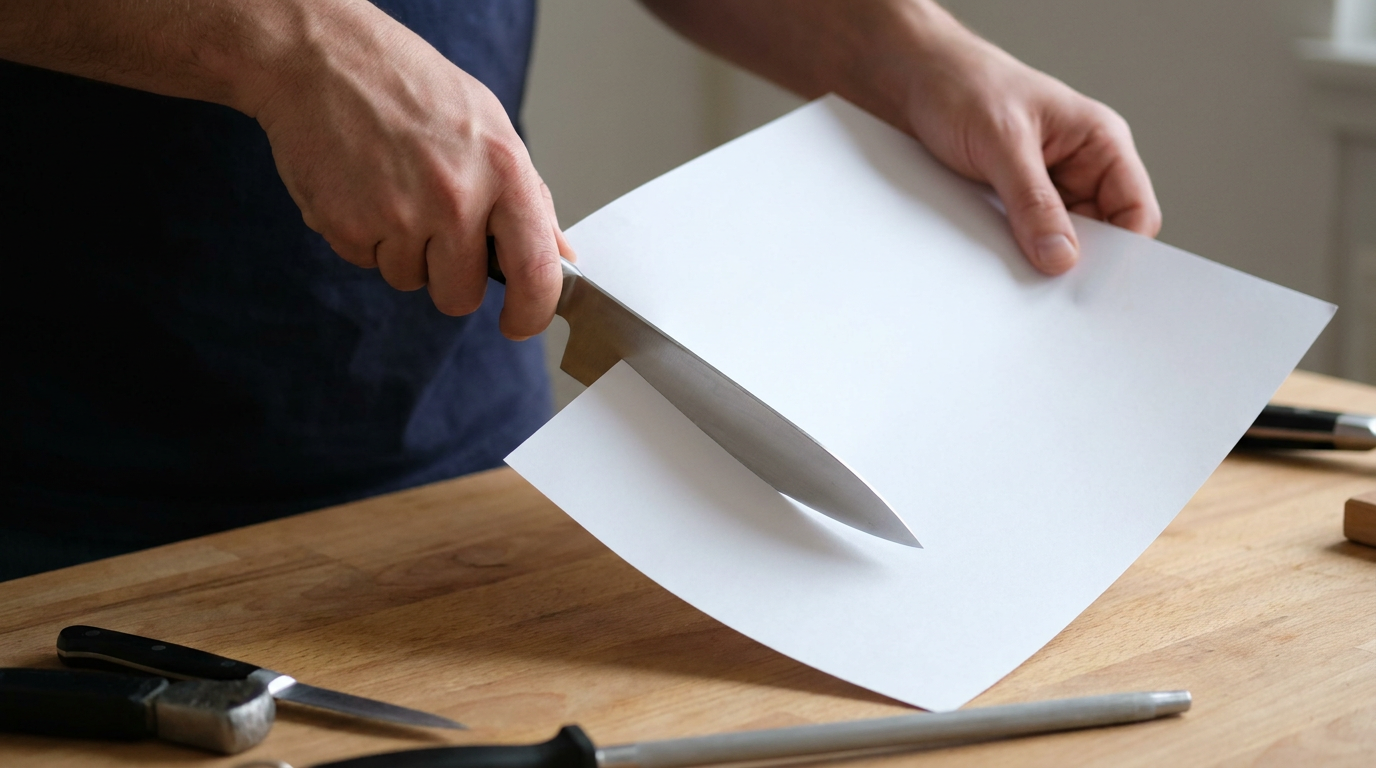
Instructional illustration generated with AI for Howmigo. Use the finer stone face with lighter alternating strokes to reduce the burr. Rinse and dry the knife and stone as their makers direct. Test by slicing plain paper away from your body; never test sharpness with a fingertip.
Common questions & troubleshooting
Did this guide help you?
Was this guide useful?
Discussion
No comments yet
Ask a question, share a tip, or reply to someone else.
Sign in to commentLoading comments…