
How to Use a Honing Steel
Maintain a suitable straight-edged kitchen knife with a steel honing rod using a supported, controlled method. Honing maintains the edge; a badly dull or damaged knife needs sharpening or repair. If honing does not restore the edge, follow how to sharpen a kitchen knife with a whetstone.
Updated
What you need
Tick off what you already have.
Tools
Materials
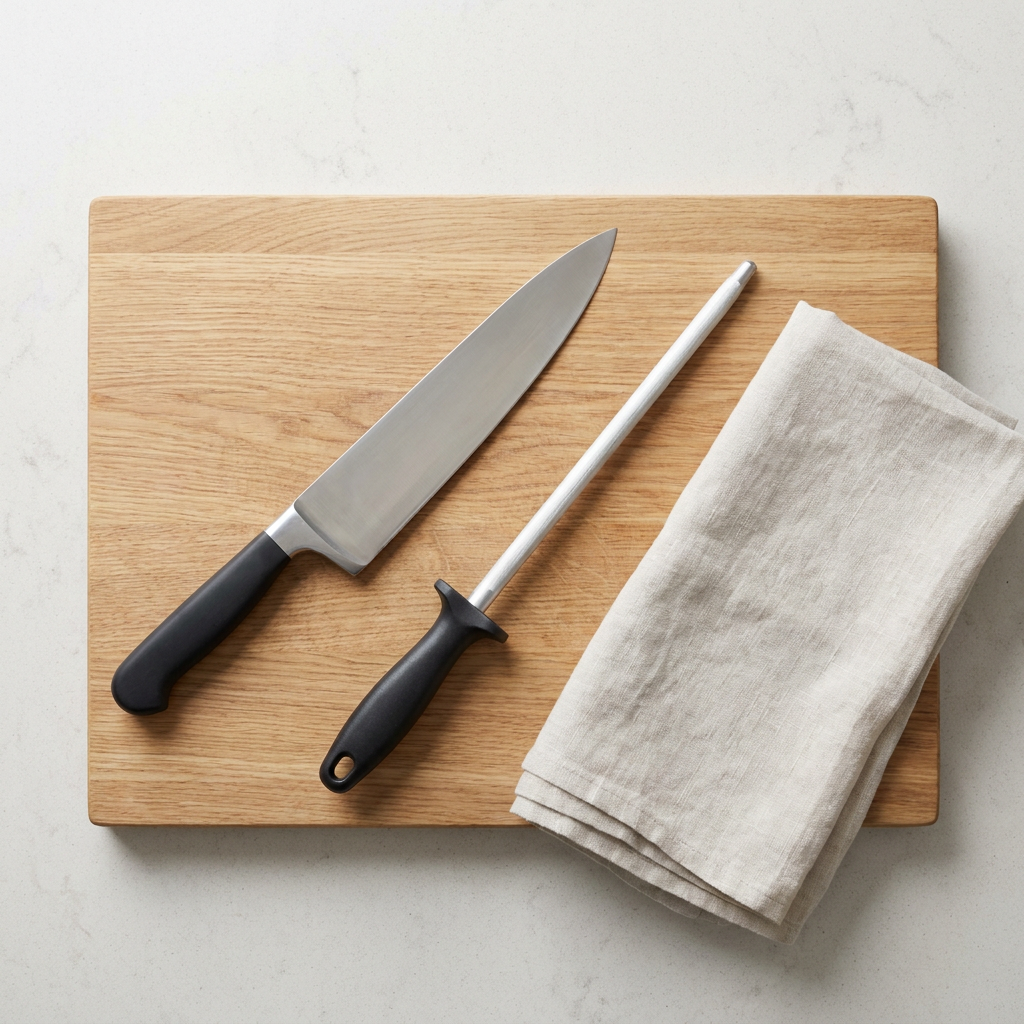 AI illustration
Step 01 / 06
Check the knife and prepare the surface
Read the knife maker's care instructions to confirm that a steel honing rod is suitable and find the recommended angle per side. This method is for an undamaged, straight-edged steel knife; do not use it on serrated or ceramic blades, or on a hard or delicate blade unless its maker approves. Choose a rod at least as long as the blade. Clean and dry the knife and rod, then place the board securely on a clear worktop.
1. Check the knife and prepare the surface
Instructional illustration generated with AI for Howmigo. Read the knife maker's care instructions to confirm that a steel honing rod is suitable and find the recommended angle per side. This method is for an undamaged, straight-edged steel knife; do not use it on serrated or ceramic blades, or on a hard or delicate blade unless its maker approves. Choose a rod at least as long as the blade. Clean and dry the knife and rod, then place the board securely on a clear worktop.
2. Support the steel vertically
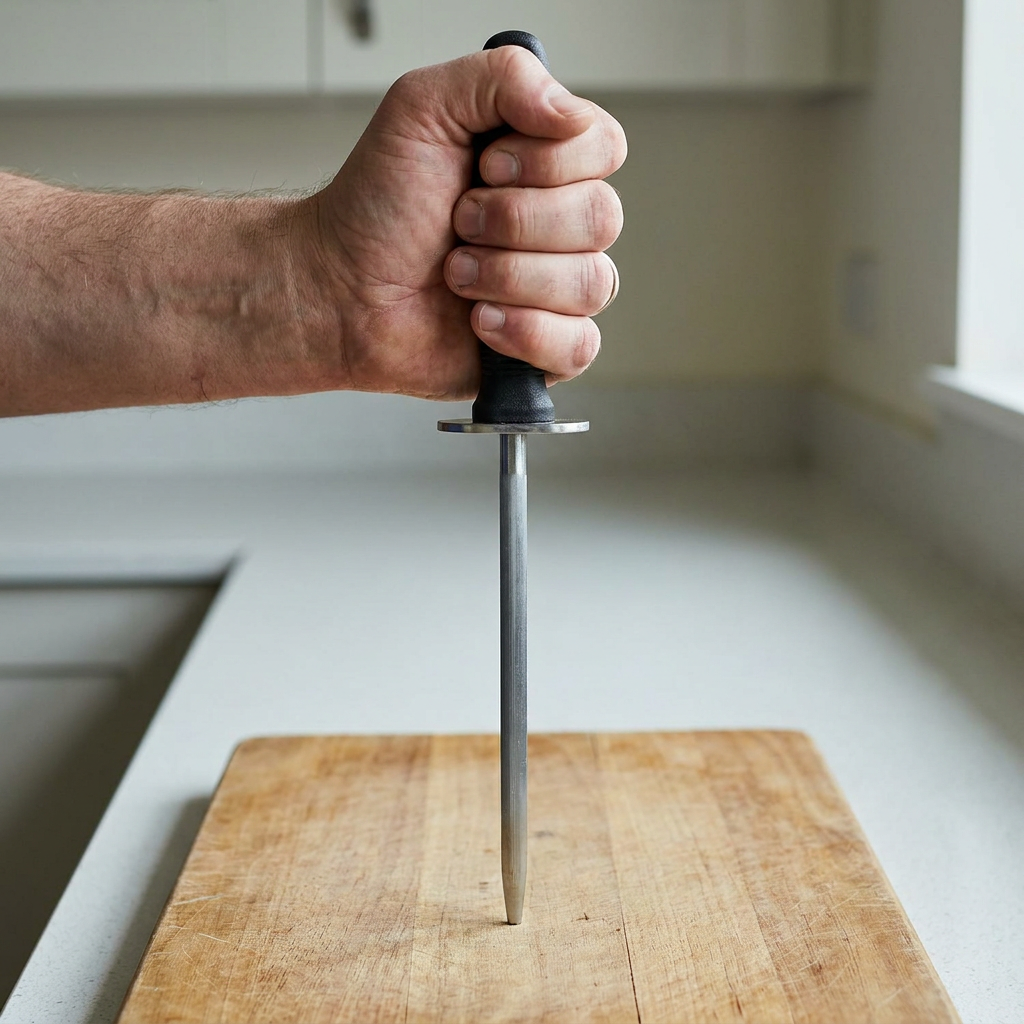
Instructional illustration generated with AI for Howmigo. Stand the rod point down on the dry board. Hold its handle with your non-dominant hand, keeping every finger above the hand guard. Keep the rod upright and firmly supported without leaning on it. Grip the knife handle with your dominant hand and keep other people clear of the working area. Stop if the rod or board slips.
3. Set the angle at the heel
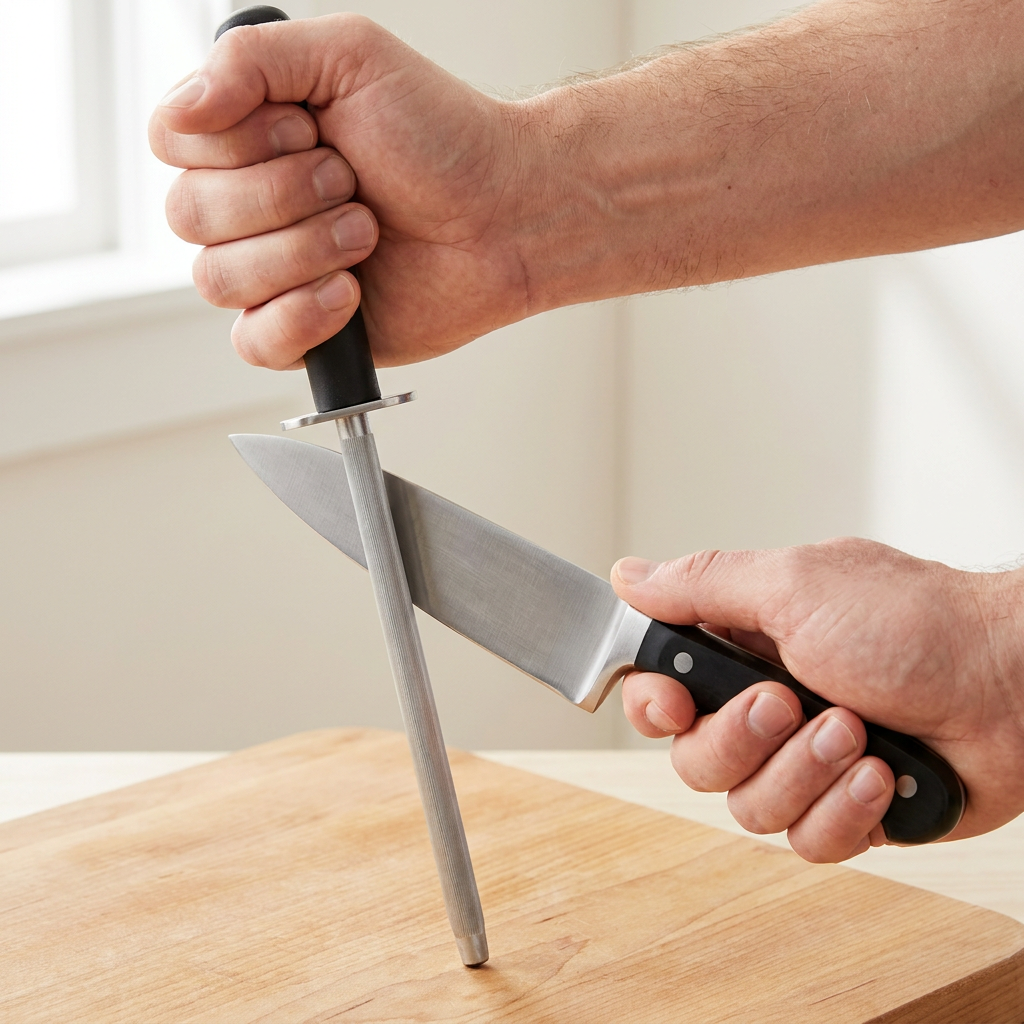
Instructional illustration generated with AI for Howmigo. Place the heel of the cutting edge against the upper part of the rod, below the guard. Tilt the blade to the maker's recommended angle per side; around 15° is common for some European-style knives, but it is not universal. The angle is between the blade face and the rod, not the total angle of both edges. Keep the edge and its travel path clear of your hands.
4. Make slow, alternating strokes
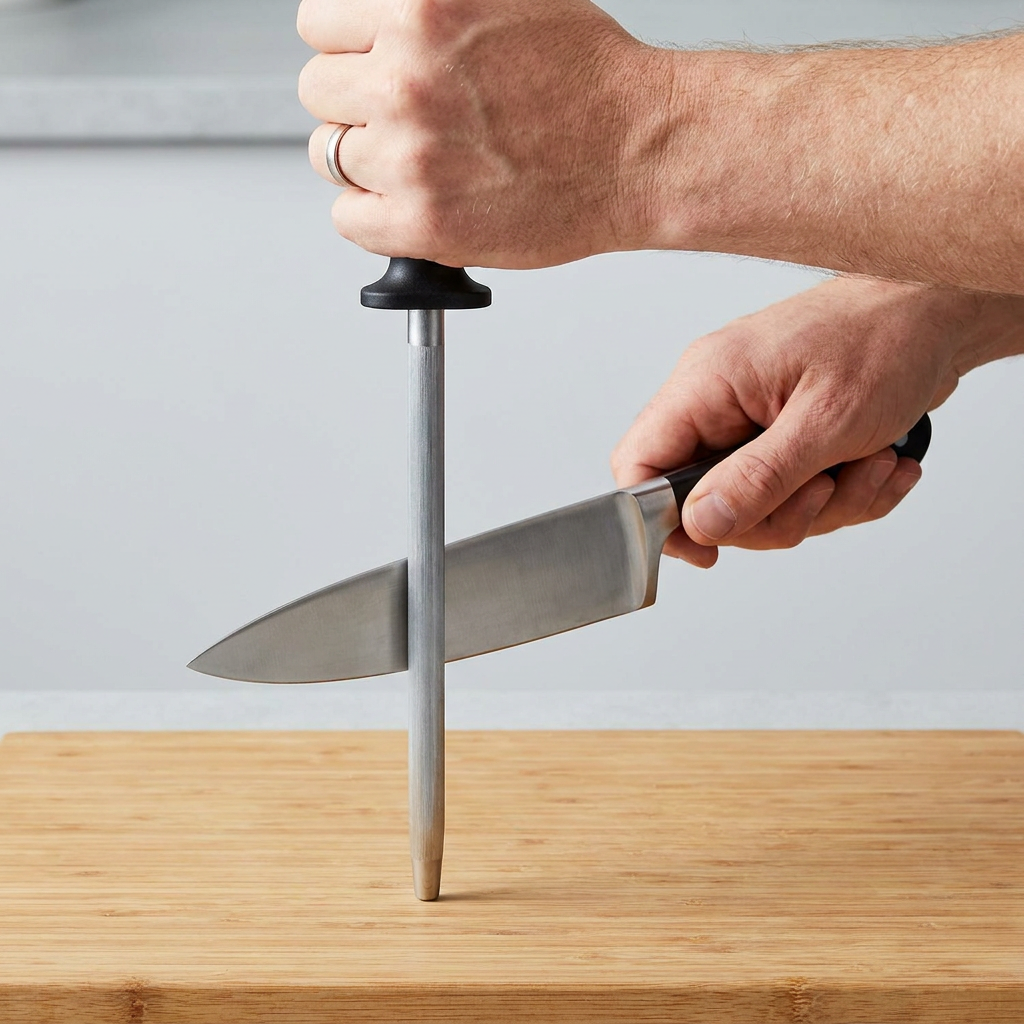
Instructional illustration generated with AI for Howmigo. With light pressure, move the knife down the rod while drawing it through from heel to tip, keeping the angle steady. Finish with the tip still on the rod above the board; do not hit the worktop. Lift the blade clear, reset it on the opposite side and repeat for the other face. Begin with 3 gentle strokes per side, alternating after each stroke. Move slowly rather than copying rapid, unsupported motions.
5. Clean and check the result
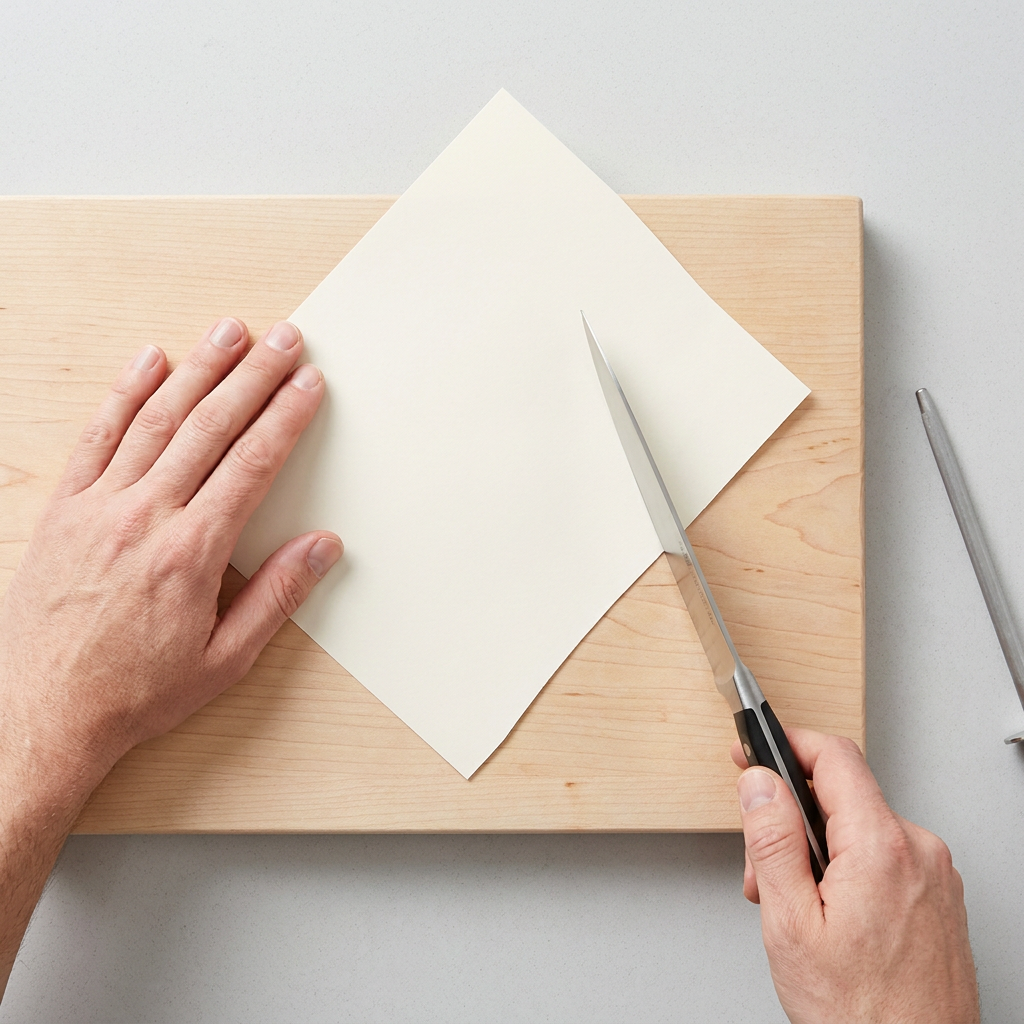
Instructional illustration generated with AI for Howmigo. Put the rod aside. Wash the blade carefully with water and dishwashing liquid, rinse and dry it without running your fingers along the edge. If comfortable, hold a sheet of plain paper by an upper corner and make a gentle cut well away from your fingers and body. A smoother cut suggests improvement. Never test an edge on your thumb. If it still catches or needs force, stop and arrange suitable sharpening; do not press harder on the rod.
6. Clean the rod and store both tools
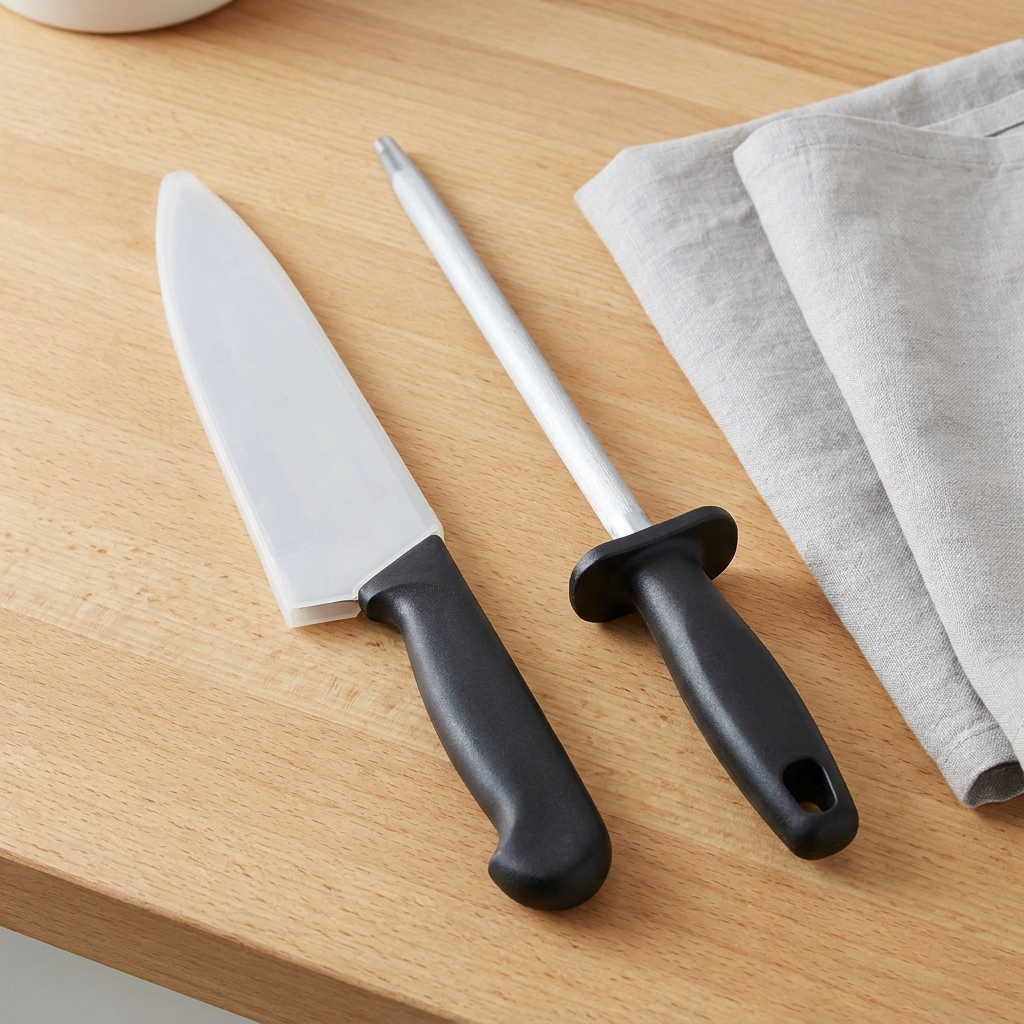
Instructional illustration generated with AI for Howmigo. Clean the rod as its maker directs and dry it before storage. Store the knife in a sheath, block or other protected holder so the edge is covered and cannot contact loose utensils. Hone when cutting performance begins to decline if the maker recommends it; the interval depends on the knife and its use. Inspect chips, bends or cracks before further use and seek repair or replacement for a damaged blade.
Common questions & troubleshooting
Did this guide help you?
Was this guide useful?
Discussion
No comments yet
Ask a question, share a tip, or reply to someone else.
Sign in to commentLoading comments…