
How to Adjust Bicycle Saddle Height
Set a comfortable starting saddle height on an adult bicycle with a conventional adjustable seatpost. Use a supported pedal check, secure the clamp and refine the fit on a short ride; this is a starting point, not a professional bike fit.
Updated
What you need
Tick off what you already have.
Tools
 AI illustration
Step 01 / 05
Check the seatpost and record the starting height
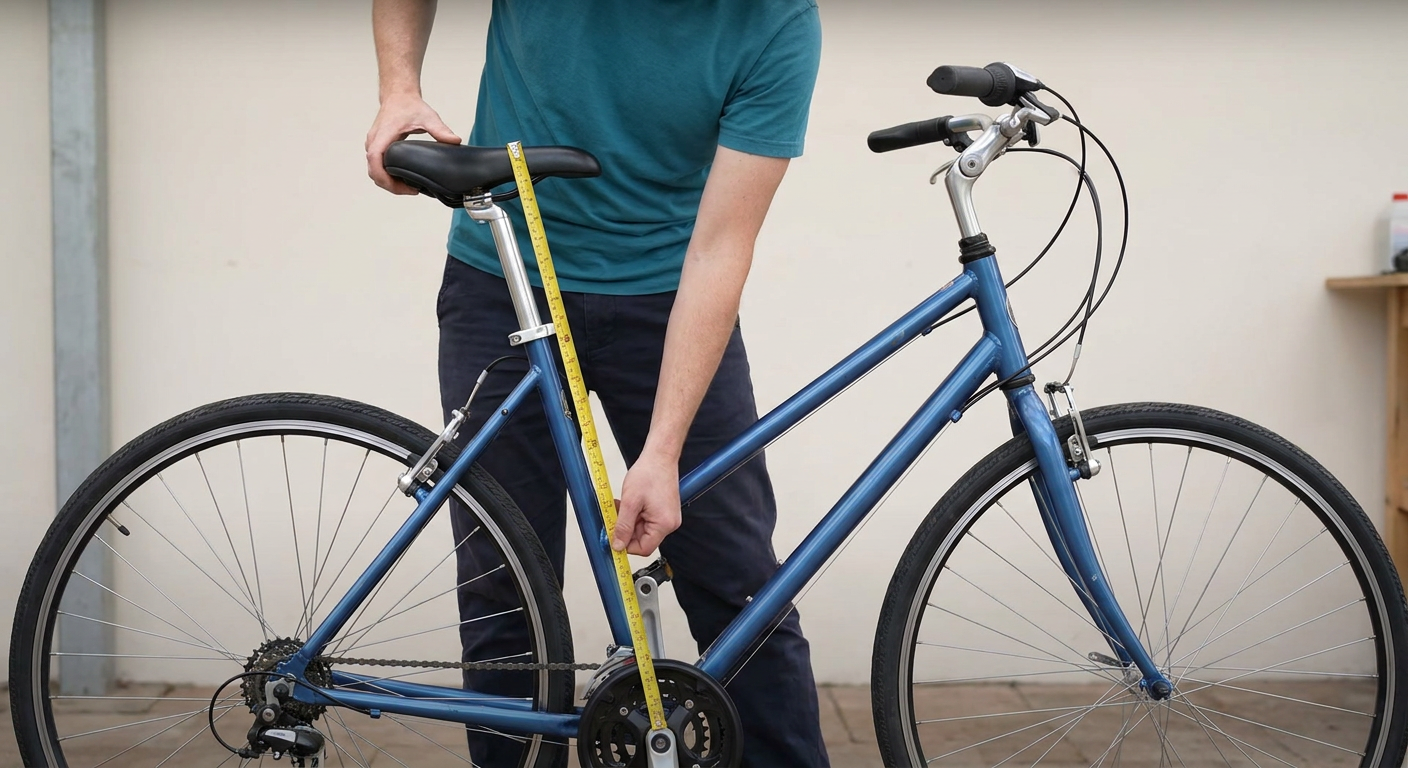
Work on level ground and switch off an electric bike. This method is for a conventional seatpost, not a dropper post or integrated seatmast. Read the bicycle and seatpost instructions for insertion limits and clamp tightening. Check for cracks or damage; stop if found. Measure from the centre of the crank axle to the saddle top along the seat tube and note the height. Wear your usual riding shoes.
1. Check the seatpost and record the starting height
Instructional illustration generated with AI for Howmigo. Work on level ground and switch off an electric bike. This method is for a conventional seatpost, not a dropper post or integrated seatmast. Read the bicycle and seatpost instructions for insertion limits and clamp tightening. Check for cracks or damage; stop if found. Measure from the centre of the crank axle to the saddle top along the seat tube and note the height. Wear your usual riding shoes.
2. Release the seatpost clamp
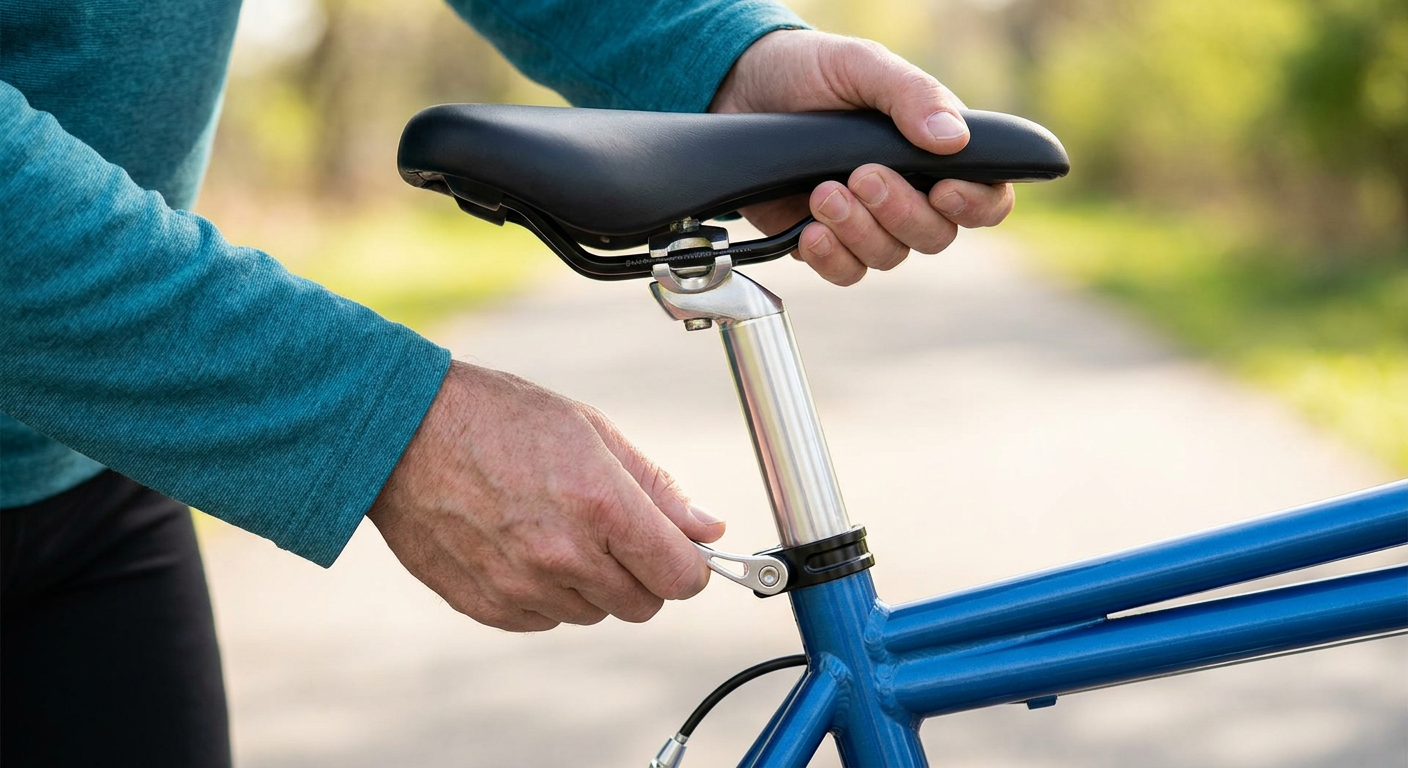
Instructional illustration generated with AI for Howmigo. Identify the clamp where the seatpost enters the frame, not the bolts beneath the saddle. With no one sitting on the bike, support the saddle and open the quick-release lever fully, or loosen the clamp bolt just enough for the post to move. Do not remove the bolt. If the post is stuck, do not force it; ask a bicycle workshop for help.
3. Set the height and secure the clamp
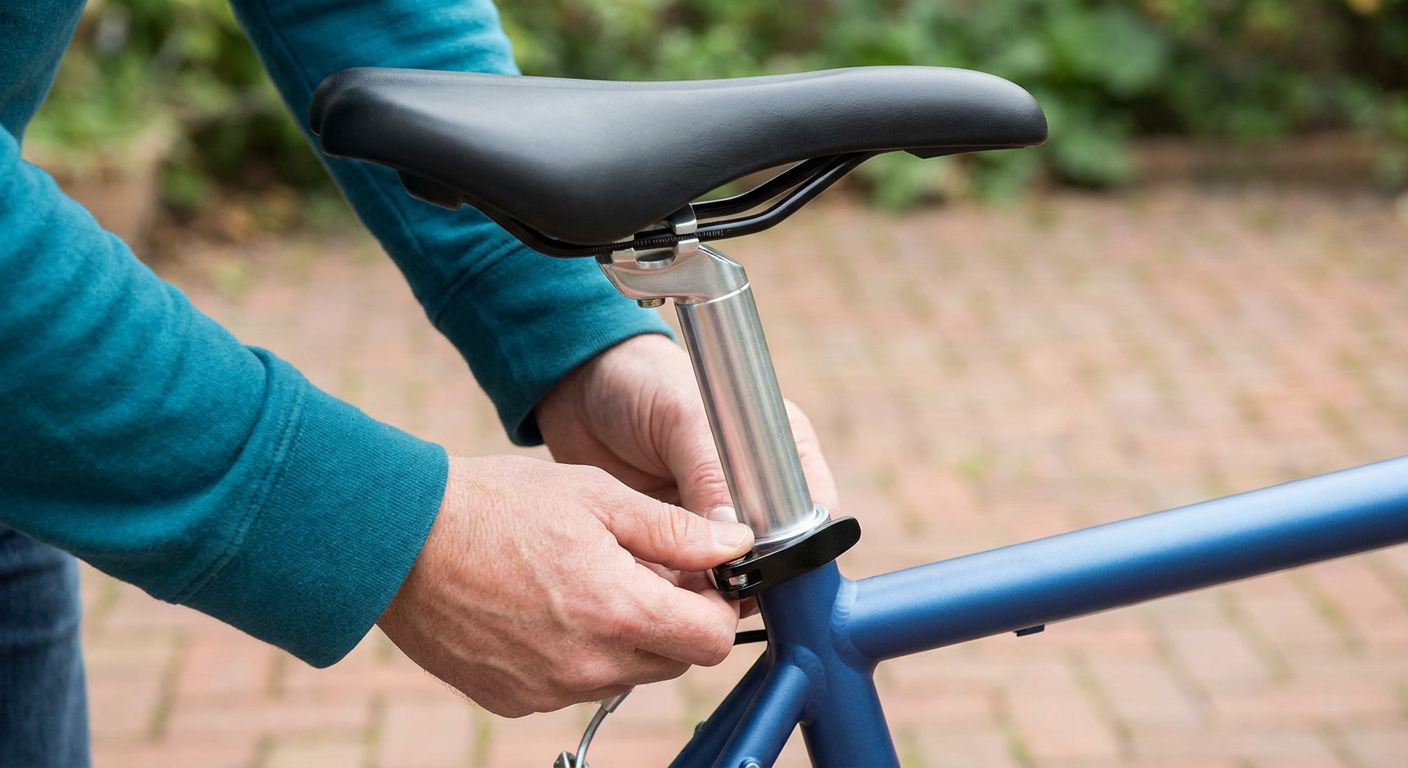
Instructional illustration generated with AI for Howmigo. Raise or lower the saddle a little, keeping its nose aligned with the frame. Keep the minimum-insertion mark fully inside the frame and obey any deeper frame insertion requirement and maximum insertion limit. Do not change saddle tilt or rail position. For a bolted clamp, tighten with a torque wrench to the specified torque; do not guess. For quick release, follow its instructions: adjust the nut while open so closing the lever needs firm palm pressure. Do not use the lever as a wing nut. Check that the saddle cannot twist or sink before sitting.
4. Check leg reach with the bicycle supported
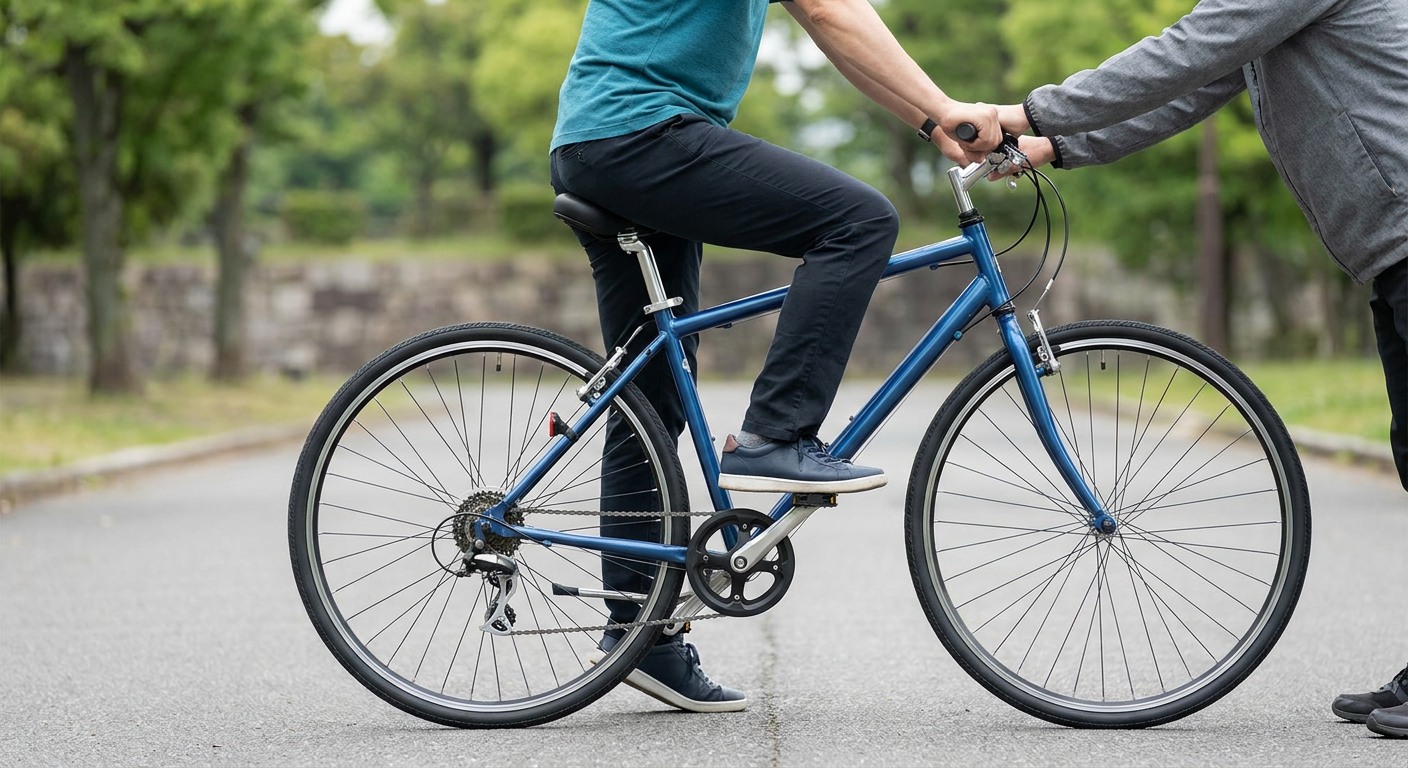
Instructional illustration generated with AI for Howmigo. Have a helper hold the bicycle upright and steady while you sit normally. Put a heel on the pedal at its lowest position: as a rough starting point, your leg should be nearly straight without locking the knee, tilting your hips or stretching. With the ball of your foot over the pedal axle, your knee should stay slightly bent. If you cannot reach comfortably, lower the saddle; if the knee remains very bent with the heel on the pedal, raise it slightly. Dismount before every adjustment, repeat steps 2–3 and recheck. This check is approximate.
5. Test ride and fine-tune
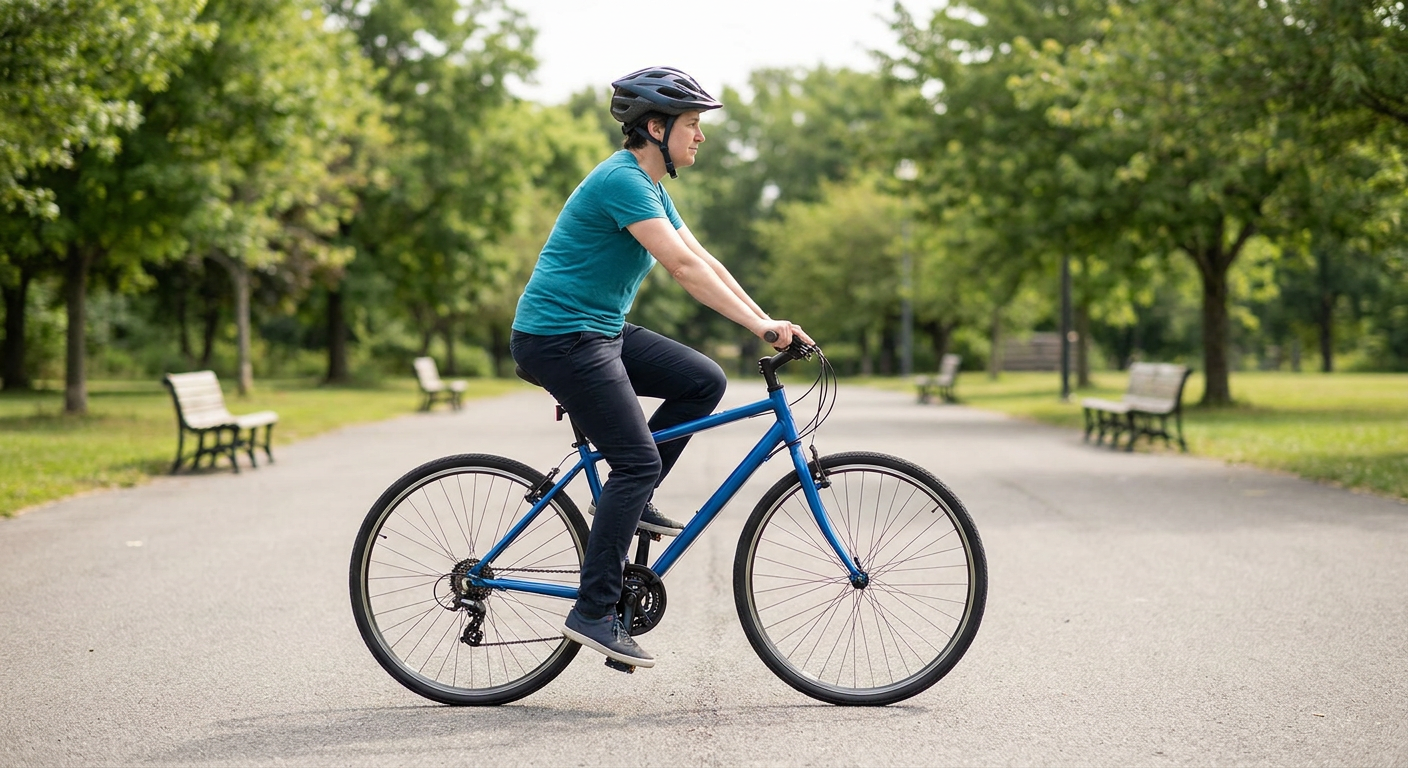
Instructional illustration generated with AI for Howmigo. Wear a helmet and ride slowly in a quiet, traffic-free area. Practise stopping and stepping off the saddle; you need not place both feet flat on the ground while seated, but must be able to stop safely. If your hips rock or you reach for the pedals, lower the saddle by 3–5 mm (about 1/8–3/16 in) and retest. Dismount and secure the clamp after every change. Stop for pain, numbness or a slipping saddle; seek a bike fit or workshop help if problems persist. Record the final height.
Common questions & troubleshooting
Did this guide help you?
Was this guide useful?
Discussion
No comments yet
Ask a question, share a tip, or reply to someone else.
Sign in to commentLoading comments…