
How to Fix a Bicycle Puncture
Find and patch a puncture in a standard butyl inner tube, refit the tyre and check your bicycle before riding.
Updated
What you need
Tick off what you already have.
Tools
Materials
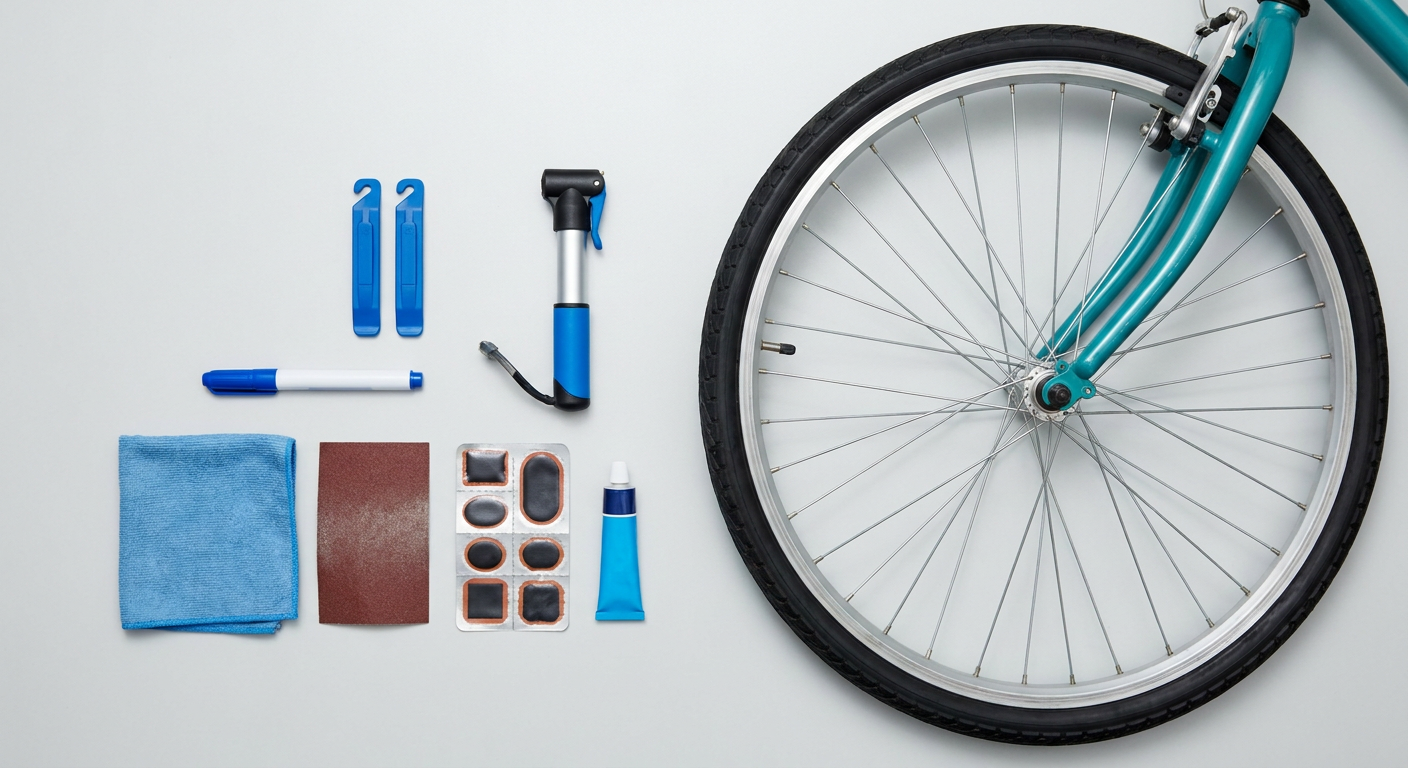 AI illustration
Step 01 / 14
Gather your tools
Use plastic tyre levers, a pump that fits your valve, a marker, a cloth, a butyl-tube patch kit with vulcanising fluid, and any tools required for wheel removal. A bowl of water helps locate leaks. This guide covers standard butyl inner tubes; TPU and latex require their manufacturer's repair method. Work away from traffic.
1. Gather your tools
Instructional illustration generated with AI for Howmigo. Use plastic tyre levers, a pump that fits your valve, a marker, a cloth, a butyl-tube patch kit with vulcanising fluid, and any tools required for wheel removal. A bowl of water helps locate leaks. This guide covers standard butyl inner tubes; TPU and latex require their manufacturer's repair method. Work away from traffic.
2. Remove the wheel
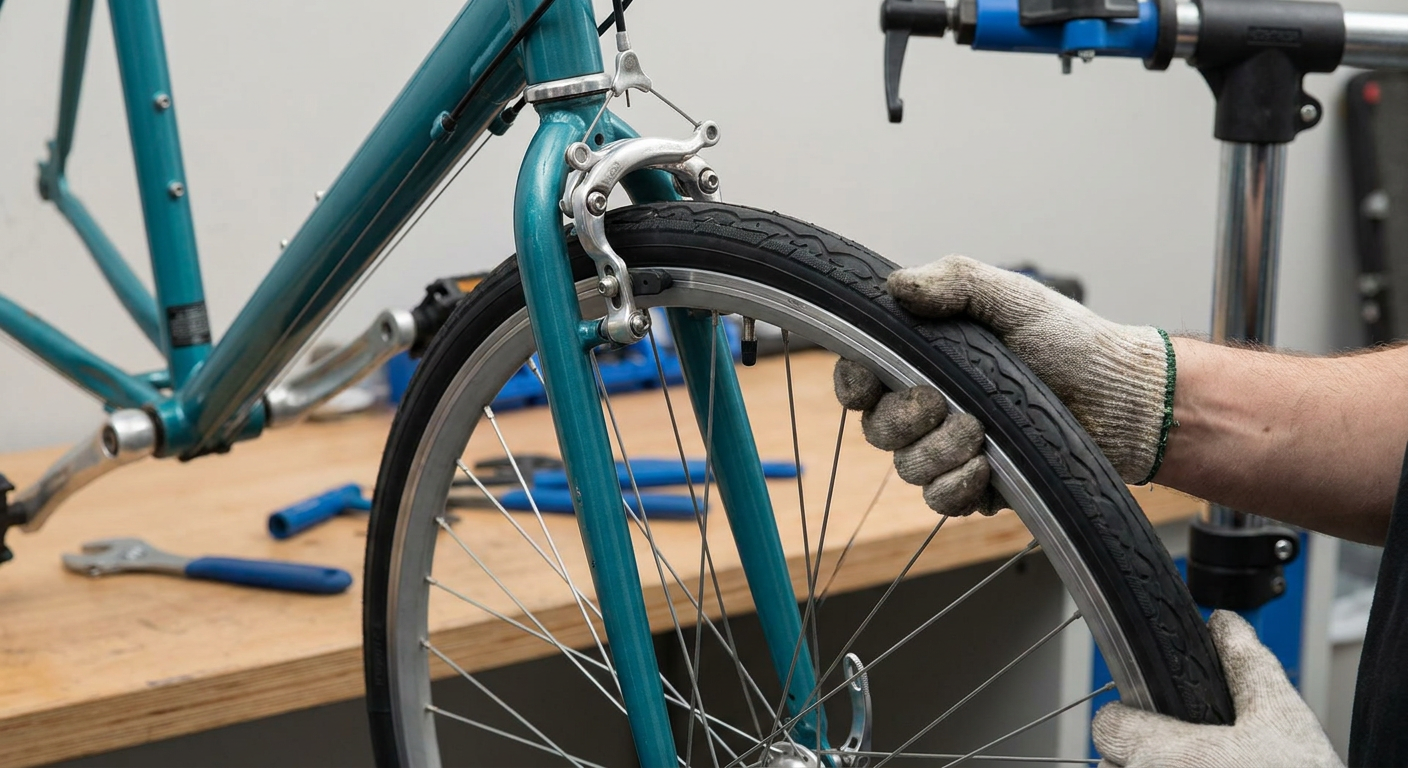
Instructional illustration generated with AI for Howmigo. Support the bicycle securely. For a rear wheel with derailleur gears, shift to the smallest rear sprocket. Open rim brakes if necessary, release the axle according to the manufacturer's instructions and remove the wheel. Do not squeeze hydraulic disc-brake levers with the wheel removed. Motor wheels and hub gears require their own removal instructions.
3. Release all remaining air
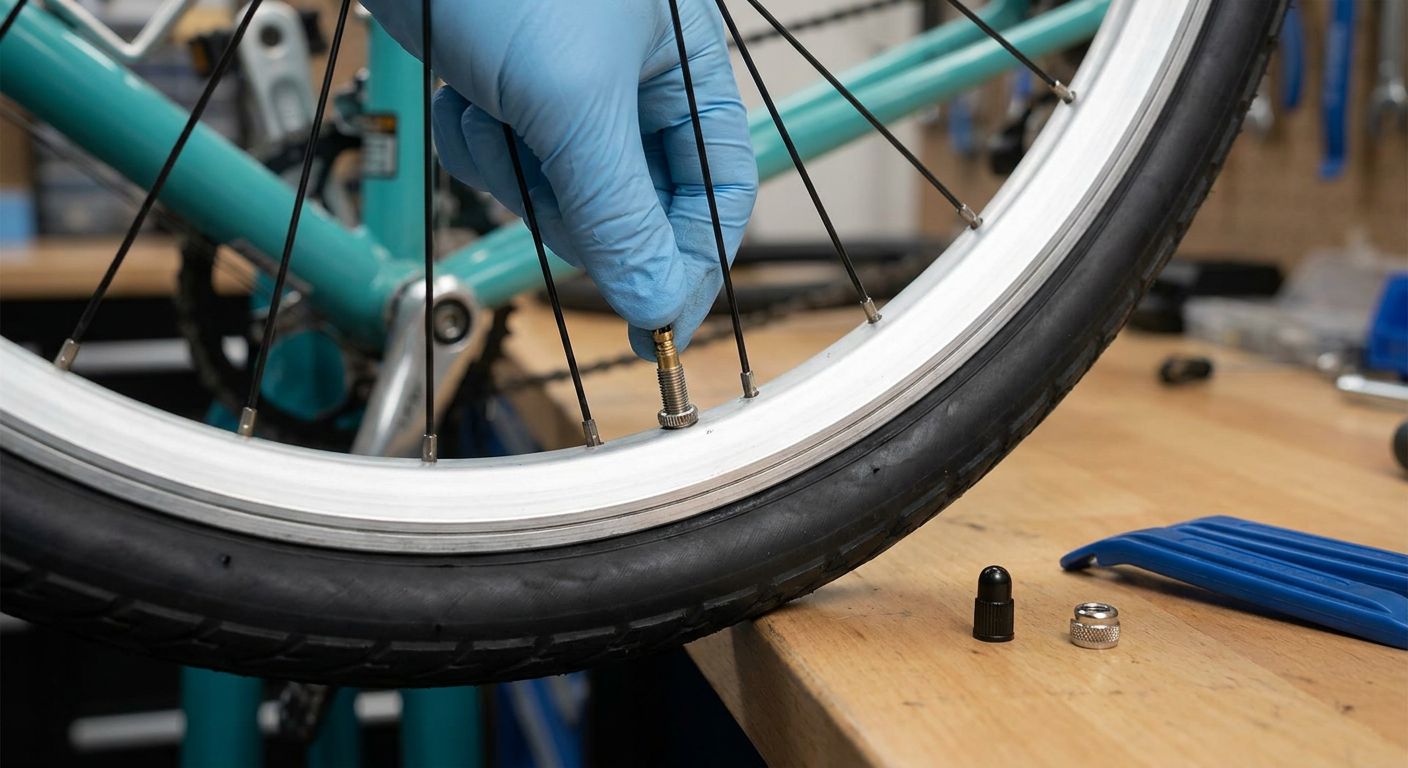
Instructional illustration generated with AI for Howmigo. Remove the valve cap. For Presta valves, unscrew the small tip nut and press the tip. For Schrader valves, press the centre pin. Let all air escape and remove the valve's rim retaining nut if fitted. Leave the valve core installed.
4. Lift one tyre bead off the rim
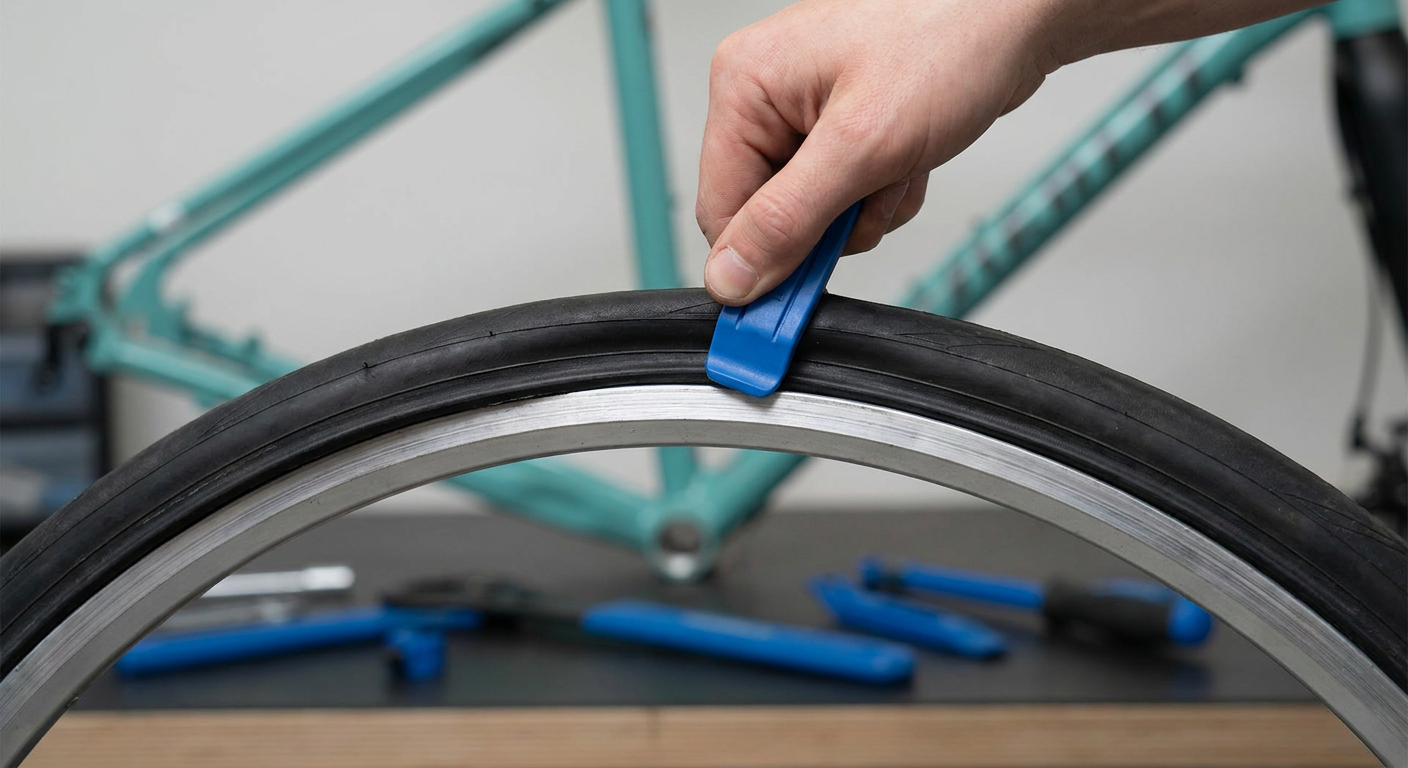
Instructional illustration generated with AI for Howmigo. Push the tyre edges into the rim's centre channel. Starting away from the valve, use a plastic tyre lever to lift one bead over the rim edge. Work around until that side is free, leaving the other bead on the rim. Do not use screwdrivers.
5. Remove the tube and locate the puncture
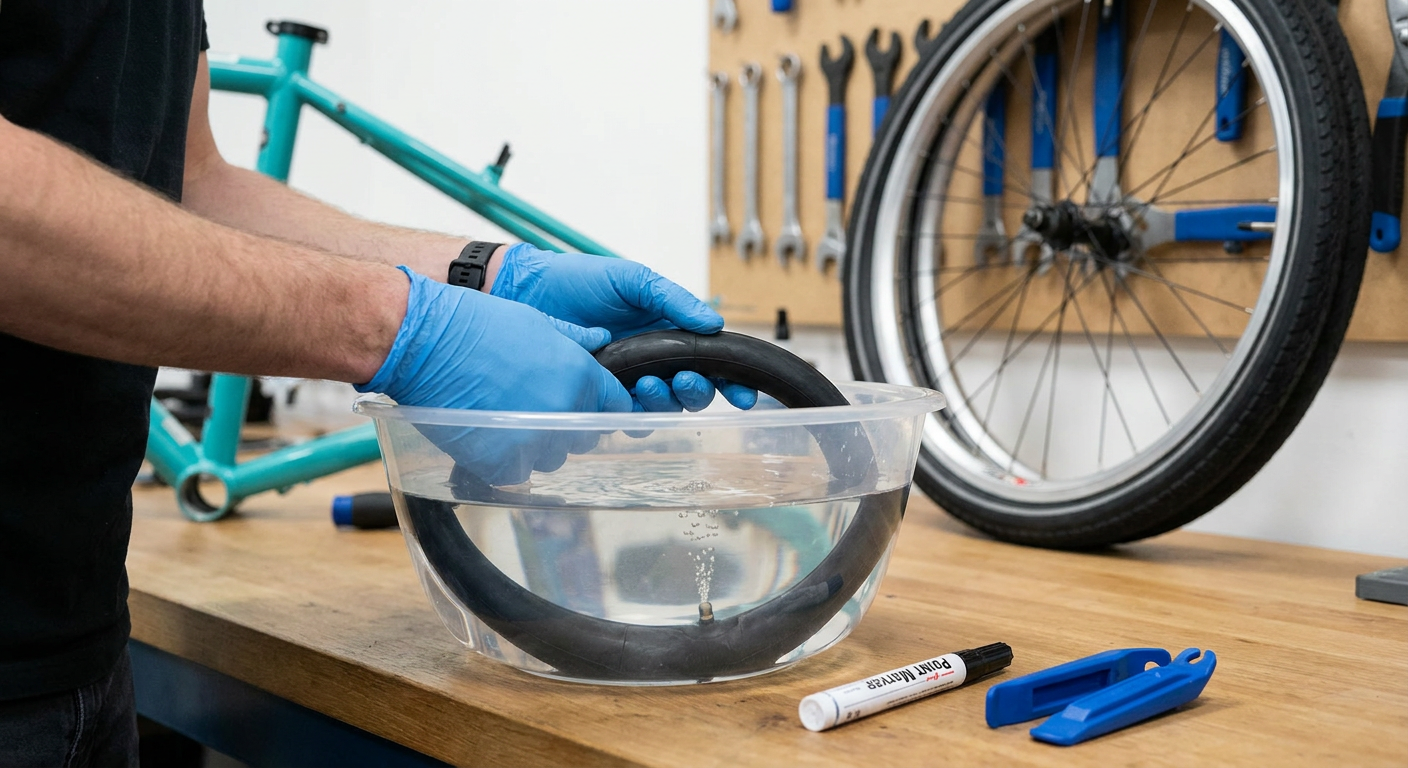
Instructional illustration generated with AI for Howmigo. Pull out the tube, withdrawing the valve carefully. Note its position relative to the tyre. Gently inflate it just enough to give it shape. Listen and feel for escaping air, or submerge sections in water and look for a repeated stream of bubbles. Mark the hole and check for additional leaks.
6. Remove the cause of the puncture
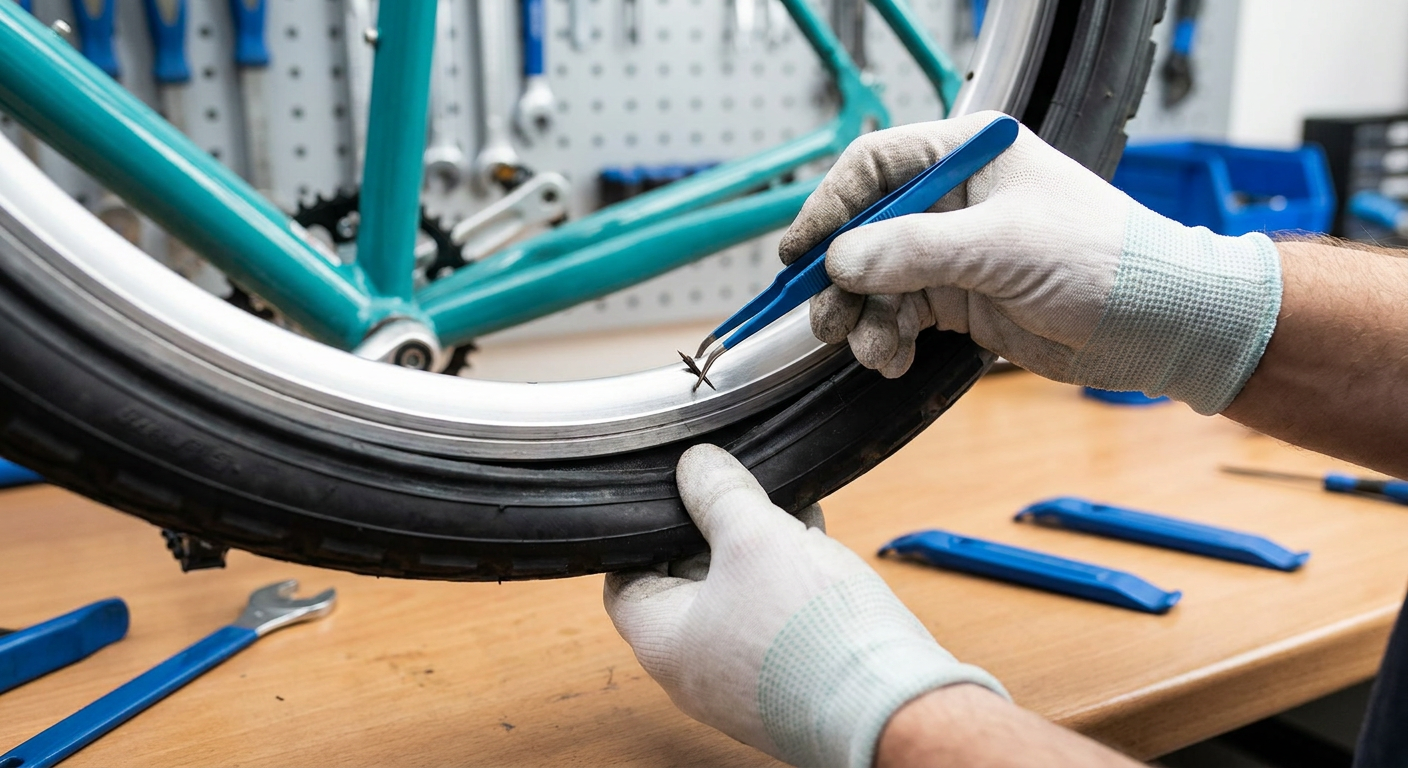
Instructional illustration generated with AI for Howmigo. Inspect the matching part of the tyre, then its entire inside and tread. Use good light and a cloth rather than sliding bare fingers over possible glass or thorns. Carefully remove embedded debris. Check that rim tape covers the spoke holes and is undamaged. Replace damaged parts. Replace tubes with valve-base damage or tears unsuitable for patching.
7. Prepare the tube surface
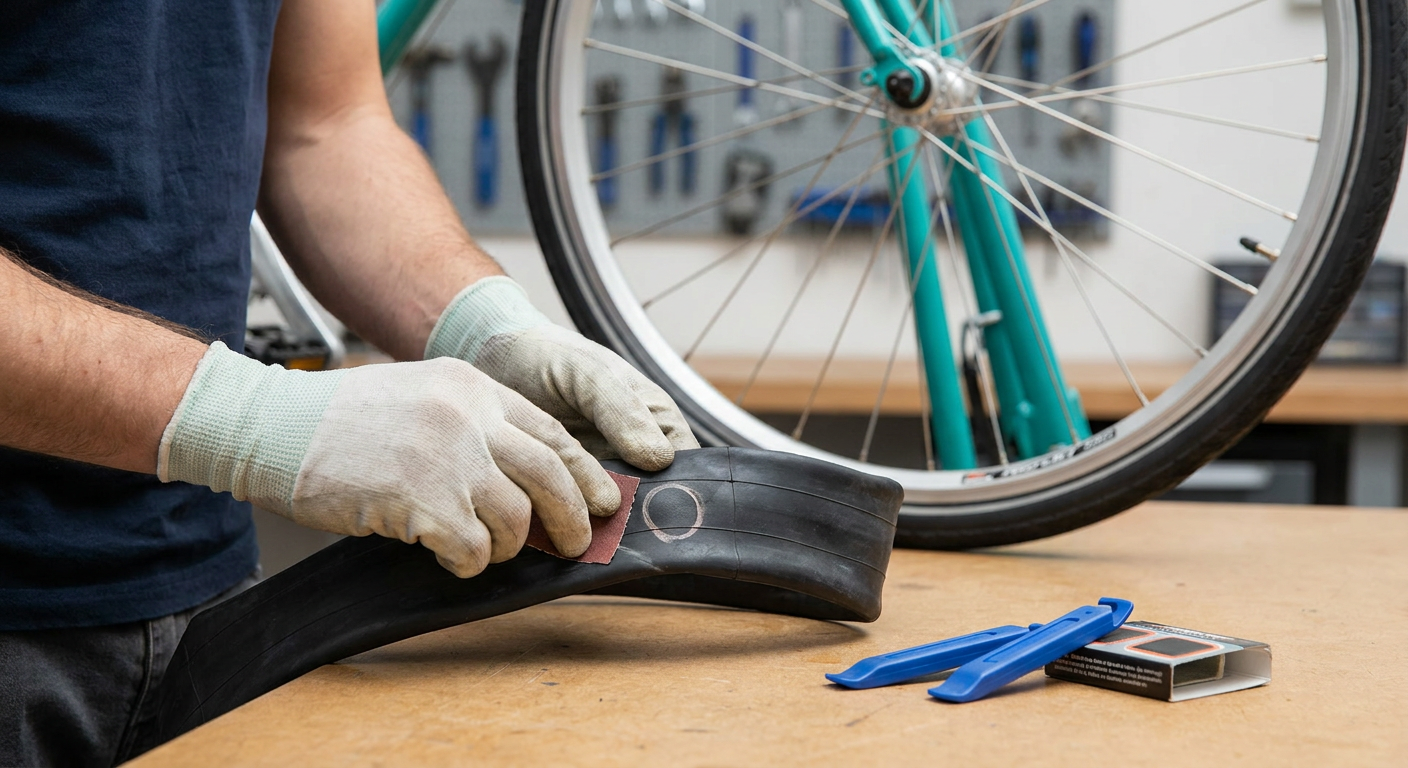
Instructional illustration generated with AI for Howmigo. Deflate the tube and dry it completely. Lightly roughen an area larger than your patch with the kit's abrasive. Brush off dust without contaminating the surface. Follow your patch kit's preparation instructions.
8. Apply vulcanising fluid and let it dry
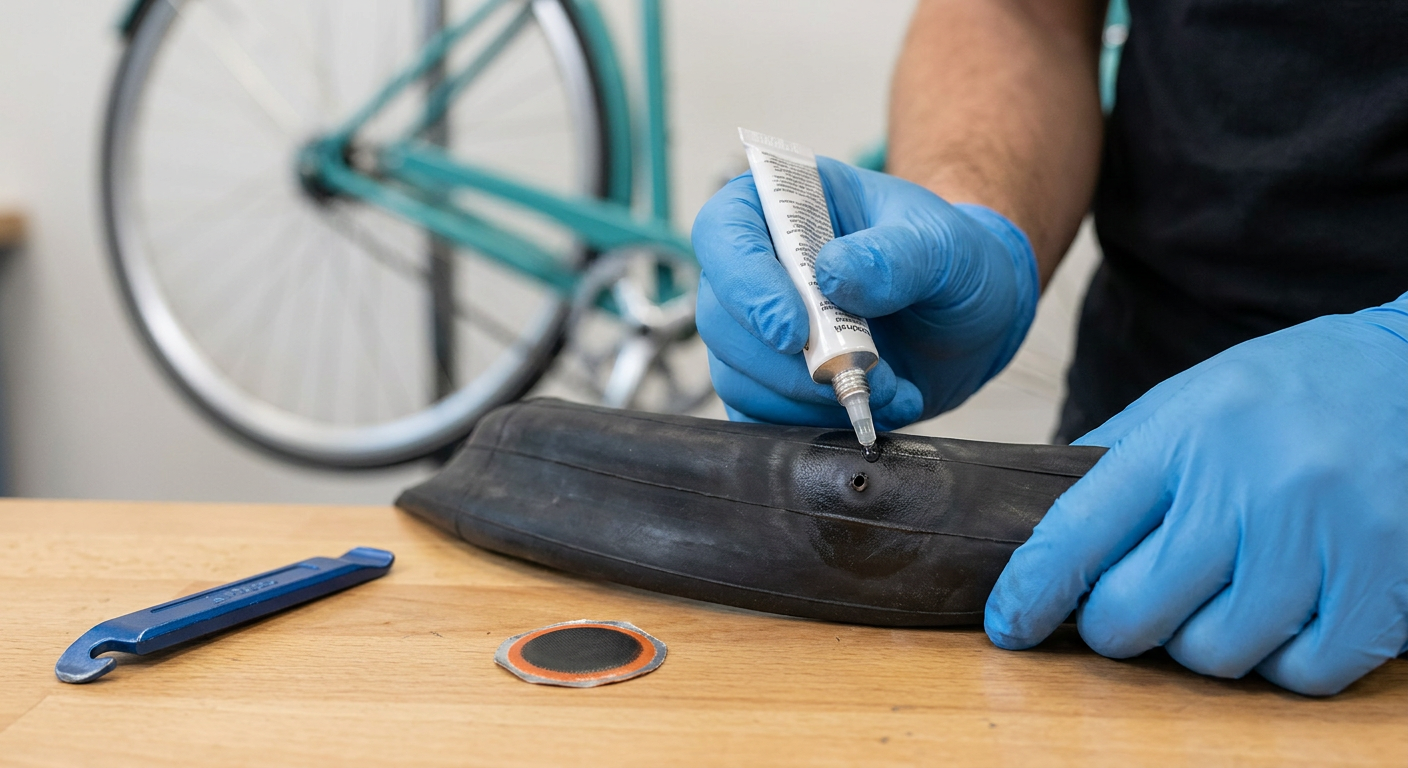
Instructional illustration generated with AI for Howmigo. Spread a thin, even layer of the kit's vulcanising fluid over the prepared area. Let it dry for the time specified by the kit before applying the patch. Work with ventilation and away from flames. Self-adhesive patches use a different procedure and do not need this fluid.
9. Apply the patch
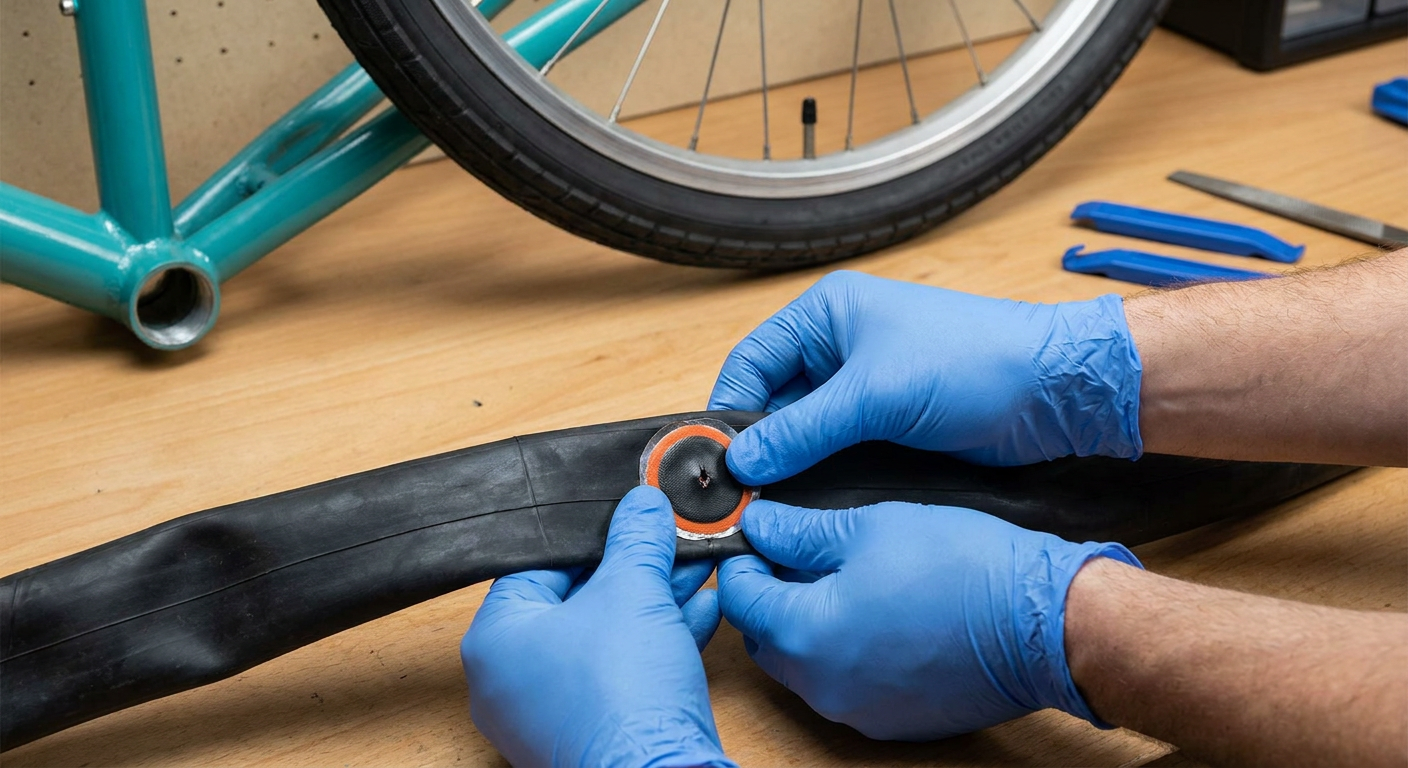
Instructional illustration generated with AI for Howmigo. Remove the patch backing without touching the bonding surface. Centre the patch over the hole and press firmly across its whole surface and edges for the time specified by the kit. Follow the kit's instructions for any top film and required waiting time.
10. Check that the repair holds
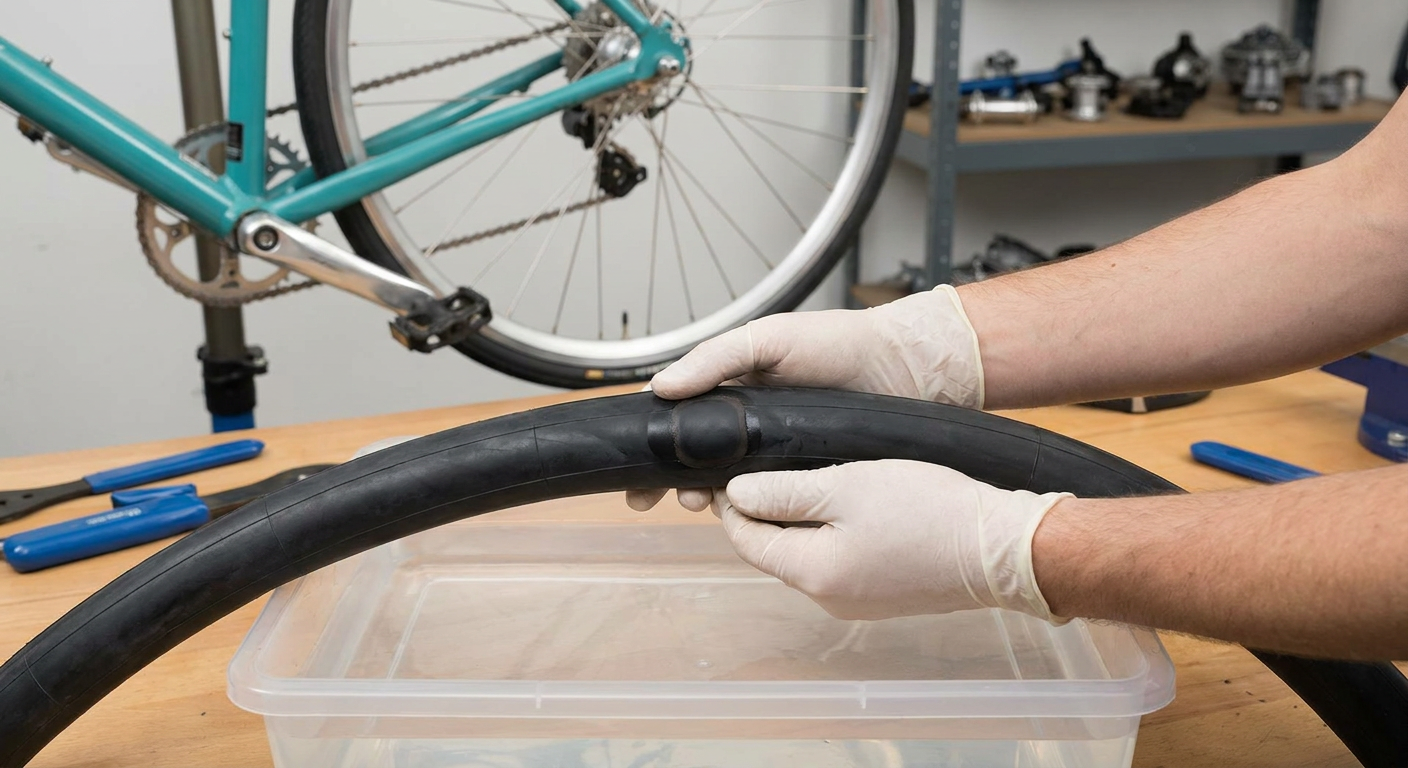
Instructional illustration generated with AI for Howmigo. After the required waiting time, gently inflate the tube just enough to give it shape. Check the patch and the rest of the tube for escaping air. Use water if needed, then dry the tube. If it leaks or the patch lifts, repair it correctly or fit a compatible replacement tube.
11. Refit the tube
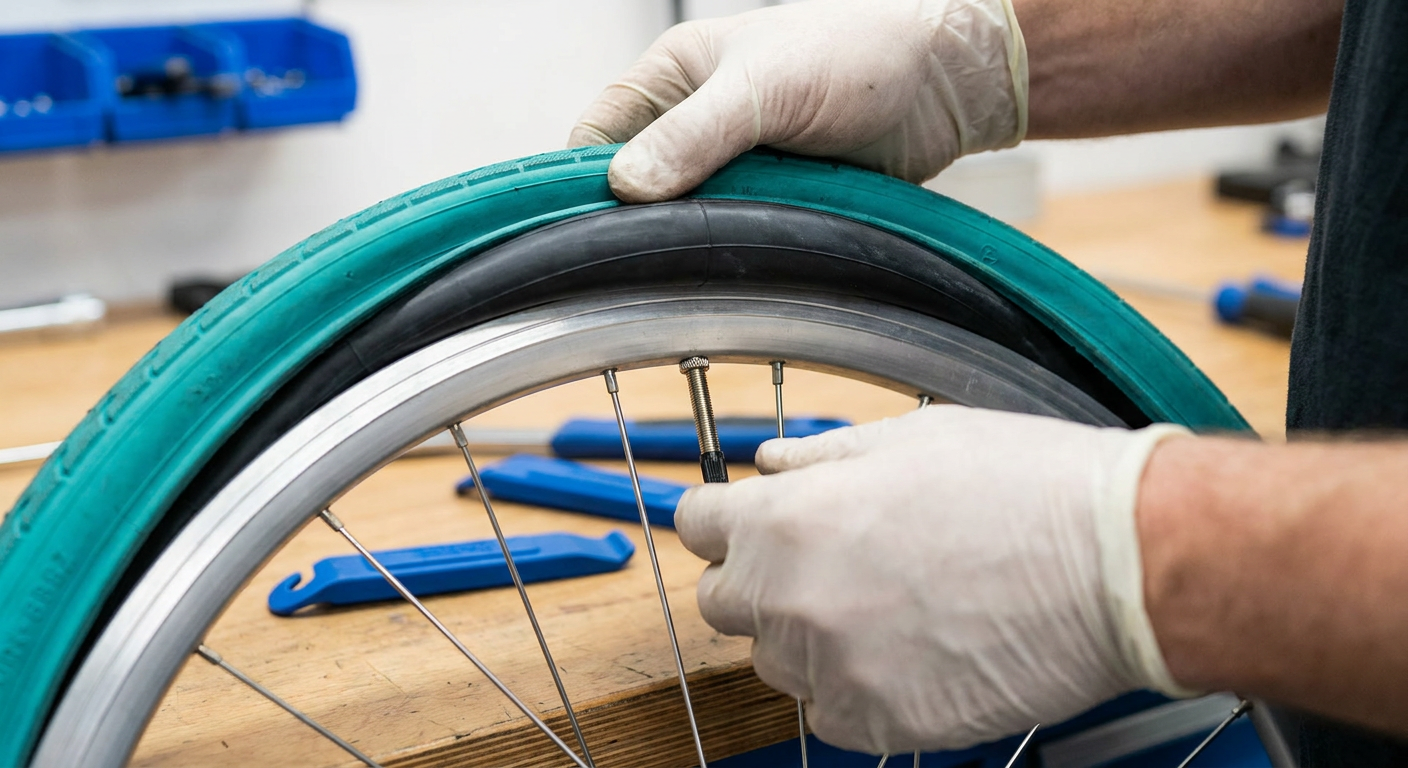
Instructional illustration generated with AI for Howmigo. Leave only enough air in the tube to give it shape. Check the tyre's direction arrow if the tyre was fully removed. Insert the valve straight through the rim hole and tuck the tube evenly into the tyre without twisting it. Leave any valve retaining nut loose.
12. Reseat the tyre bead
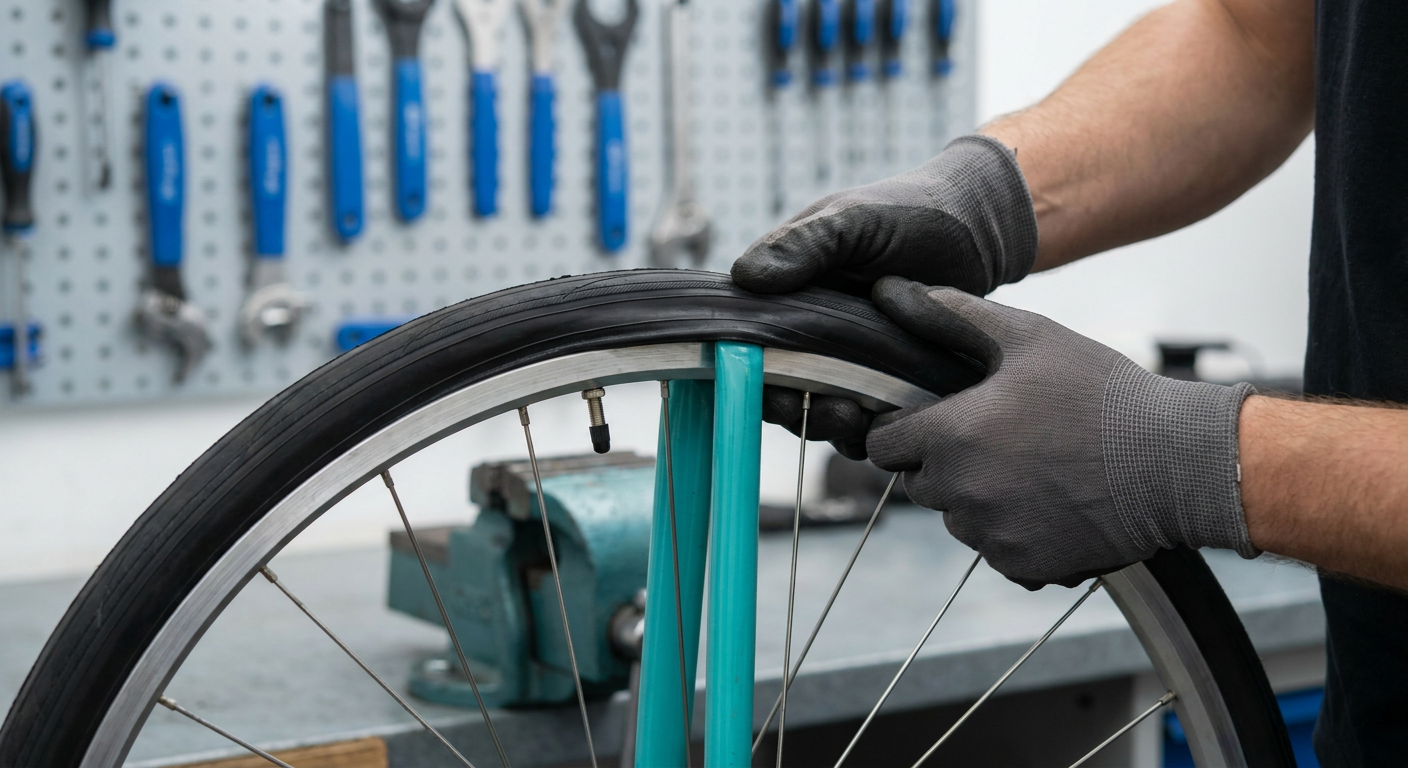
Instructional illustration generated with AI for Howmigo. Starting opposite the valve, work the loose bead onto the rim with your thumbs, keeping seated sections in the centre channel. Finish near the valve, pushing the valve gently inward to free the tube from beneath the bead. Avoid levers where possible. Inspect both sides all the way around for trapped tube.
13. Inflate and inspect the tyre
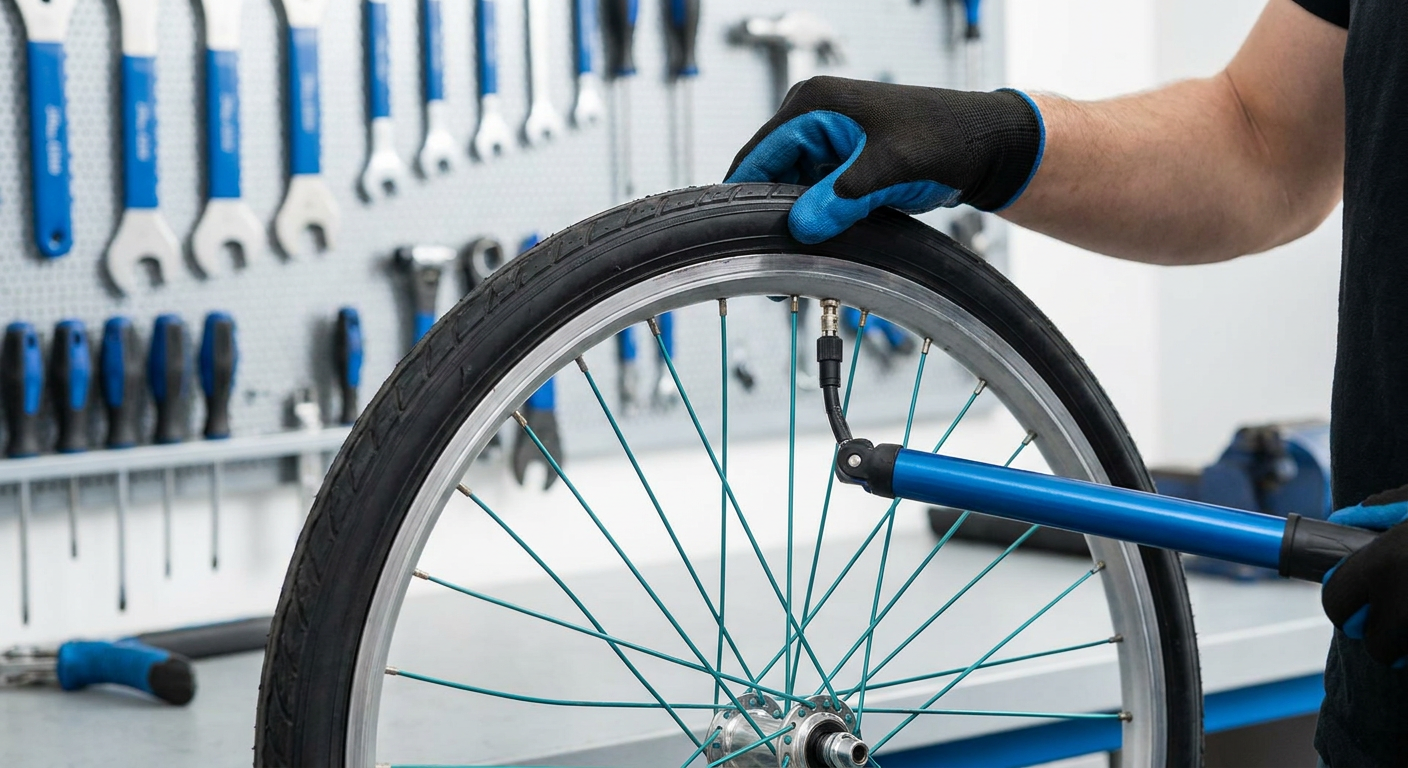
Instructional illustration generated with AI for Howmigo. Add a little air and check that the tyre's seating line is even around both sides of the rim. If it bulges or sits unevenly, deflate and correct it. Inflate to a pressure appropriate for your tyre, rim and load, within the applicable manufacturer limits. Close the Presta tip if present, finger-tighten any retaining nut and replace the cap.
14. Refit the wheel and test the bicycle
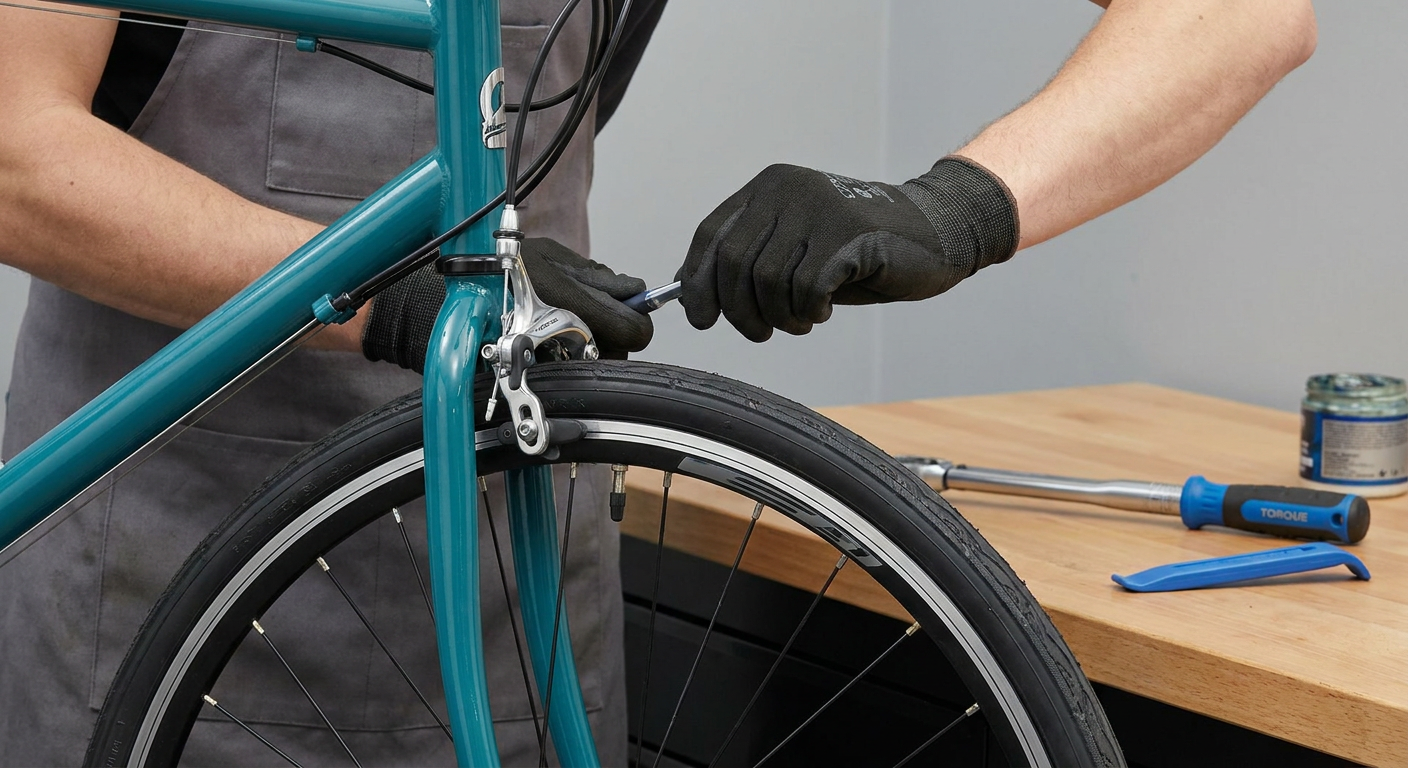
Instructional illustration generated with AI for Howmigo. Fully seat the wheel and secure the axle exactly as the manufacturer specifies, using the specified torque where applicable. Reconnect any opened rim brake. Spin the wheel to check alignment and test both brakes while stationary. Confirm the tyre holds pressure. Take a short, slow test ride in a safe place and recheck before riding normally. If the rim brake needs further adjustment, see how to adjust bicycle rim brakes before riding.
Did this guide help you?
Was this guide useful?
Discussion
No comments yet
Ask a question, share a tip, or reply to someone else.
Sign in to commentLoading comments…