
How to Adjust Bicycle Rim Brakes
Improve weak or rubbing bicycle rim brakes by checking the pads, centring the brake and setting cable tension. This guide covers common cable-operated V-brakes and caliper brakes; stop if parts are damaged, badly worn or the cable is frayed.
Updated
What you need
Tick off what you already have.
Tools
Materials
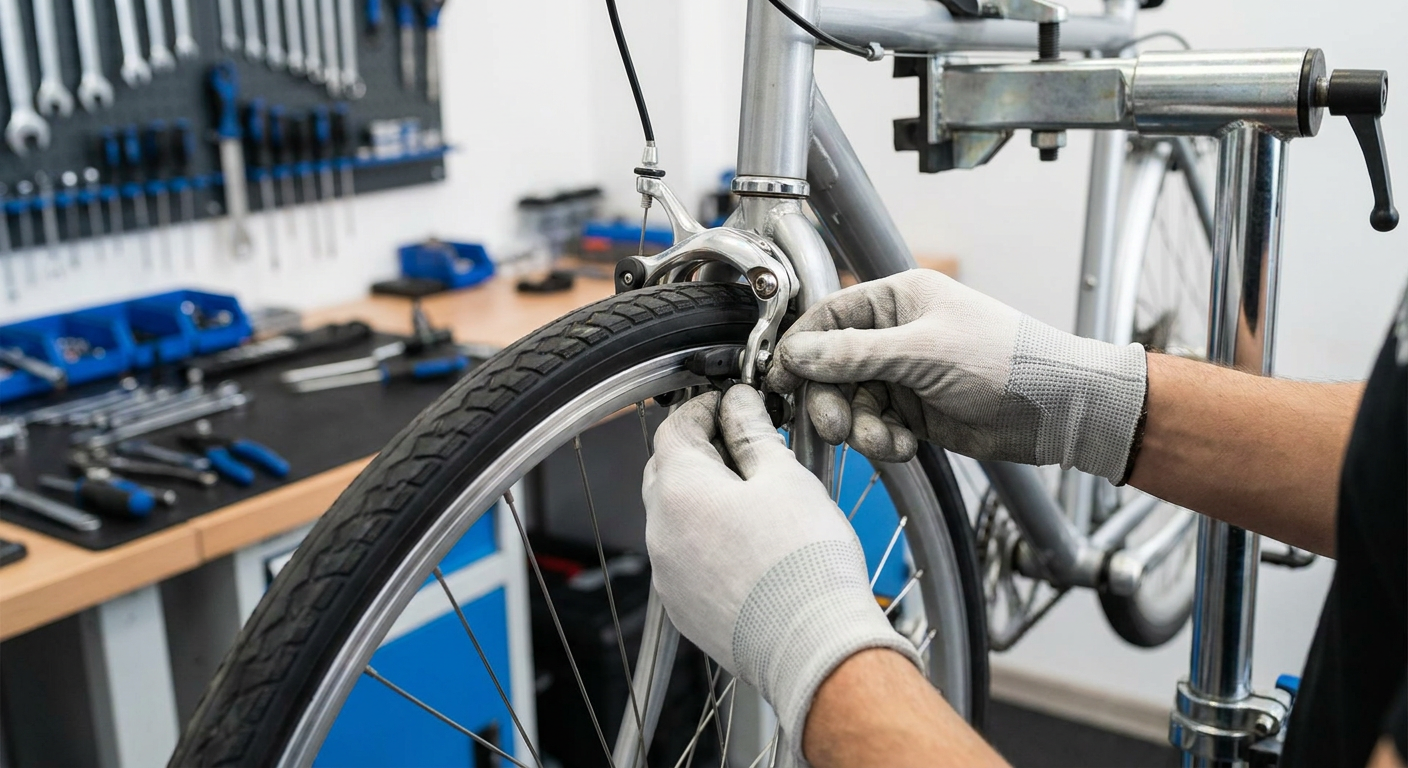 AI illustration
Step 01 / 06
Identify the brake type and inspect it
Place the bicycle securely so it cannot fall while you work. Confirm that the brake pads squeeze the wheel rim, not a disc. Spin the wheel and operate the brake lever while watching both pads. Stop if the cable is frayed, a pad is cracked or worn past its wear line, the rim is damaged, or any brake part is loose or bent.
1. Identify the brake type and inspect it
Instructional illustration generated with AI for Howmigo. Place the bicycle securely so it cannot fall while you work. Confirm that the brake pads squeeze the wheel rim, not a disc. Spin the wheel and operate the brake lever while watching both pads. Stop if the cable is frayed, a pad is cracked or worn past its wear line, the rim is damaged, or any brake part is loose or bent.
2. Check the brake pad position
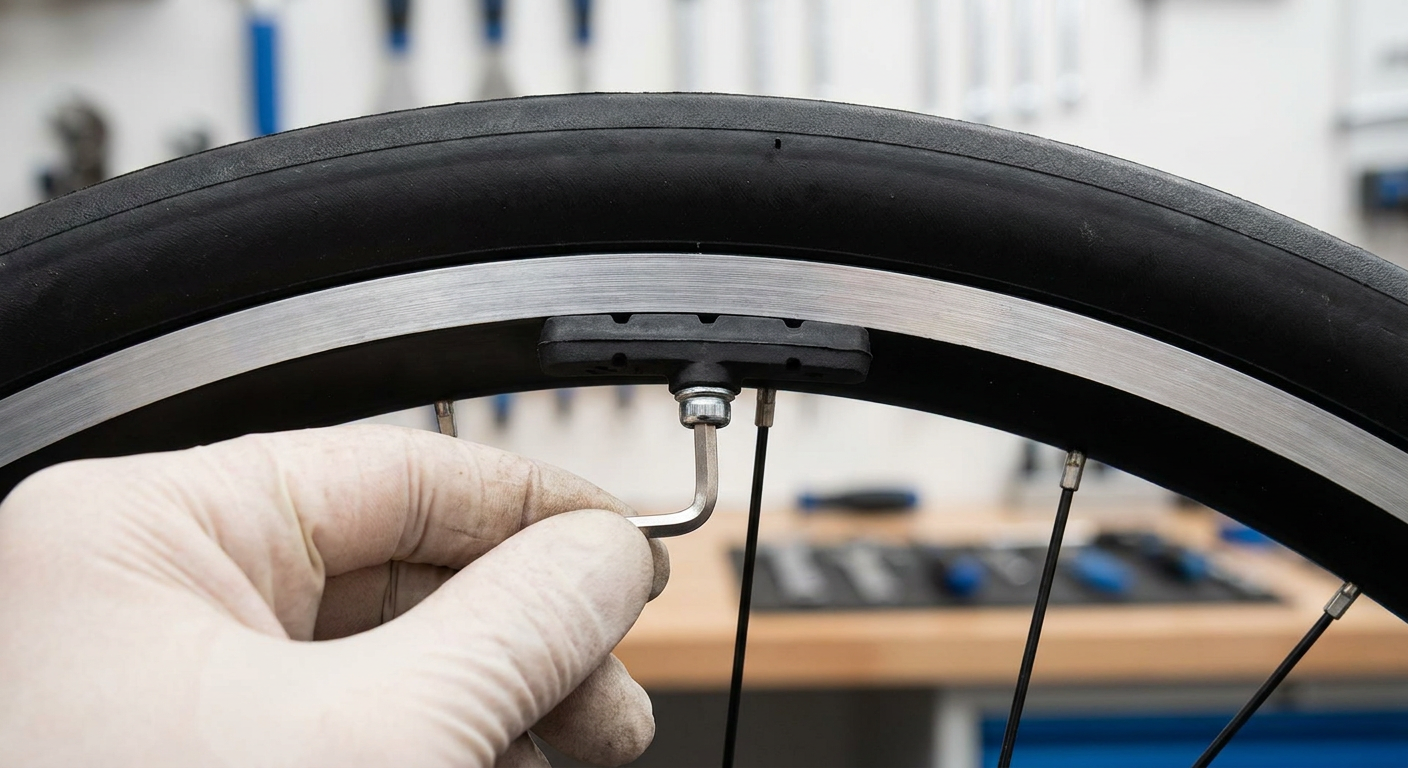
Instructional illustration generated with AI for Howmigo. Look at each pad where it meets the rim. The entire braking surface of the pad should contact the flat braking track without touching the tyre or hanging below the rim. If adjustment is needed, loosen the pad fixing bolt just enough to move the pad, align it with the braking track, then tighten it securely while holding the pad in position.
3. Centre the brake
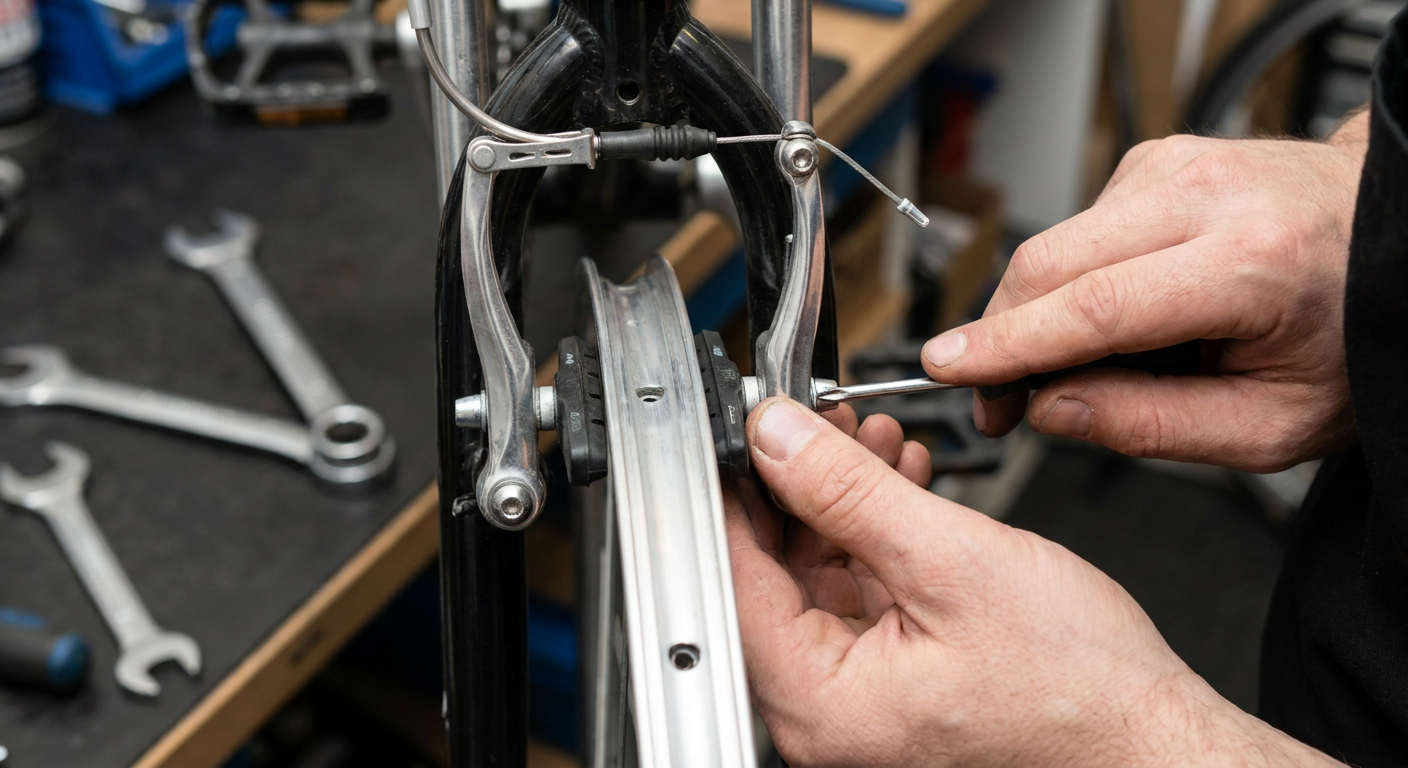
Instructional illustration generated with AI for Howmigo. Spin the wheel and compare the gap between each pad and the rim. For a V-brake, use the small spring-tension screws near the brake arms: tighten the screw on the side that sits too close to the rim or loosen the opposite side in small increments. For a caliper brake, use its centring adjustment if fitted. Aim for an even gap on both sides without pad rub.
4. Set the cable tension
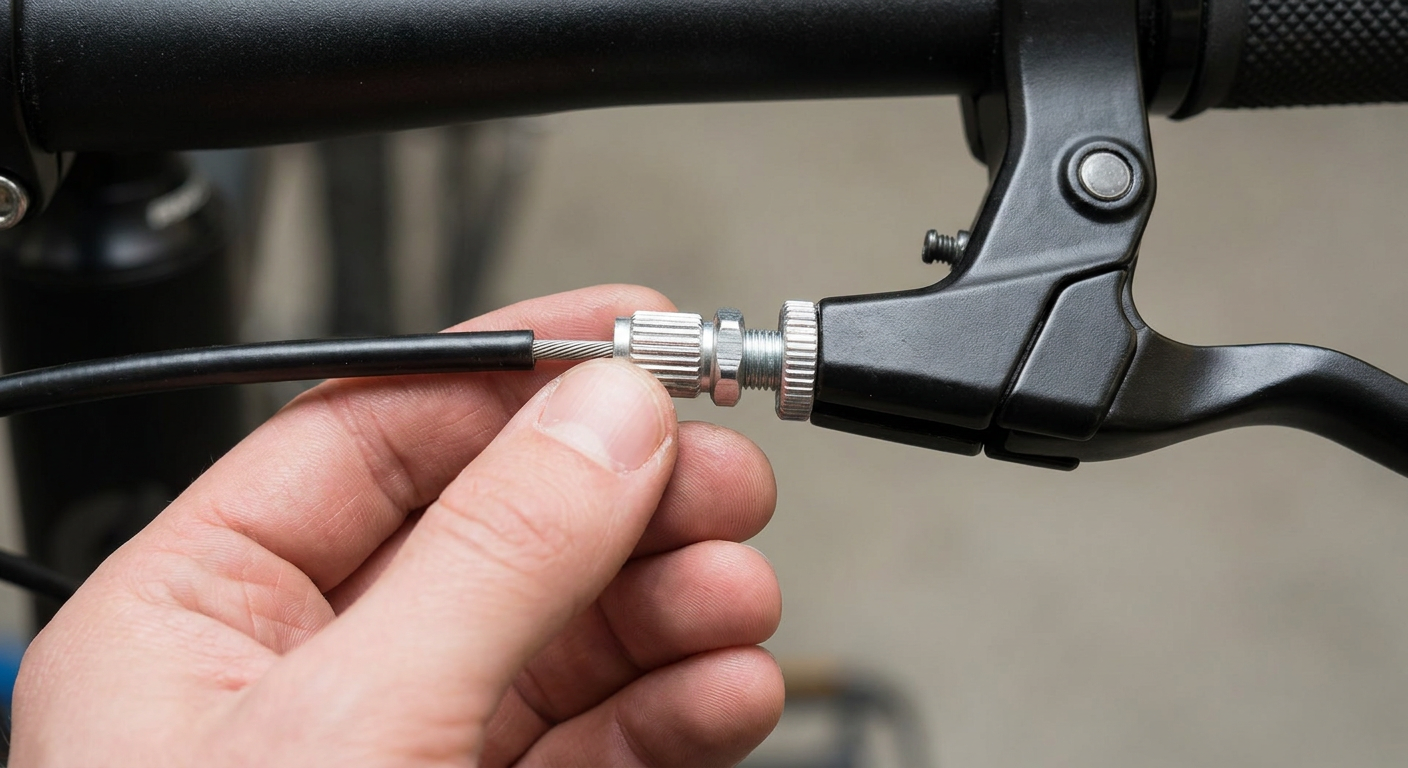
Instructional illustration generated with AI for Howmigo. Squeeze the brake lever and assess how far it travels before the pads firmly grip the rim. Use the barrel adjuster at the lever or brake to make small changes: turning it outward increases cable tension and moves the pads closer to the rim. Keep enough clearance that the wheel spins freely. If the barrel adjuster cannot provide enough adjustment, the cable may need to be reset at its anchor bolt.
5. Reset the cable if necessary
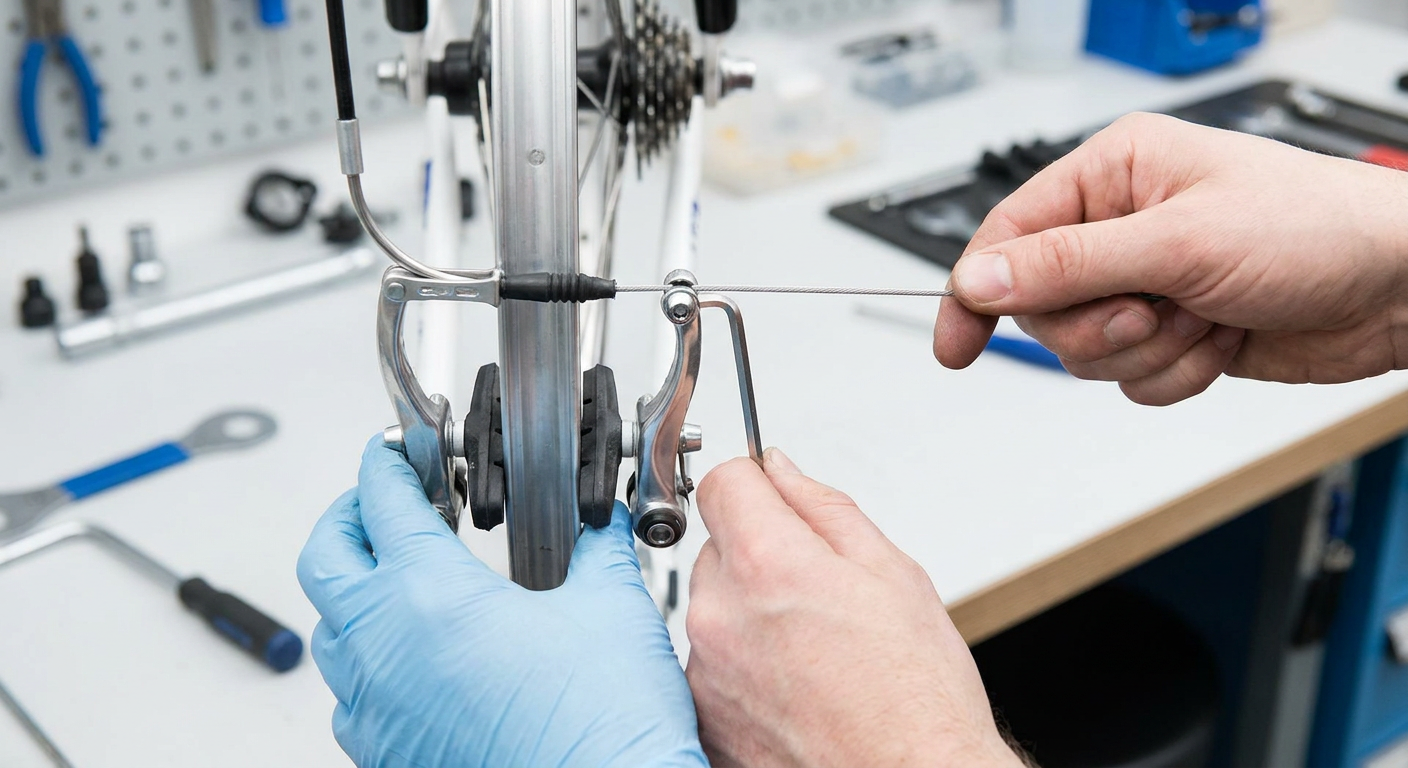
Instructional illustration generated with AI for Howmigo. Only do this if normal barrel adjustment is insufficient. Turn the barrel adjuster most of the way back in so future adjustment remains available. Hold the brake arms so the pads sit close to, but do not touch, the rim. Loosen the cable anchor bolt, pull the cable through to remove excess slack, then tighten the anchor bolt securely. Do not continue if the cable is damaged or frayed.
6. Test the brake before riding
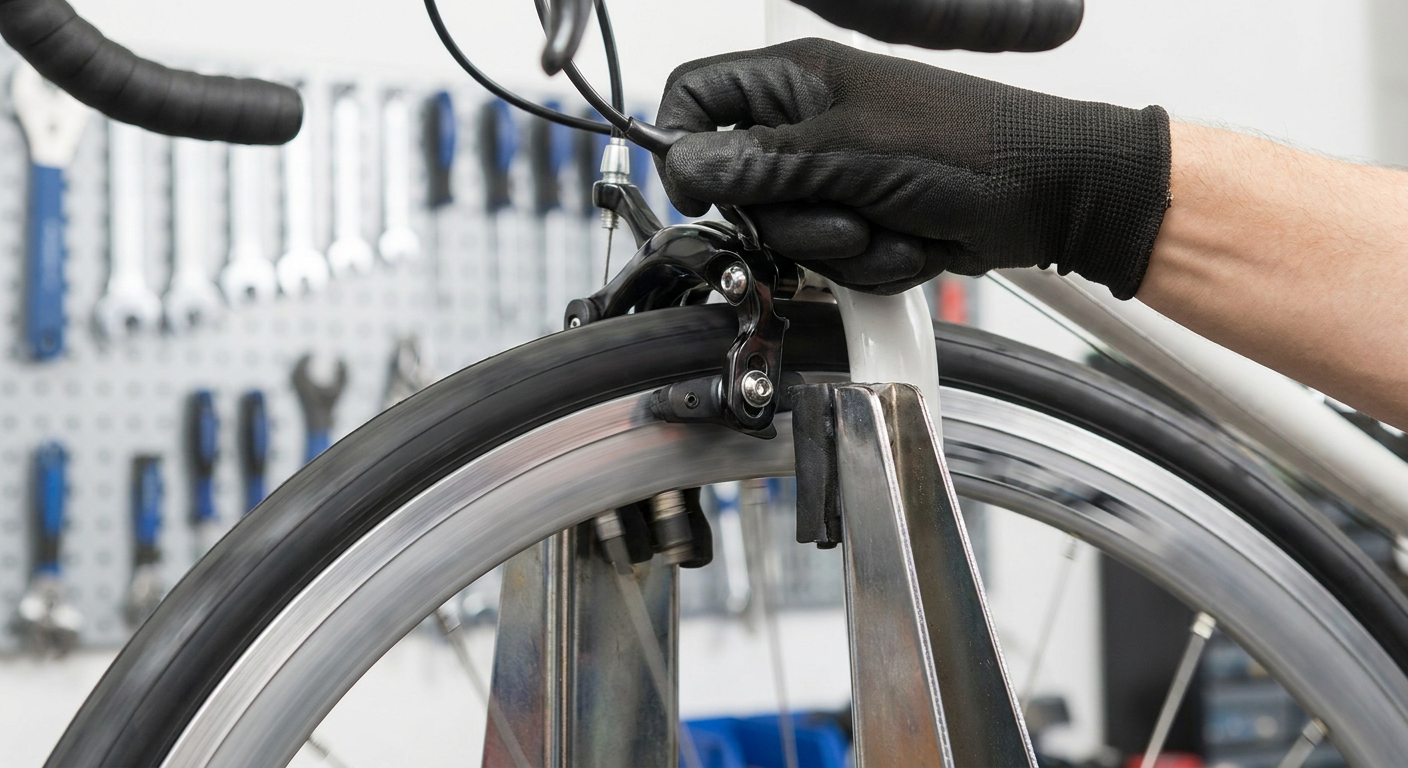
Instructional illustration generated with AI for Howmigo. Spin the wheel and confirm it rotates freely without continuous rubbing. Squeeze the brake lever firmly several times and check that both pads contact the rim correctly and all bolts remain secure. The lever must not pull all the way to the handlebar. Perform a slow walking-speed brake test in a safe area before riding normally. If braking is still weak or inconsistent, have the bicycle inspected professionally.
Common questions & troubleshooting
Did this guide help you?
Was this guide useful?
Discussion
No comments yet
Ask a question, share a tip, or reply to someone else.
Sign in to commentLoading comments…