
How to Grow Microgreens on a Windowsill
Grow a small tray of radish microgreens from seed to harvest on a bright windowsill. Allow about 20 minutes to set up, brief daily care and roughly 7–21 days to harvest, depending on the seed and conditions.
Updated
What you need
Tick off what you already have.
Tools
Materials
 AI illustration
Step 01 / 05
Prepare a clean tray and growing mix
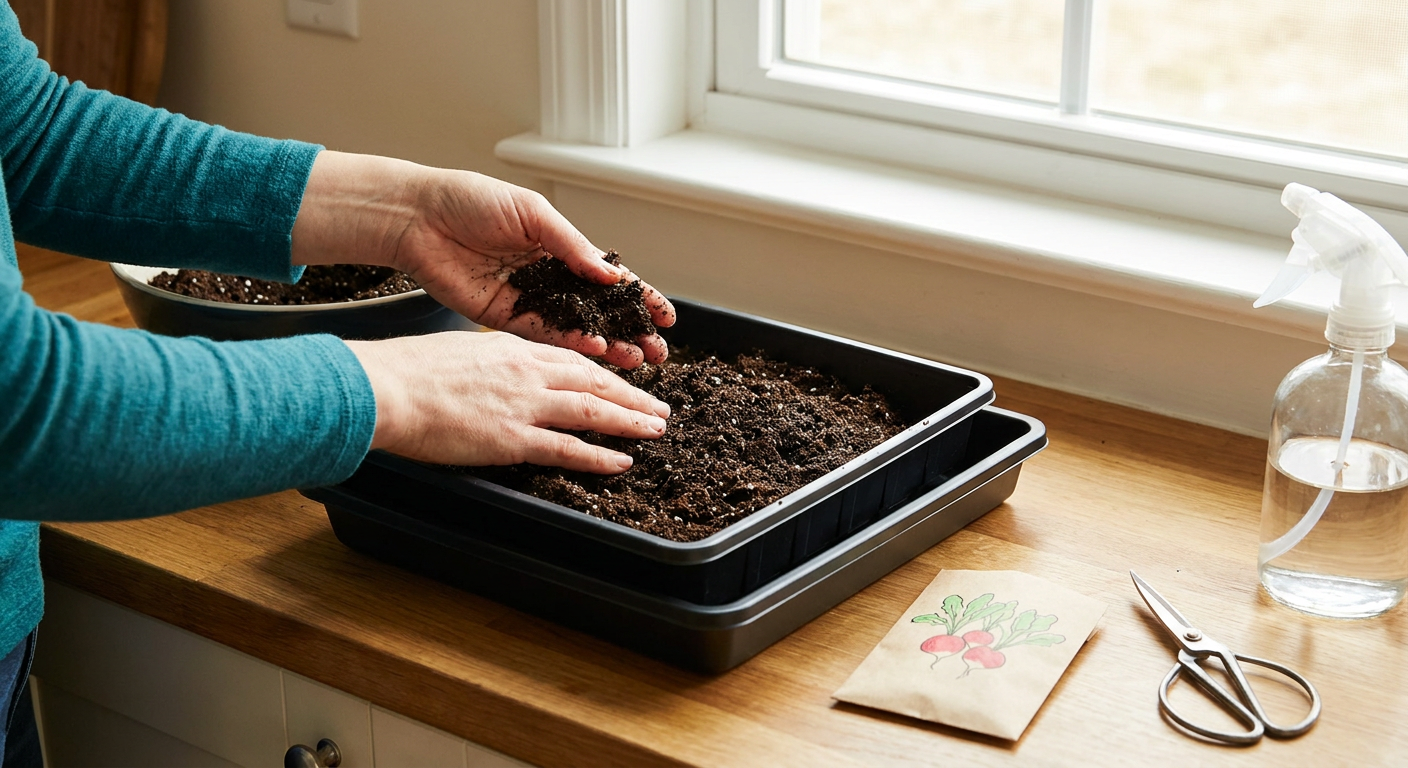
Wash your hands, tray and tools, then rinse well. Set the draining tray inside the catch tray. Add fresh seed-starting mix to a depth of 2.5 cm (1 in). Moisten it evenly so it feels damp, not dripping, and level the surface without packing it down. Use untreated radish seeds intended for microgreens, not chemically treated garden seed. Do not use garden soil or add fertiliser.
1. Prepare a clean tray and growing mix
Instructional illustration generated with AI for Howmigo. Wash your hands, tray and tools, then rinse well. Set the draining tray inside the catch tray. Add fresh seed-starting mix to a depth of 2.5 cm (1 in). Moisten it evenly so it feels damp, not dripping, and level the surface without packing it down. Use untreated radish seeds intended for microgreens, not chemically treated garden seed. Do not use garden soil or add fertiliser.
2. Sow the radish seeds evenly
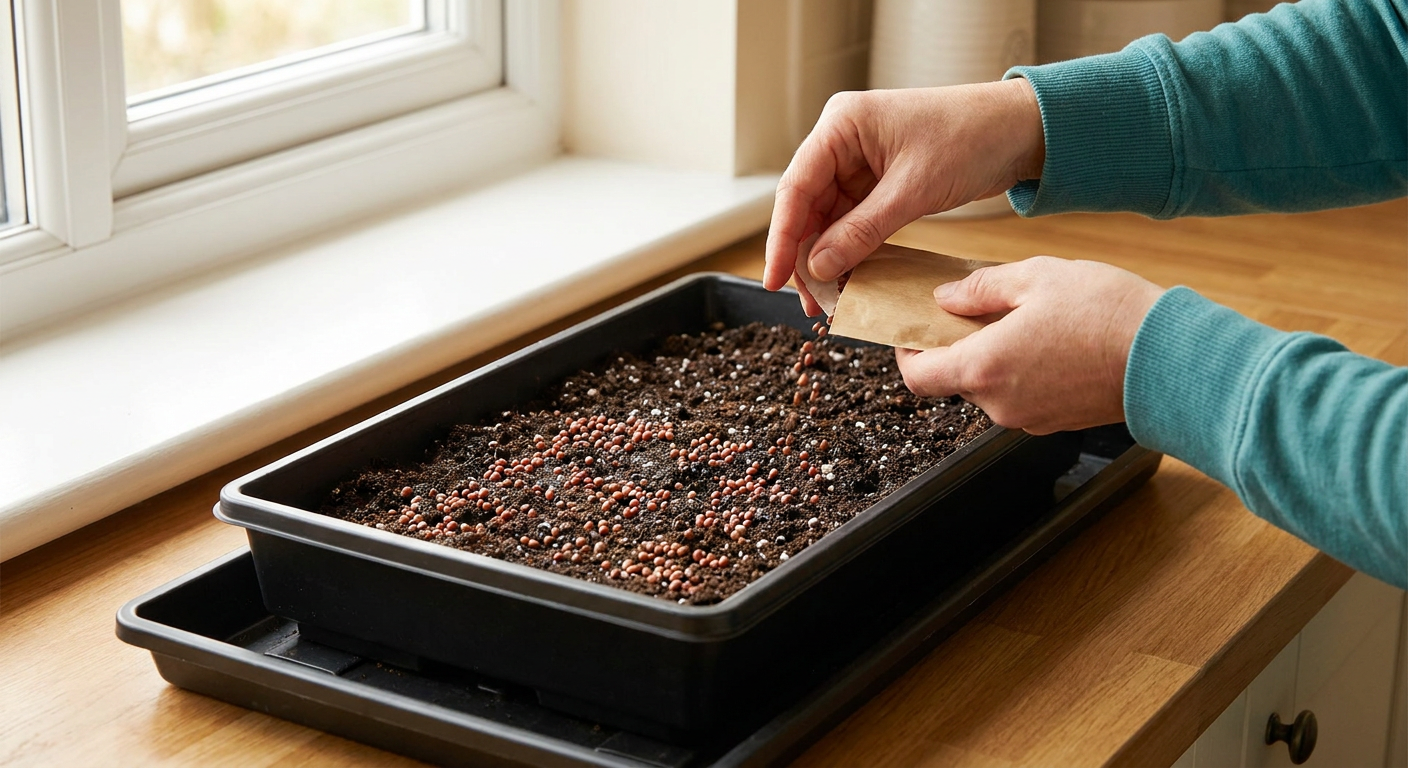
Instructional illustration generated with AI for Howmigo. Follow the seed packet's rate for your tray area. Scatter seeds evenly in a single layer without piles, press them gently onto the damp mix and mist lightly. Radish seeds usually need no soaking; follow the packet if it specifies otherwise. Cover with a clean loose lid or spare tray for germination, following any packet instructions on covering depth. Label with the sowing date.
3. Keep moist until the seeds sprout
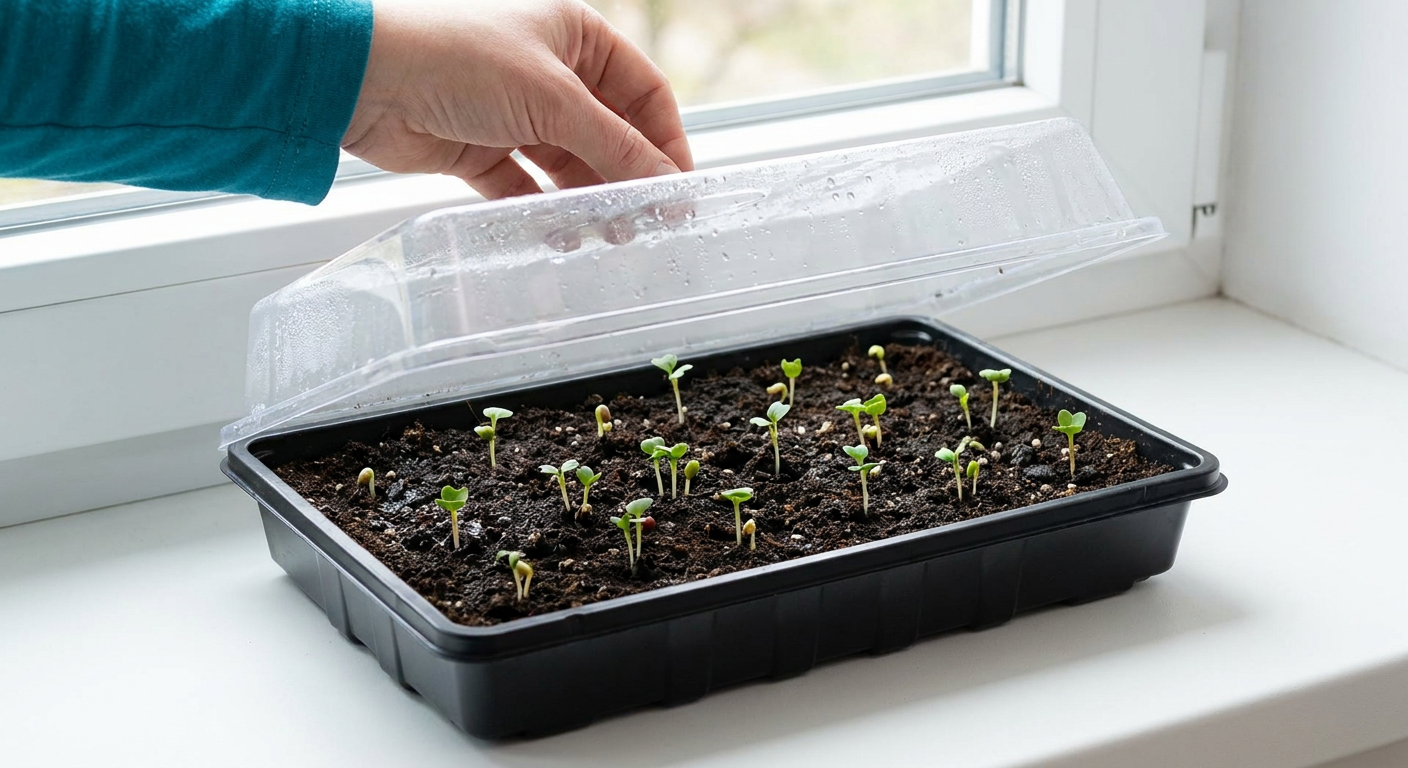
Instructional illustration generated with AI for Howmigo. Keep the tray around 21–24 °C (70–75 °F), away from radiators and hot direct sun. Check daily and lift the cover to let fresh air in. Mist only when the surface begins to dry; never leave it waterlogged. Remove the cover once seedlings emerge, usually after a few days. If you see spreading mould, smell decay or find slimy seedlings, discard the whole batch and clean the equipment.
4. Give light and water from below
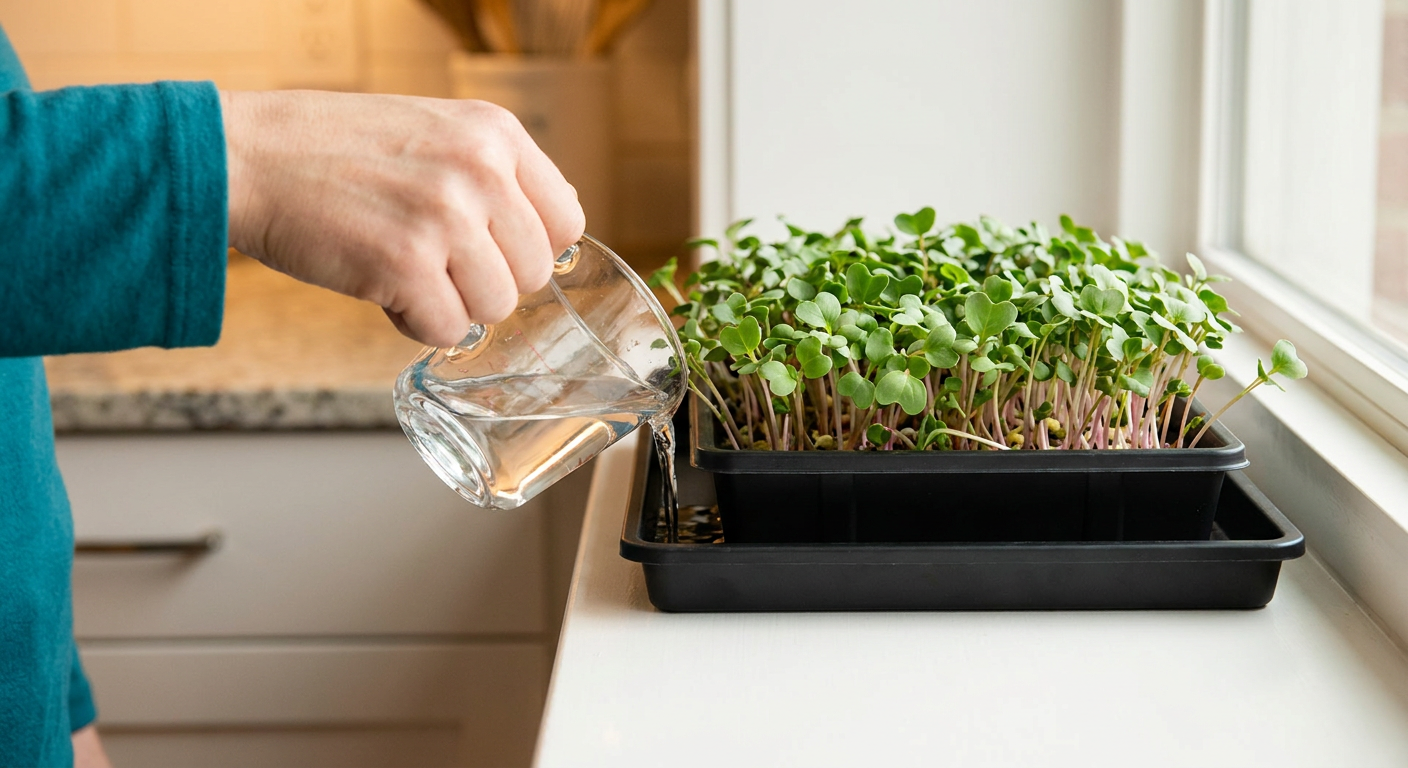
Instructional illustration generated with AI for Howmigo. Place the uncovered tray on a bright windowsill without overheating it. Rotate it daily for even growth. If seedlings become pale and stretched, add a grow light for about 16 hours a day, at the maker's recommended distance. When the mix starts to dry, add a little water to the catch tray; let it soak upward until the surface is damp, then pour off the excess. Keep leaves dry and allow airflow.
5. Harvest, rinse and start a fresh batch
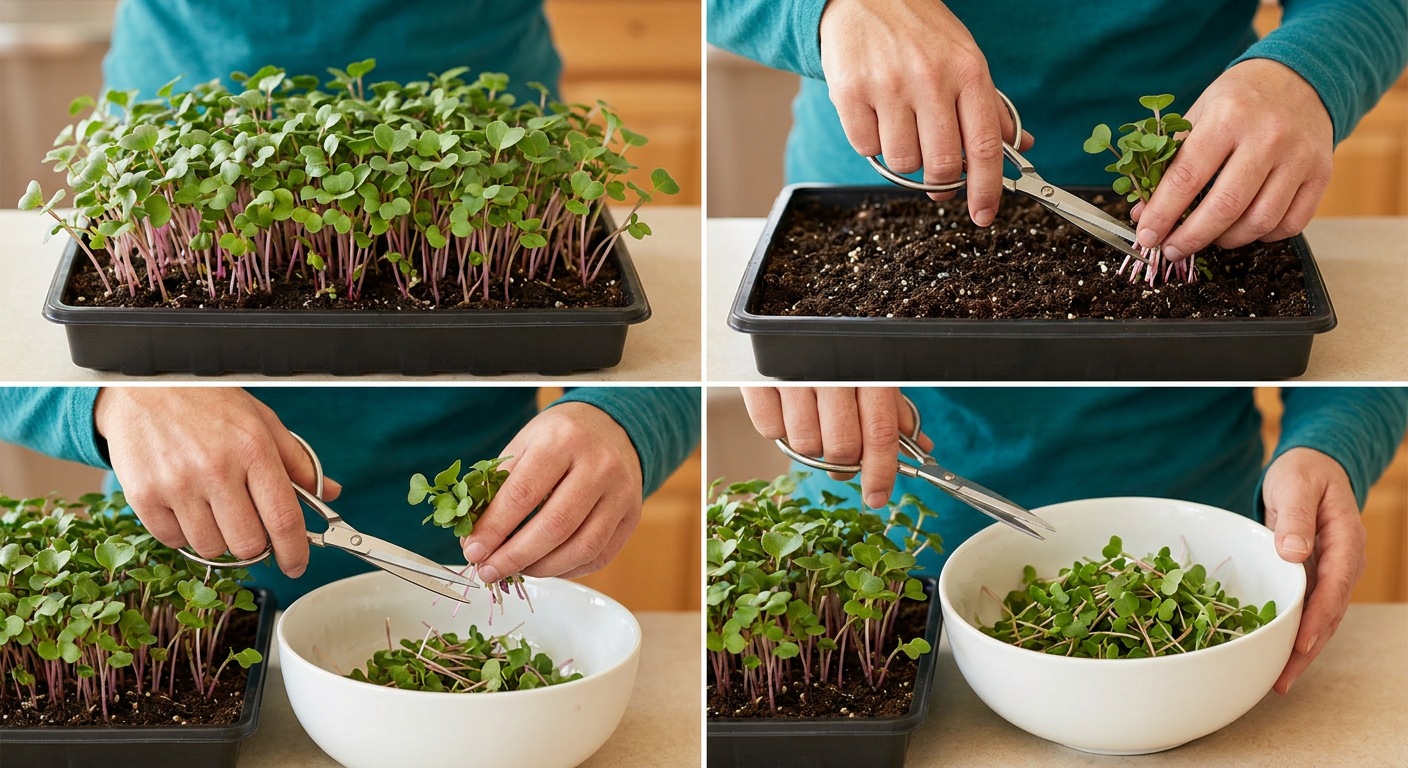
Instructional illustration generated with AI for Howmigo. Harvest when the seed leaves have opened and the first true leaves start appearing, often 7–21 days after sowing; follow the packet and plant development. Wash hands and scissors, then cut stems just above the mix without taking roots or soil. Rinse the cut greens under cool running drinking-quality water, pat dry and eat promptly or refrigerate at 4 °C (40 °F) or below. Discard slimy, mouldy or foul-smelling greens. For the next crop, clean the trays and use fresh mix and seed.
Common questions & troubleshooting
Did this guide help you?
Was this guide useful?
Discussion
No comments yet
Ask a question, share a tip, or reply to someone else.
Sign in to commentLoading comments…