
How to Check and Adjust Car Tyre Pressure
Learn to find the correct cold tyre pressures, measure each tyre and add or release air using a gauge and pump. If the car also has a flat 12-volt battery, follow our guide to jump-starting a car safely.
Updated
What you need
Tick off what you already have.
Tools
 AI illustration
Step 01 / 08
Prepare your equipment and let the tyres cool
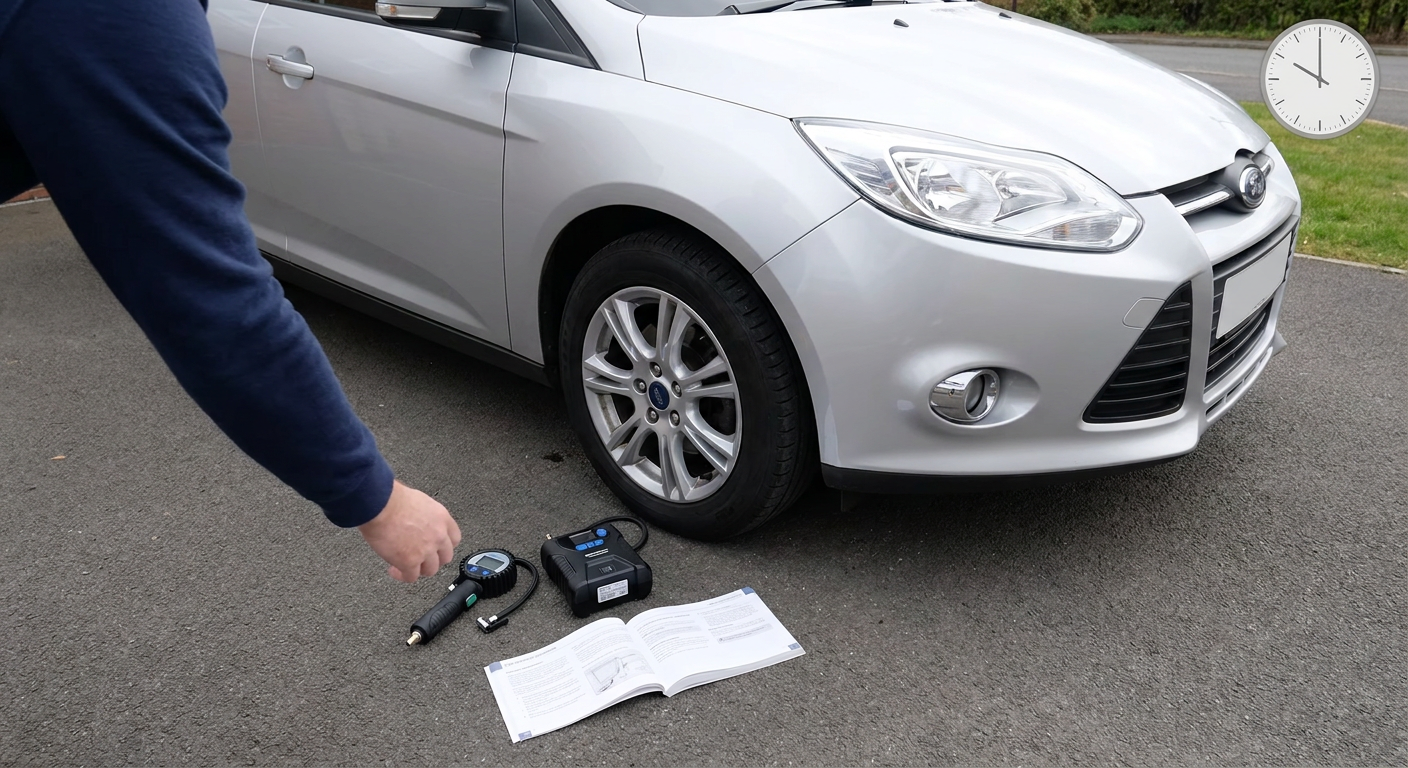
Gather an accurate tyre pressure gauge, a compatible air pump or compressor, and your car's handbook. Park on level ground away from traffic, apply the parking brake and switch off the engine. Check before driving, ideally after the car has stood for at least three hours. Follow the pump's operating instructions.
1. Prepare your equipment and let the tyres cool
Instructional illustration generated with AI for Howmigo. Gather an accurate tyre pressure gauge, a compatible air pump or compressor, and your car's handbook. Park on level ground away from traffic, apply the parking brake and switch off the engine. Check before driving, ideally after the car has stood for at least three hours. Follow the pump's operating instructions.
2. Find your car's recommended pressures
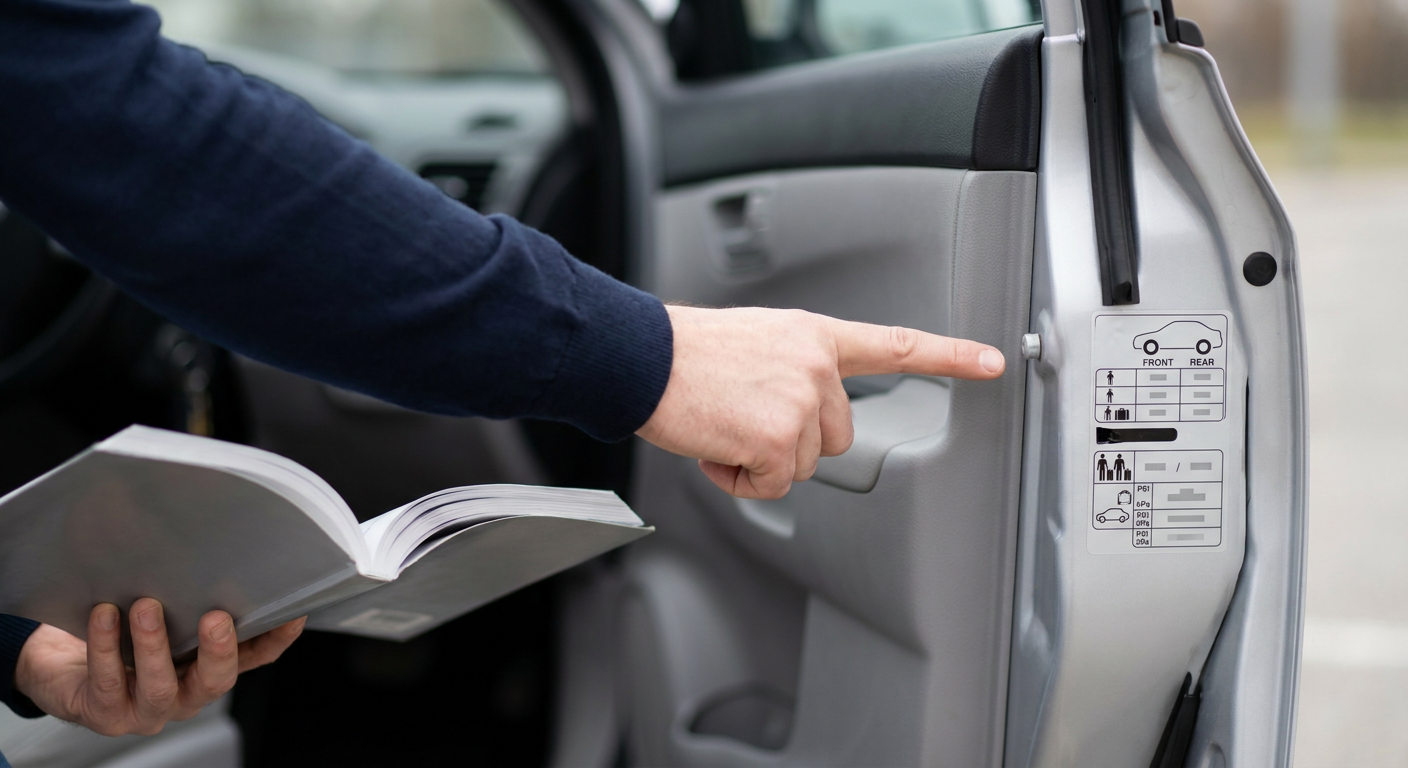
Instructional illustration generated with AI for Howmigo. Read the tyre pressure label, usually inside the driver's door opening or fuel flap, or consult the handbook. Choose the values for your fitted tyre size and passenger or luggage load. Front and rear pressures may differ. Use the same units on the gauge: bar, psi or kPa. The maximum printed on a tyre sidewall is not your car's recommended setting.
3. Inspect the tyre and remove the valve cap
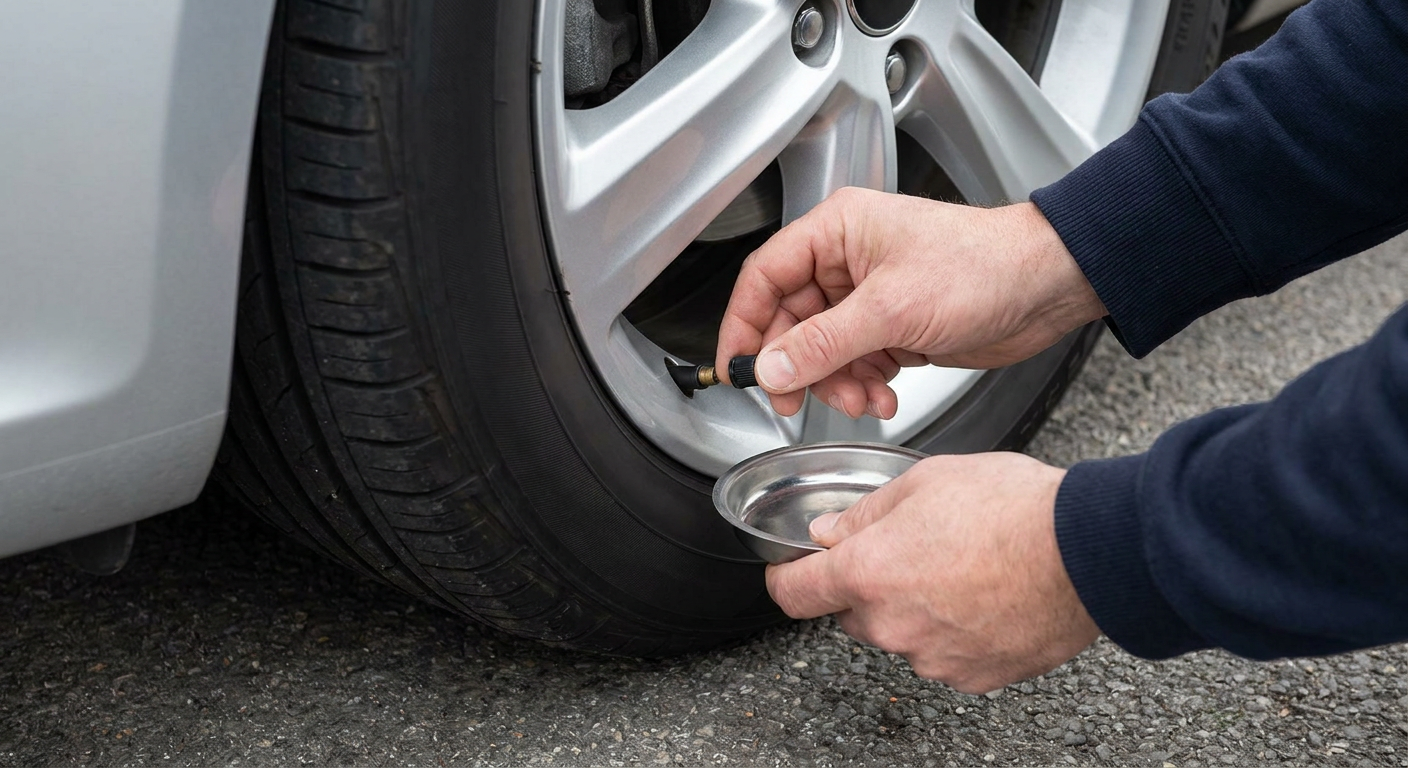
Instructional illustration generated with AI for Howmigo. Look for cuts, bulges or obvious damage. If a tyre is flat, damaged or has been driven while flat, stop and arrange professional help instead of simply reinflating it. Unscrew the small valve cap and keep it somewhere safe. Work on one wheel at a time.
4. Measure the pressure
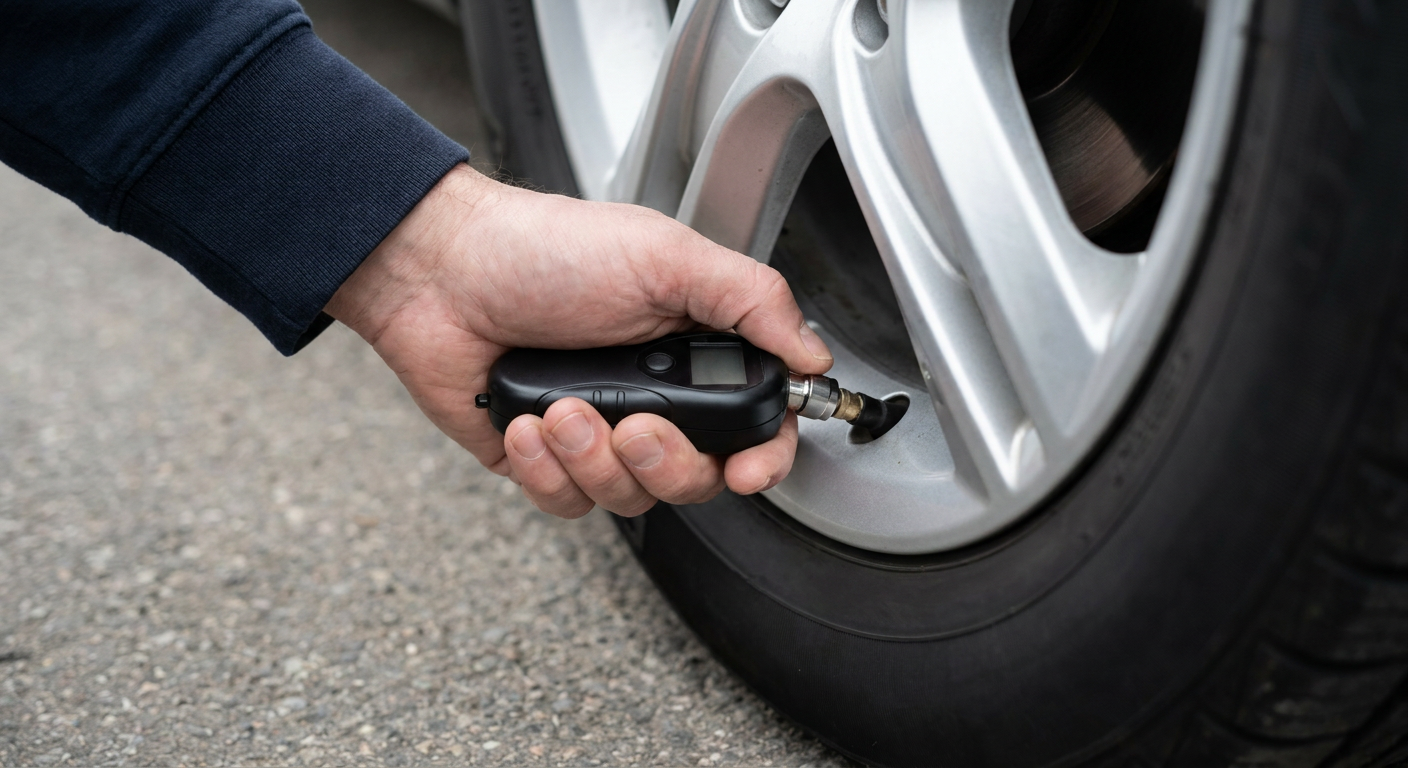
Instructional illustration generated with AI for Howmigo. Press the gauge straight onto the valve to make a firm seal. A brief hiss during attachment is normal; persistent hissing means you should reseat it. Read the pressure and compare it with the correct cold value for this wheel. Take another reading if the result seems inconsistent.
5. Add air if the pressure is low
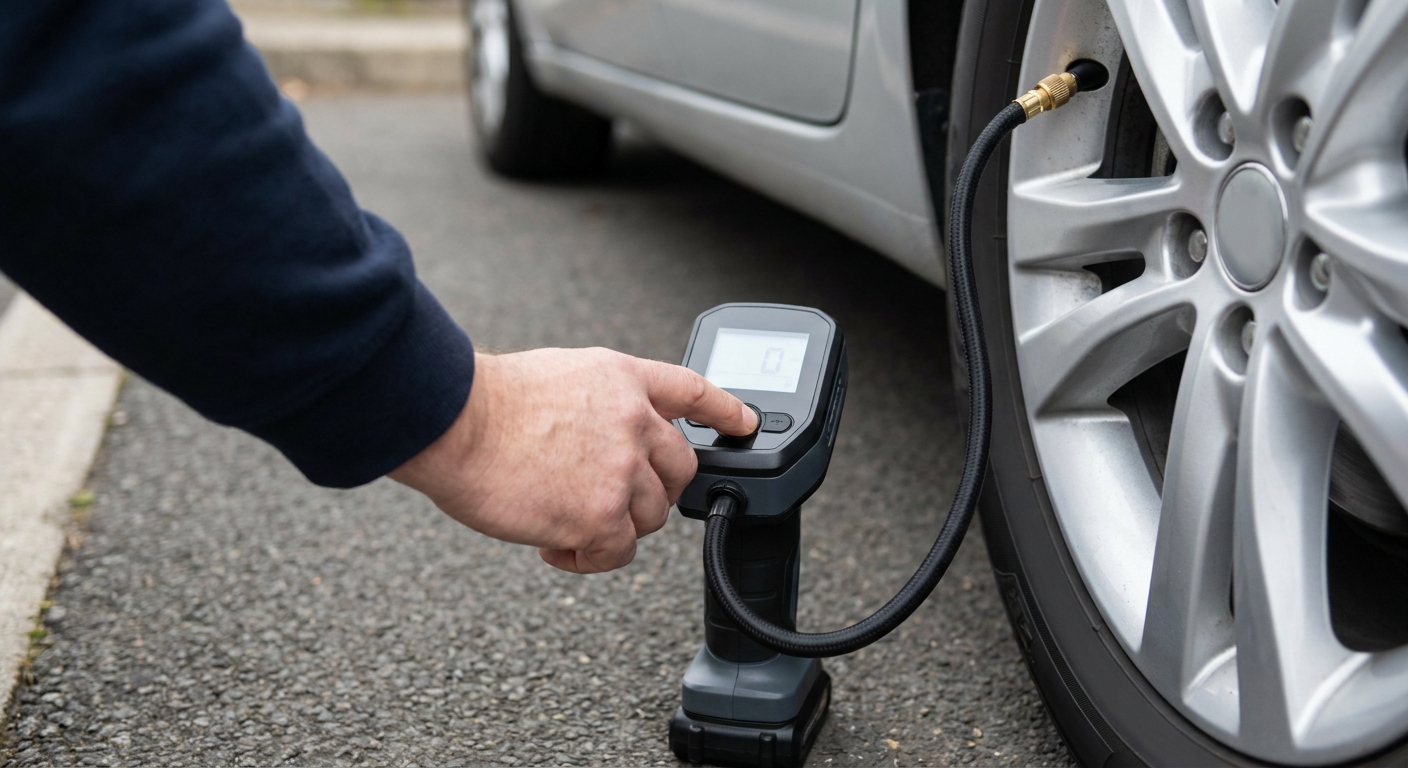
Instructional illustration generated with AI for Howmigo. Attach the pump connector securely to the valve. For an automatic pump, select the correct unit and target pressure, then follow its instructions. For a manual inflator, add air in short bursts and check between bursts with airflow stopped. Stop at the recommended pressure. Disconnect as instructed by the pump manufacturer.
6. Release a little air only if a cold tyre is overinflated
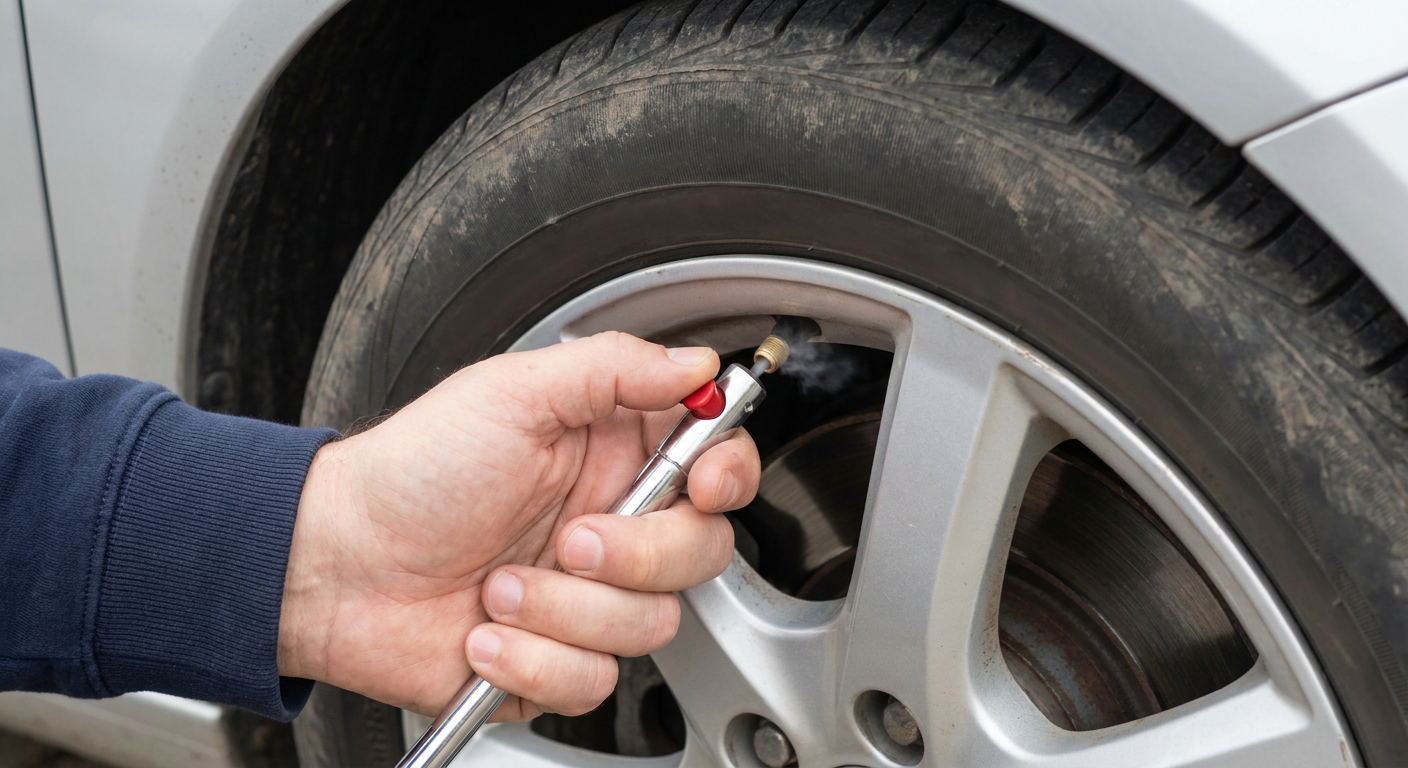
Instructional illustration generated with AI for Howmigo. If the cold reading is above the recommended value, use the gauge or inflator's bleed control to release a small amount of air, then measure again. Repeat as needed. Skip this step if the pressure is correct. Never bleed a warm tyre down to the cold target; let it cool and recheck.
7. Recheck and replace the valve cap
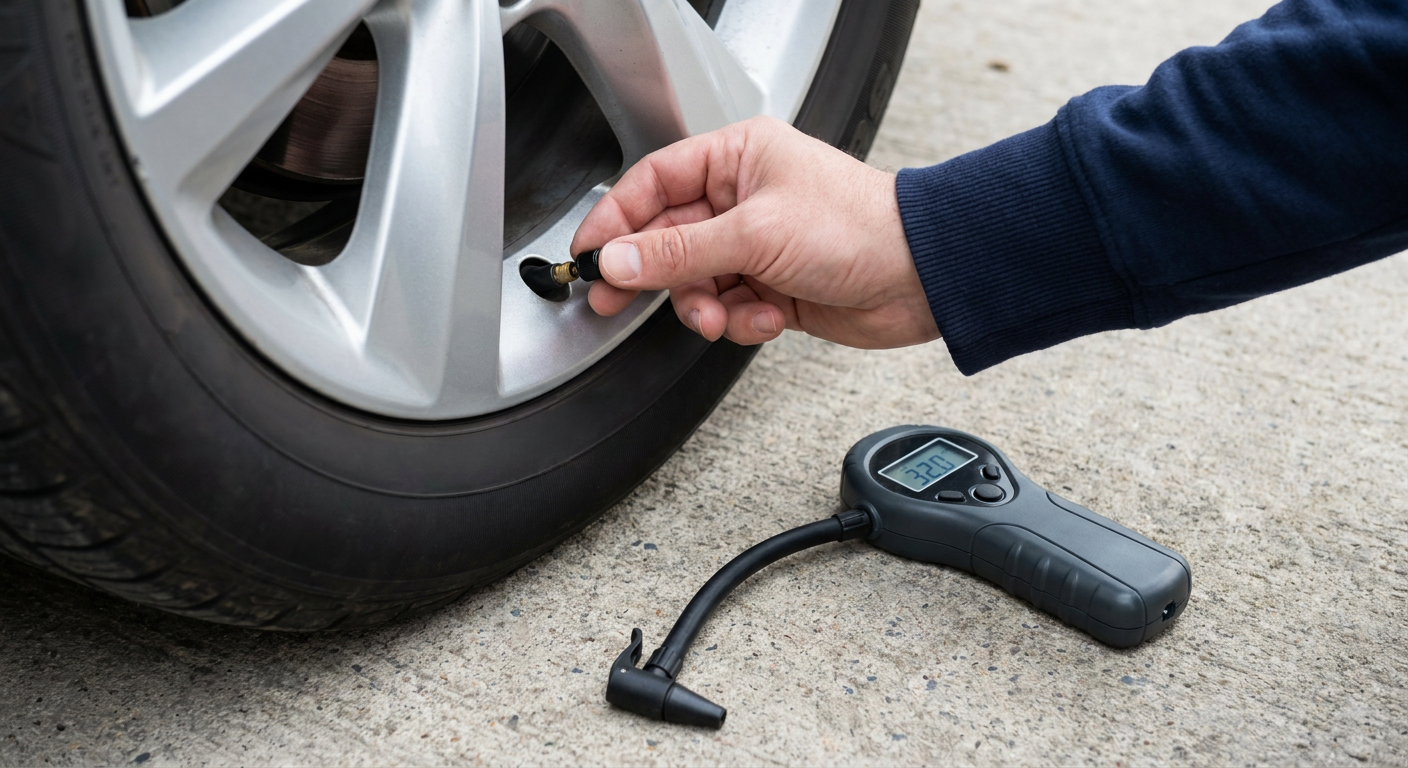
Instructional illustration generated with AI for Howmigo. With the pump disconnected, confirm the pressure using your gauge. Correct it if necessary, then screw the valve cap back on finger-tight. If pressure keeps dropping or air continues to hiss from the valve, have the tyre and valve checked.
8. Check the remaining tyres and finish
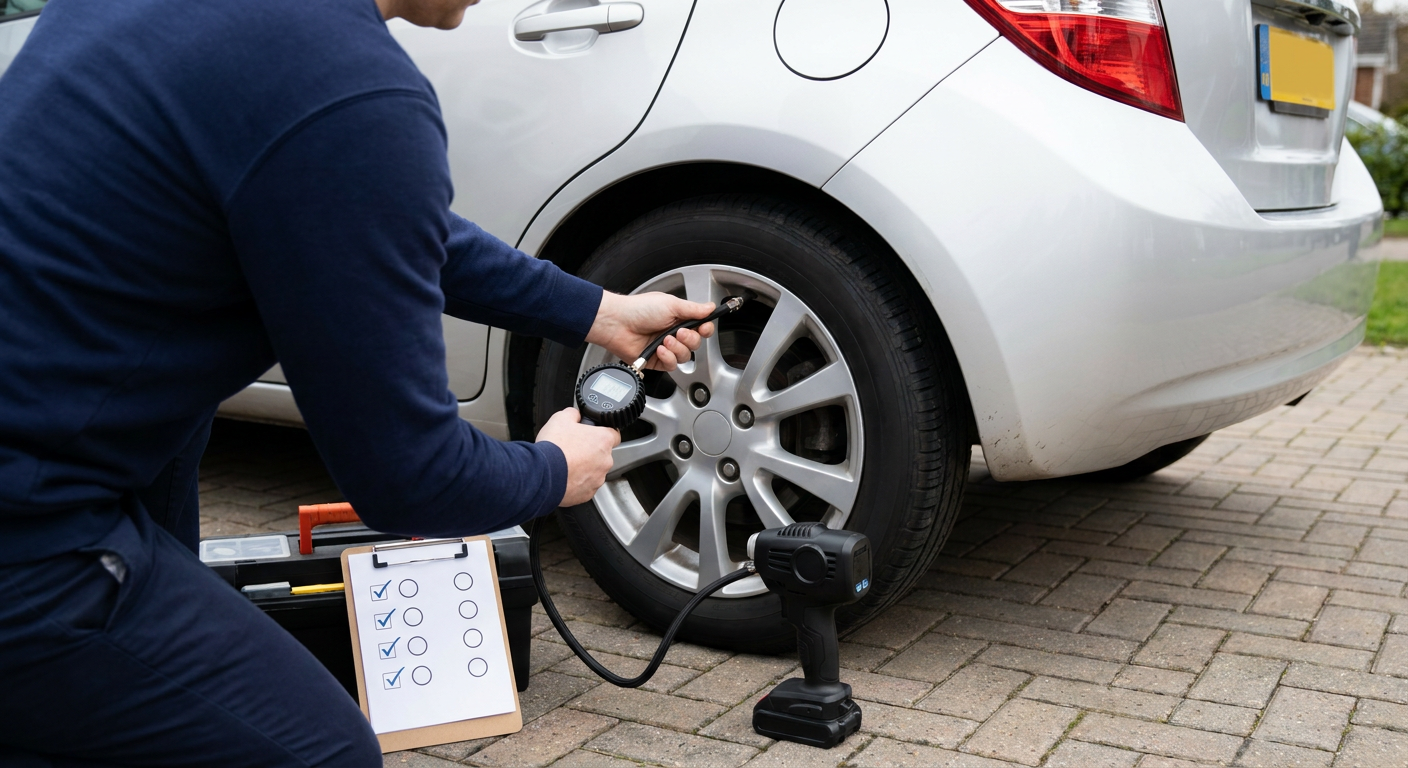
Instructional illustration generated with AI for Howmigo. Repeat for the other three wheels, using the correct front and rear settings. Check the spare, if fitted, against its own specified pressure. After all pressures are correct, follow the handbook's TPMS reset or calibration procedure only if required. Investigate a warning that persists or returns. Put equipment away and check pressures monthly and before long journeys.
Did this guide help you?
Was this guide useful?
Discussion
No comments yet
Ask a question, share a tip, or reply to someone else.
Sign in to commentLoading comments…