
Jump-start a car with a dead 12-volt battery — connect and disconnect jumper cables
Prepare the cars, connect the jumper cables, start the engine, and disconnect each cable in the correct order. For conventional gasoline and diesel cars with 12-volt, negative-ground systems; always follow both vehicles’ owner’s manuals first. For another useful pre-drive check, see how to check and adjust car tyre pressure.
Updated
What you need
Tick off what you already have.
Tools
 AI illustration
Step 01 / 16
Check that jump-starting is allowed
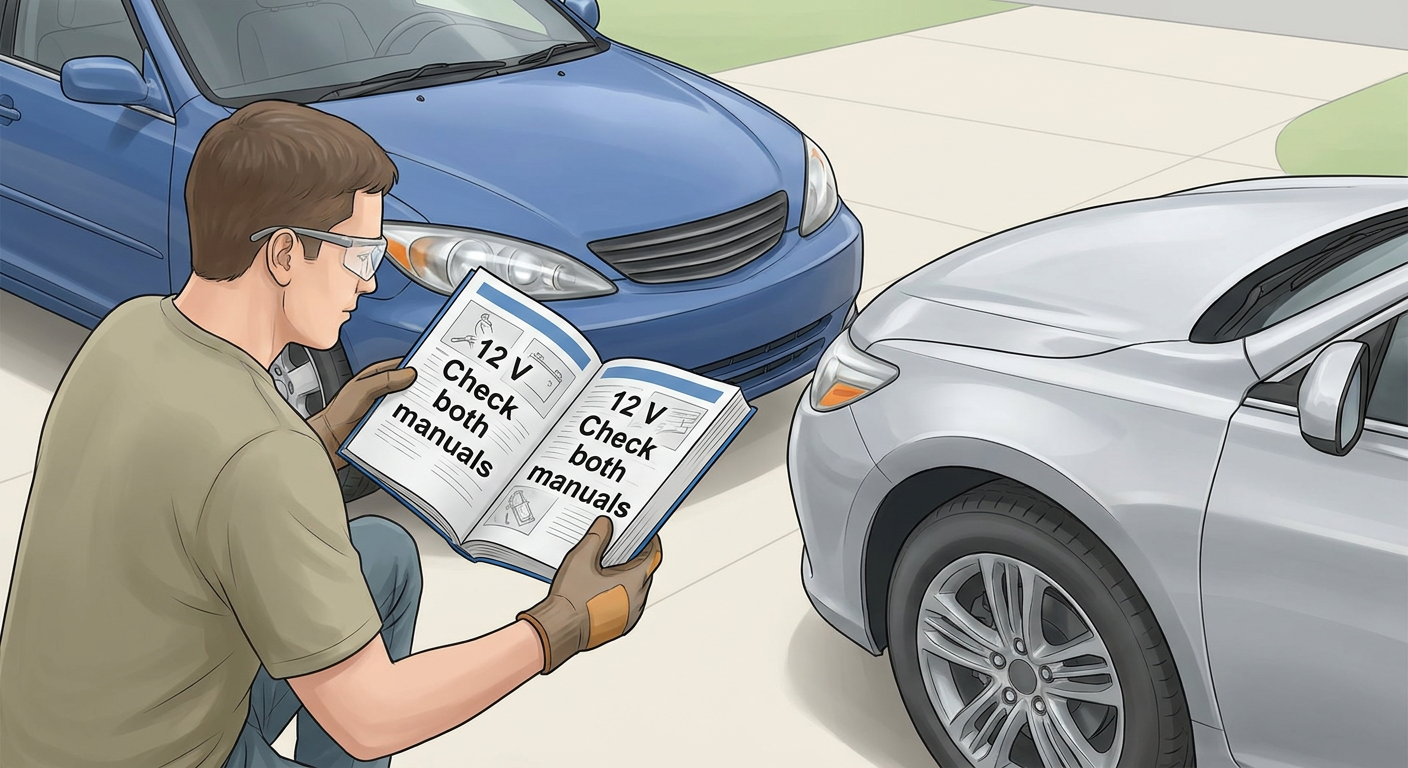
Read the jump-starting instructions in both vehicles’ owner’s manuals. Both must use 12-volt systems, and the assisting car must be approved for supplying a jump-start. Electric and hybrid vehicles require model-specific instructions. Never touch high-voltage components or orange cables. In this guide, the car with the discharged battery is called the disabled car.
1. Check that jump-starting is allowed
Instructional illustration generated with AI for Howmigo. Read the jump-starting instructions in both vehicles’ owner’s manuals. Both must use 12-volt systems, and the assisting car must be approved for supplying a jump-start. Electric and hybrid vehicles require model-specific instructions. Never touch high-voltage components or orange cables. In this guide, the car with the discharged battery is called the disabled car.
2. Check the battery and equipment
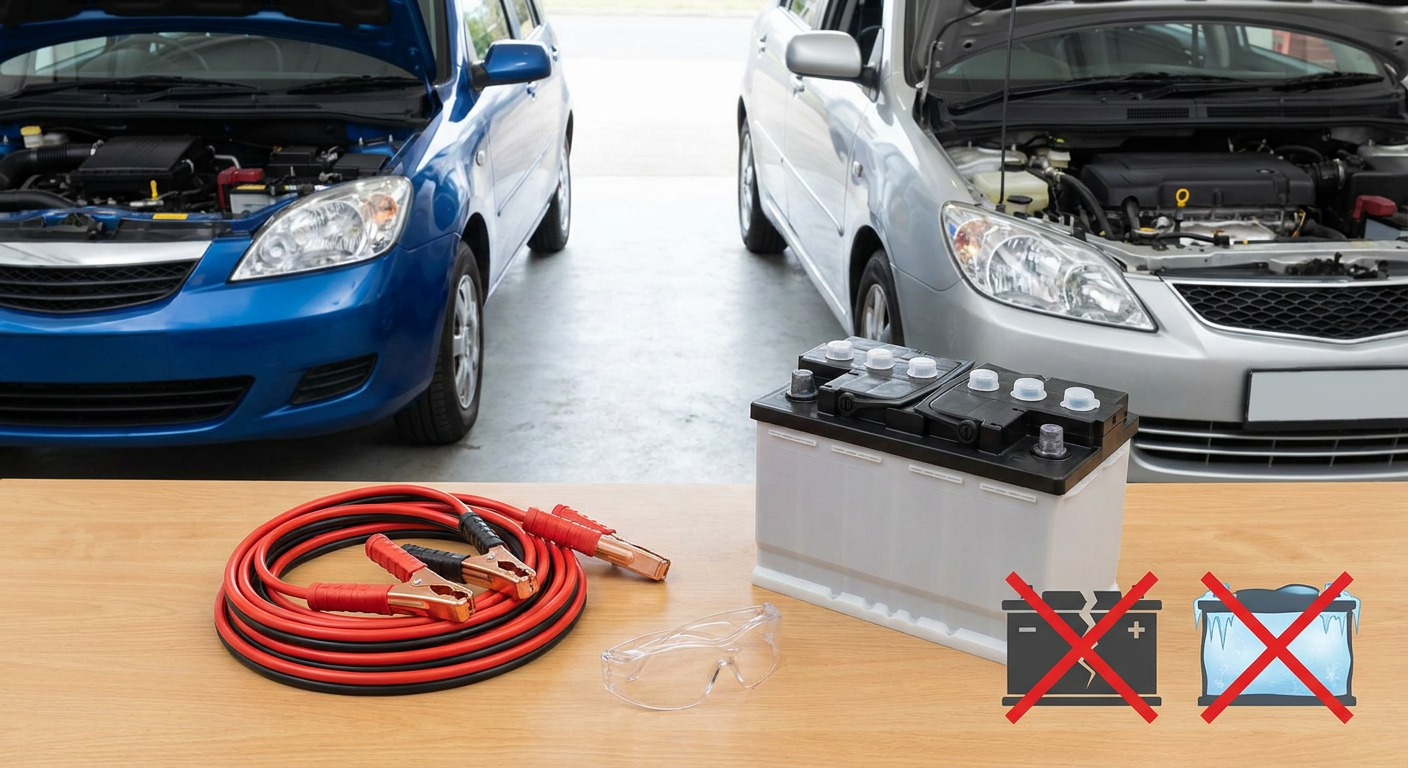
Instructional illustration generated with AI for Howmigo. You need a suitable assisting car, undamaged jumper cables rated for your vehicle, and safety glasses. Do not attempt to jump-start a frozen, cracked, swollen, or leaking battery. Keep cigarettes, flames, and sparks away. Remove metal jewelry. If you find damage or are unsure, contact roadside assistance.
3. Park safely and switch both cars off
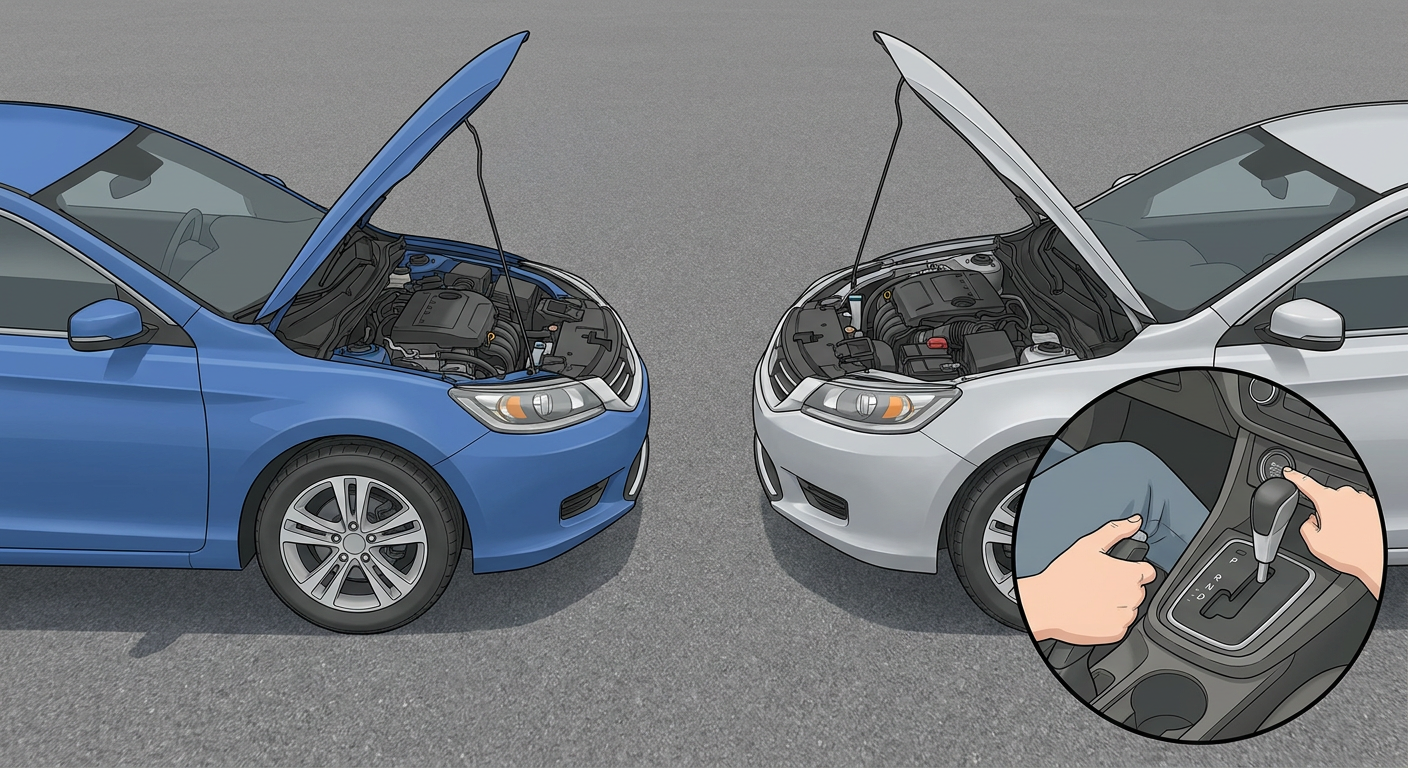
Instructional illustration generated with AI for Howmigo. Park in a safe outdoor location, close enough for the cables to reach but without the cars touching. Select Park or Neutral, apply both parking brakes, and switch off the engines, ignitions, and unnecessary electrical accessories.
4. Locate the correct connection points
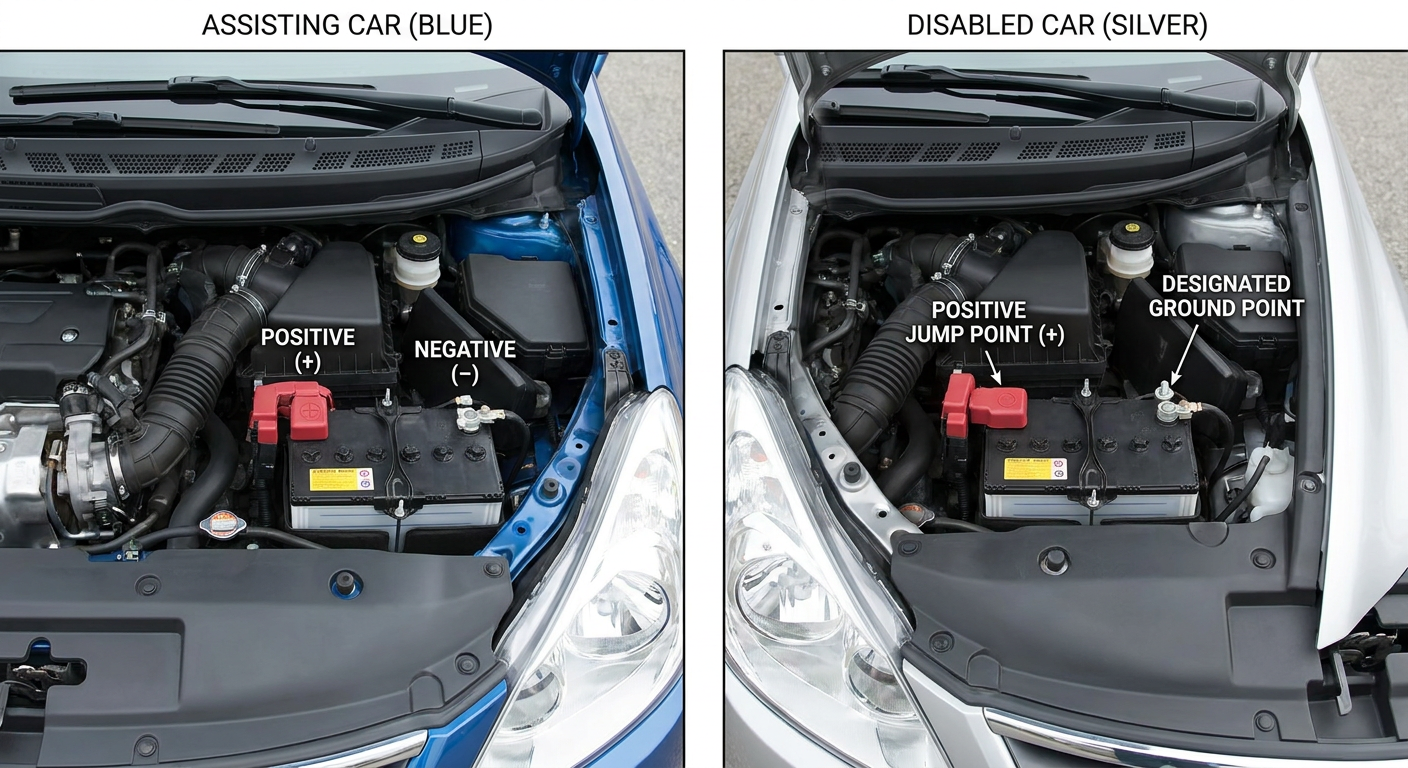
Instructional illustration generated with AI for Howmigo. Use the manuals to identify the positive (+) terminals, the assisting battery’s negative (−) connection, and the disabled car’s designated ground or negative jump-start point. Do not rely on colors alone. Use designated jump-start points where provided. Keep cables clear of fans, belts, and hot parts; cooling fans can start automatically.
5. Red cable: connect to the assisting car’s positive terminal
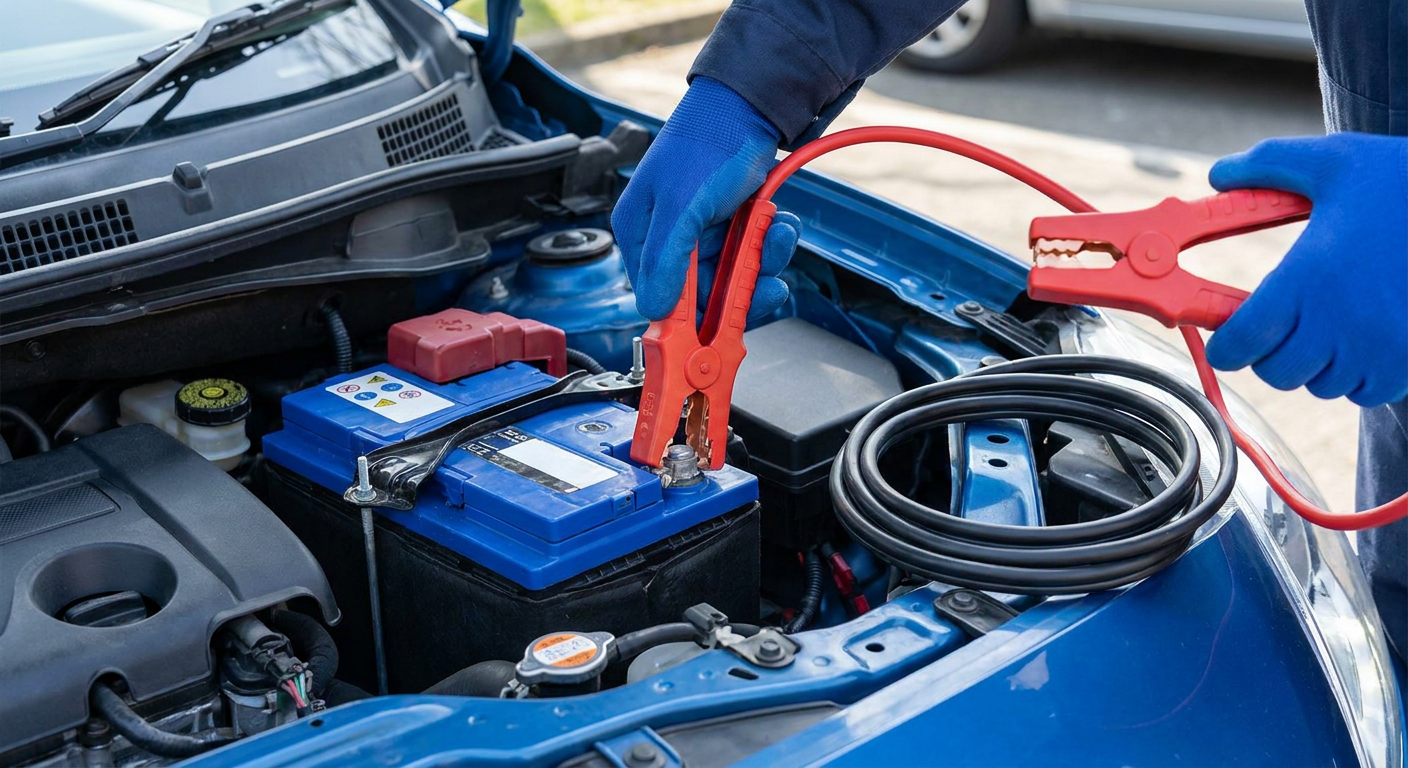
Instructional illustration generated with AI for Howmigo. Attach the first red clamp to the assisting car’s specified positive (+) connection. Keep the loose clamp away from metal and other clamps.
6. Red cable: connect to the disabled car’s positive terminal
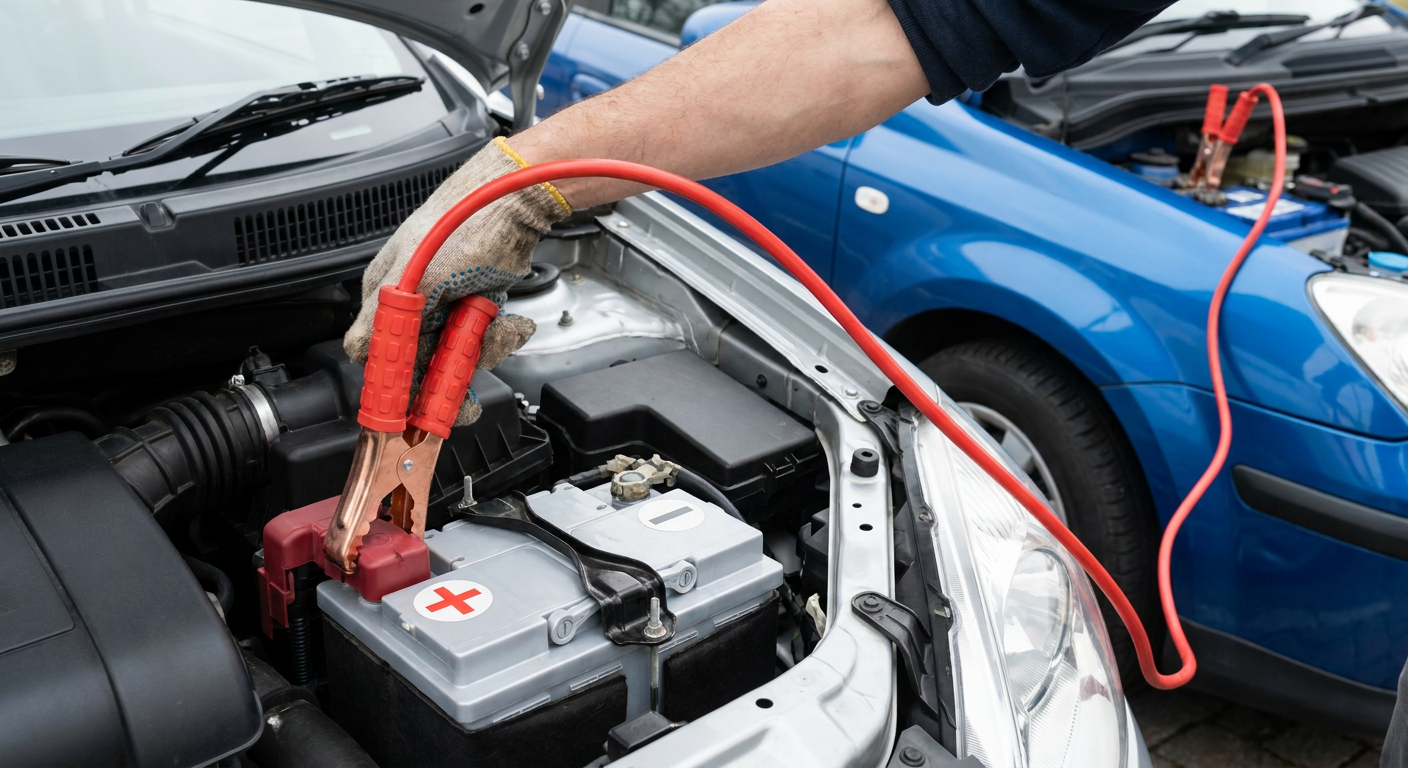
Instructional illustration generated with AI for Howmigo. Attach the other red clamp to the disabled car’s positive (+) connection. The red cable now connects positive to positive.
7. Black cable: connect to the assisting car’s negative terminal
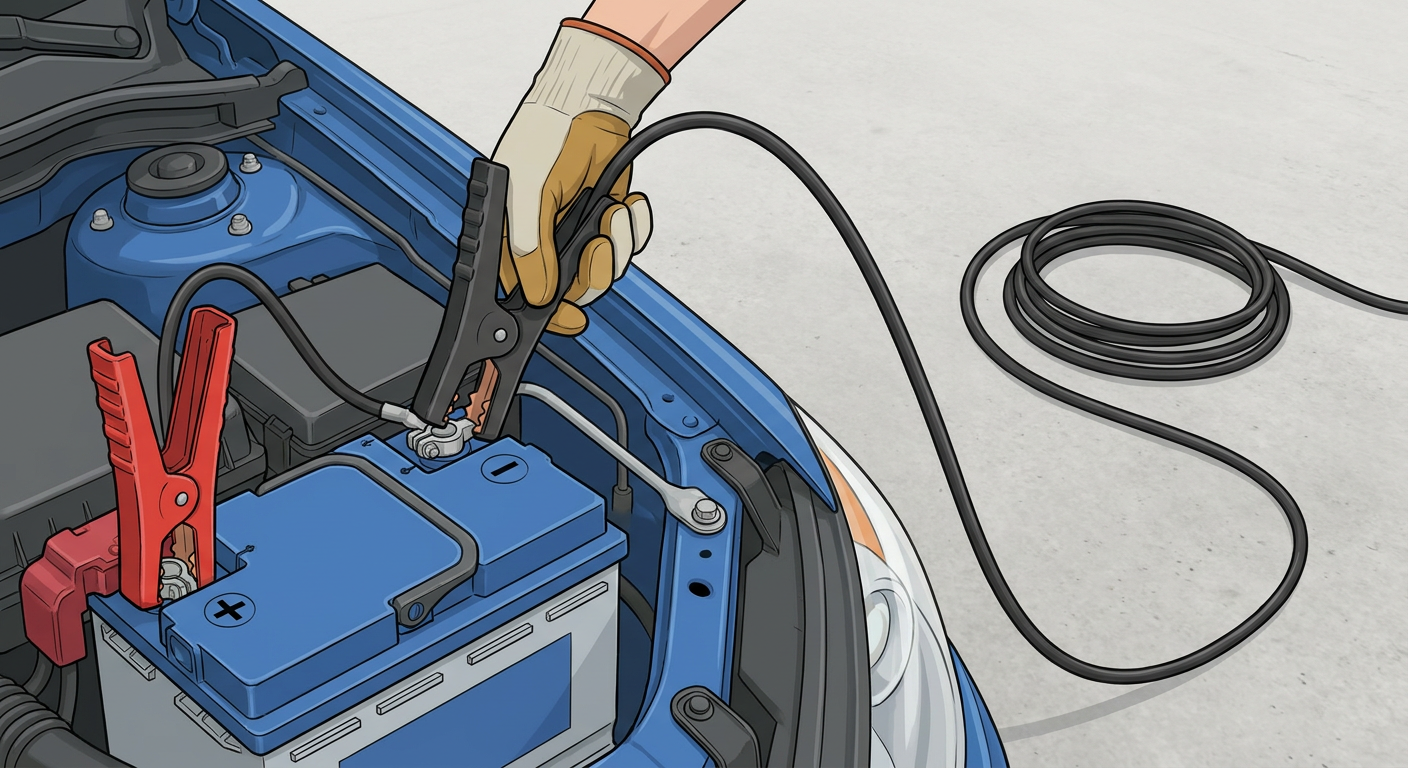
Instructional illustration generated with AI for Howmigo. Attach the first black clamp to the assisting car’s specified negative (−) connection.
8. Black cable: connect last to the disabled car’s ground point
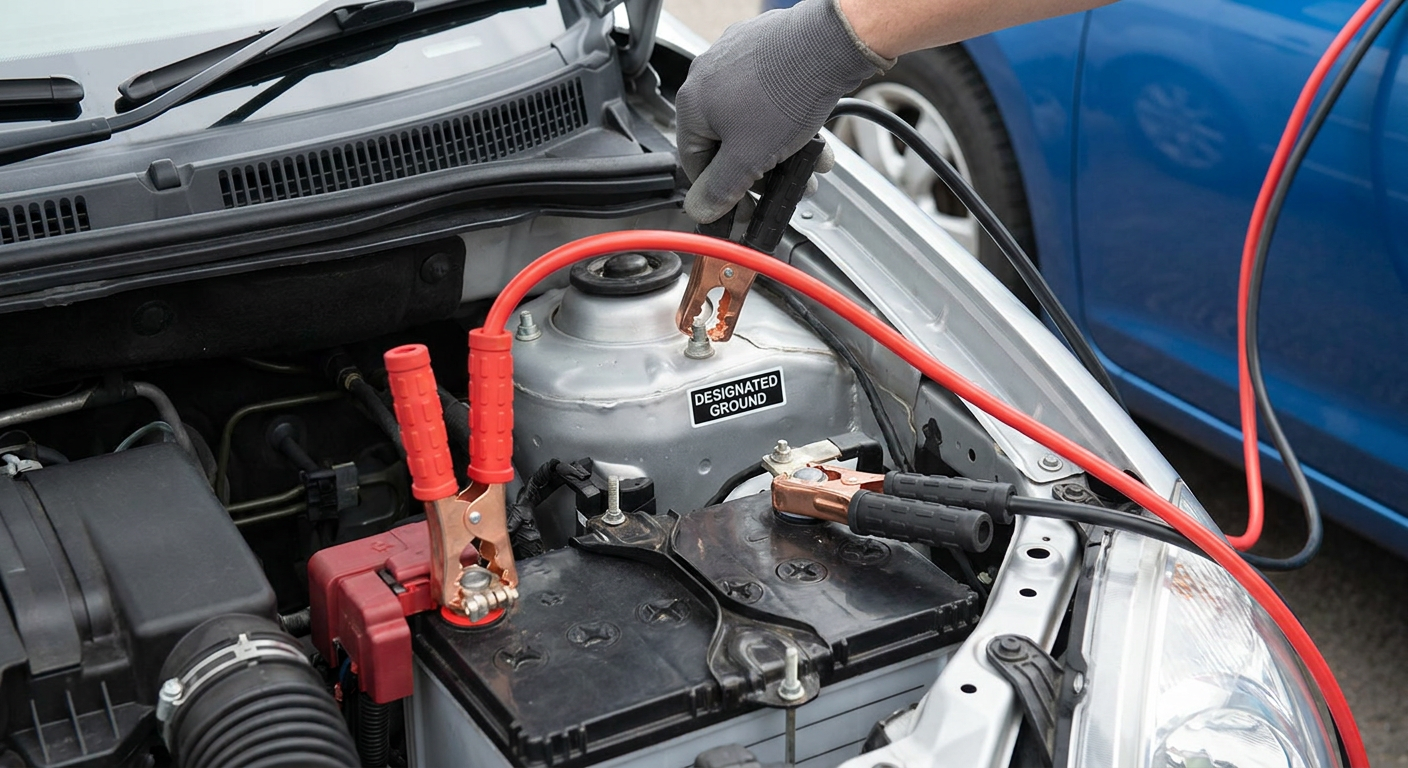
Instructional illustration generated with AI for Howmigo. Attach the remaining black clamp to the disabled car’s designated ground point, away from the battery. Do not use the battery’s negative terminal unless the manual explicitly instructs you to. Never connect to fuel lines or moving parts. Check that all clamps are secure.
9. Prepare to start
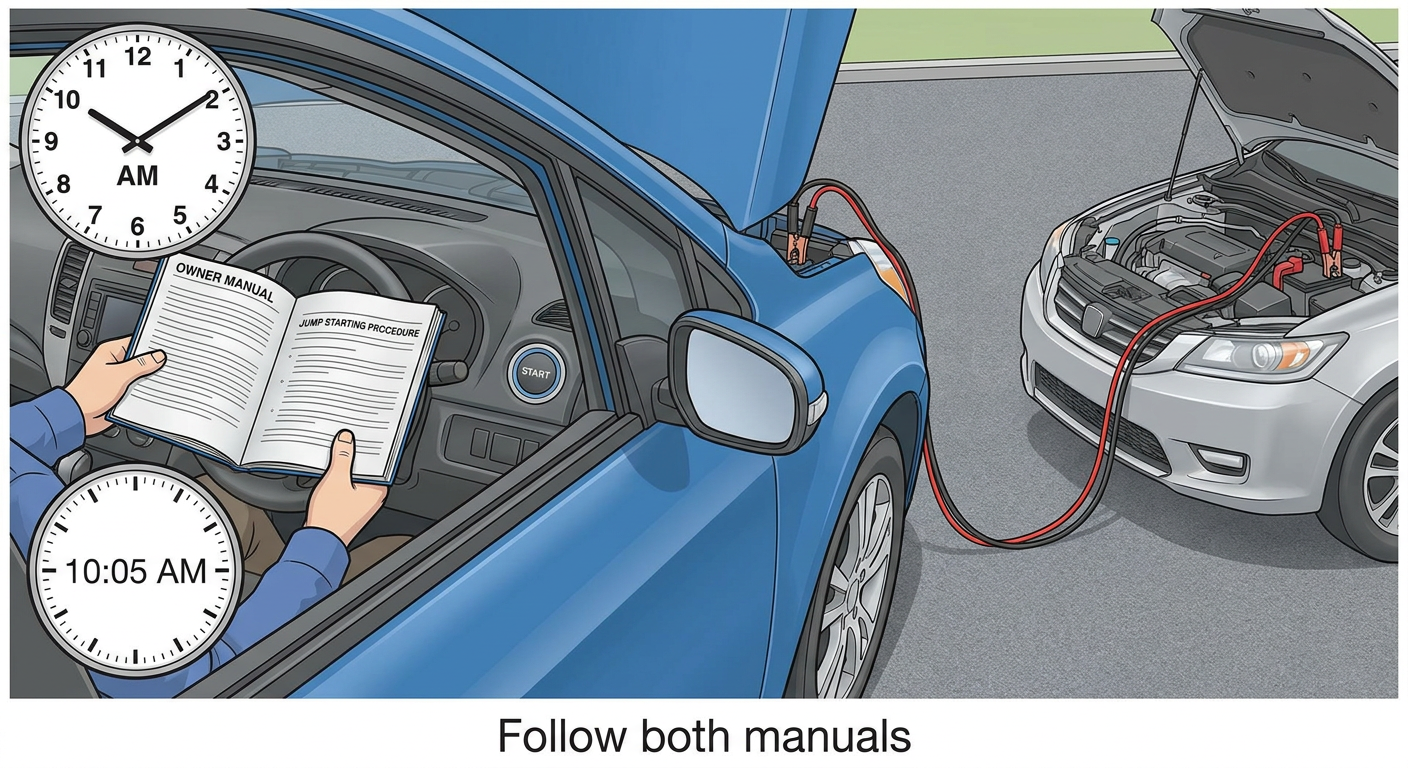
Instructional illustration generated with AI for Howmigo. Follow the manuals’ instructions on running the assisting car’s engine and how long to wait. Commonly, the assisting engine is started and allowed to run for a few minutes, but manufacturers may specify a different procedure. Check particularly whether the assisting engine should remain running during the start attempt.
10. Start the disabled car
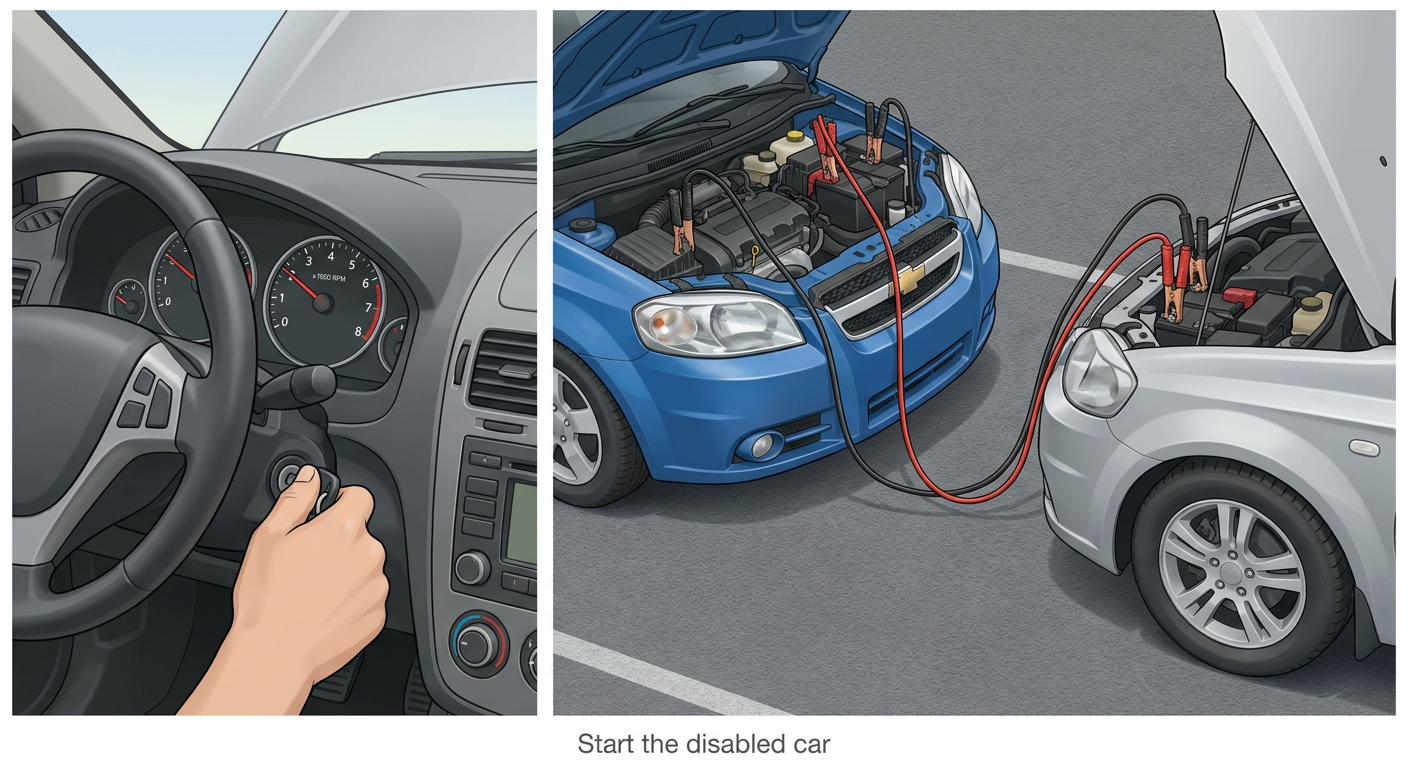
Instructional illustration generated with AI for Howmigo. Start the car normally. Do not touch the clamps during the attempt. Follow the manual’s limits for cranking time and pauses between attempts. If the car will not start after a couple of short attempts, stop and contact roadside assistance. Also stop if you notice smoke, excessive sparking, or hot cables.
11. Let the engine run steadily
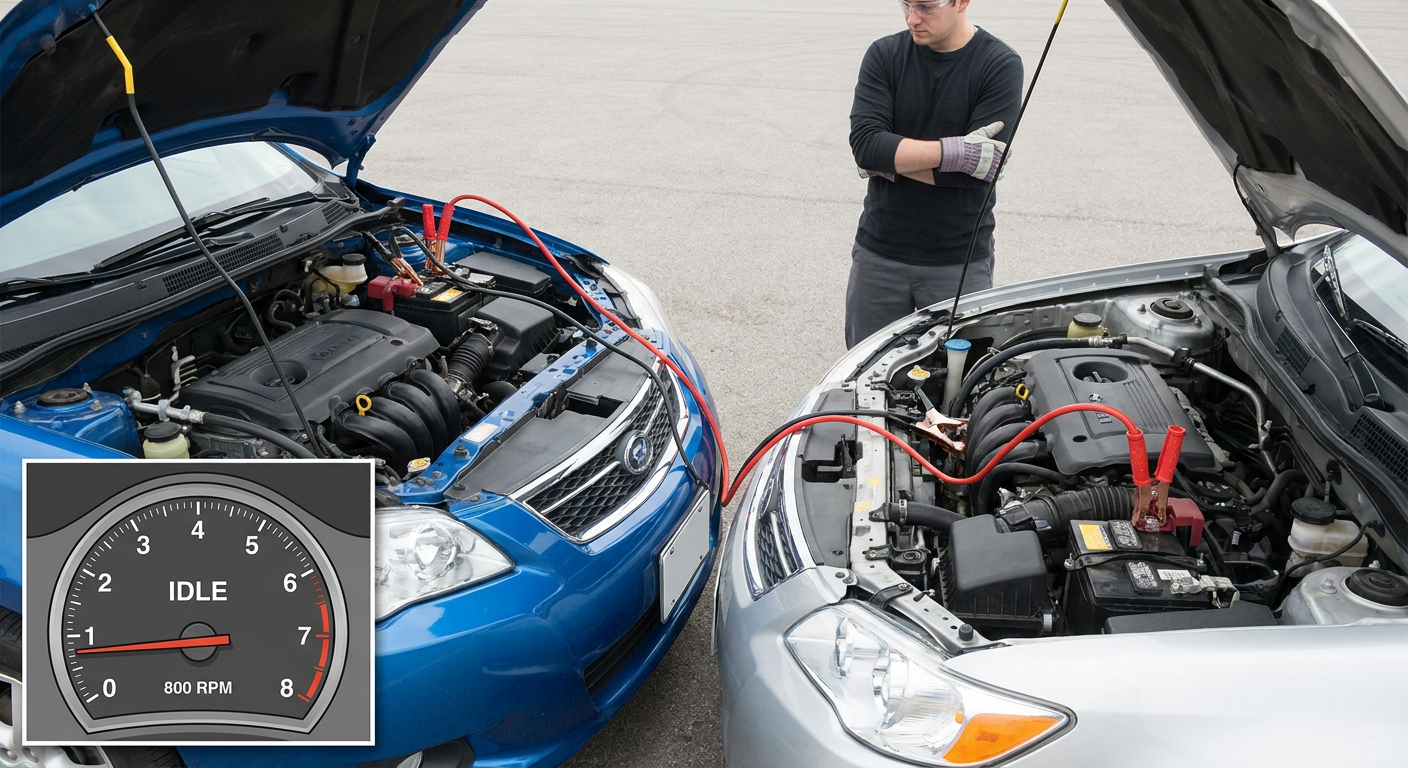
Instructional illustration generated with AI for Howmigo. Once the disabled car’s engine is running steadily, prepare to disconnect the cables. Leave it running unless its manual says otherwise. Keep hands, clothing, and cables clear of moving and hot parts. Never allow loose clamps to touch each other or other metal.
12. Disconnect black from the previously disabled car
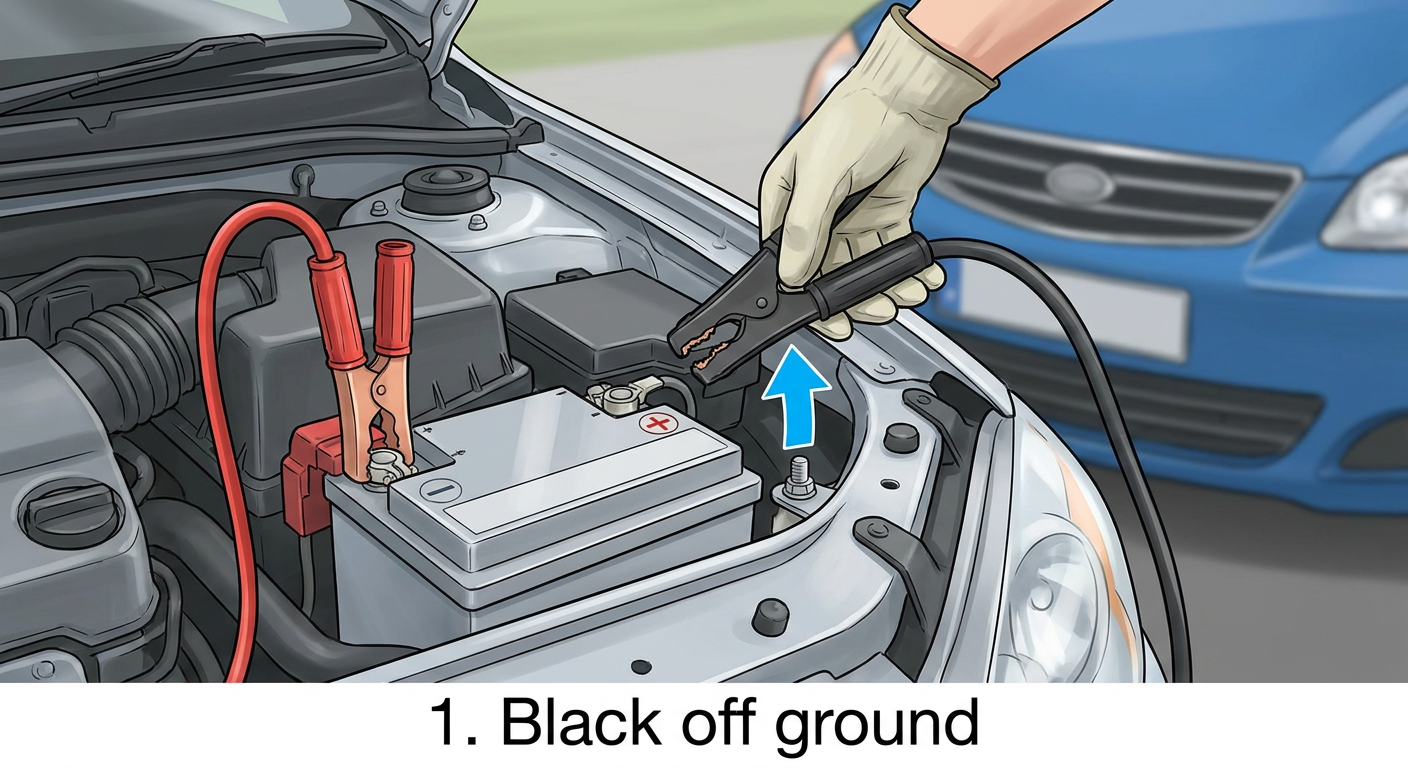
Instructional illustration generated with AI for Howmigo. First remove the black clamp from the previously disabled car’s ground point. Hold the clamp clear.
13. Disconnect black from the assisting car
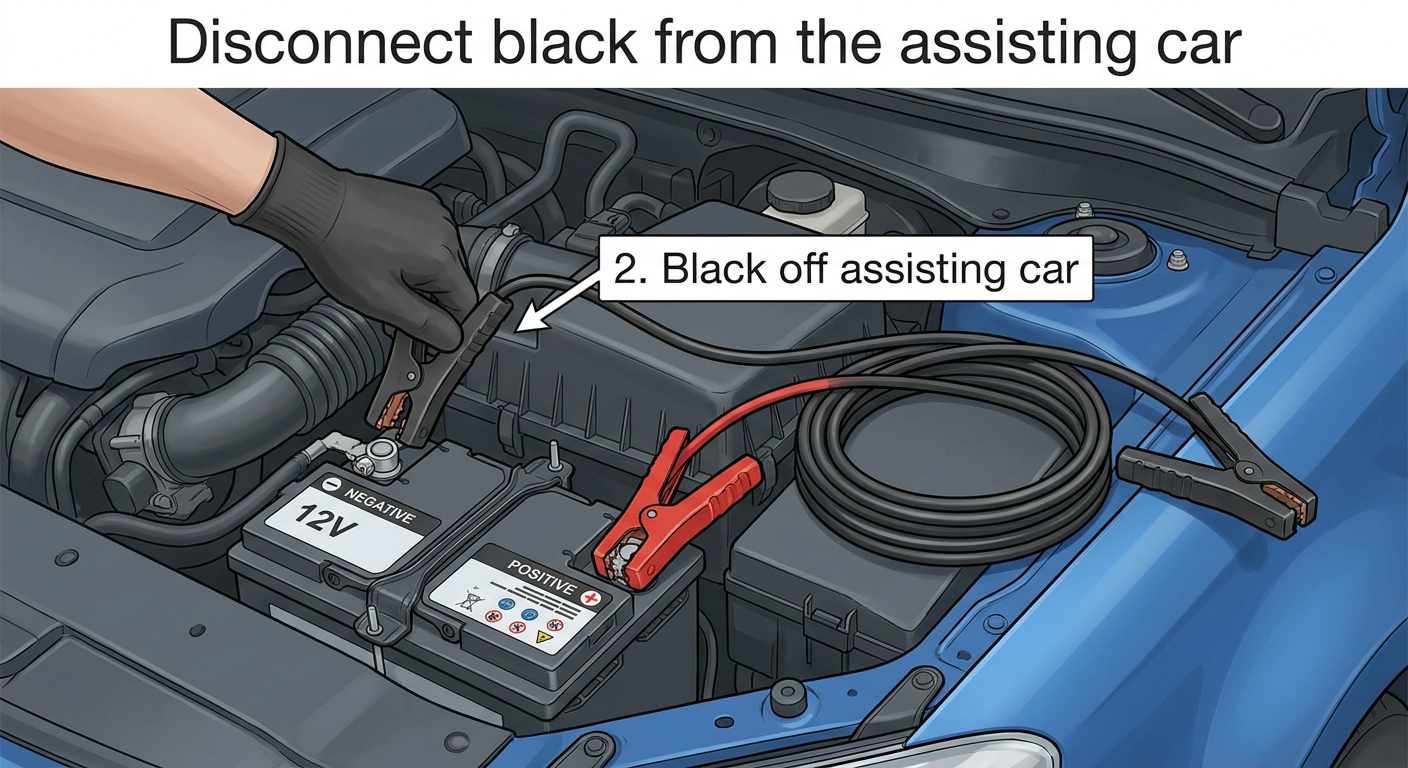
Instructional illustration generated with AI for Howmigo. Remove the black clamp from the assisting car’s negative connection. Put the black cable safely aside.
14. Disconnect red from the previously disabled car
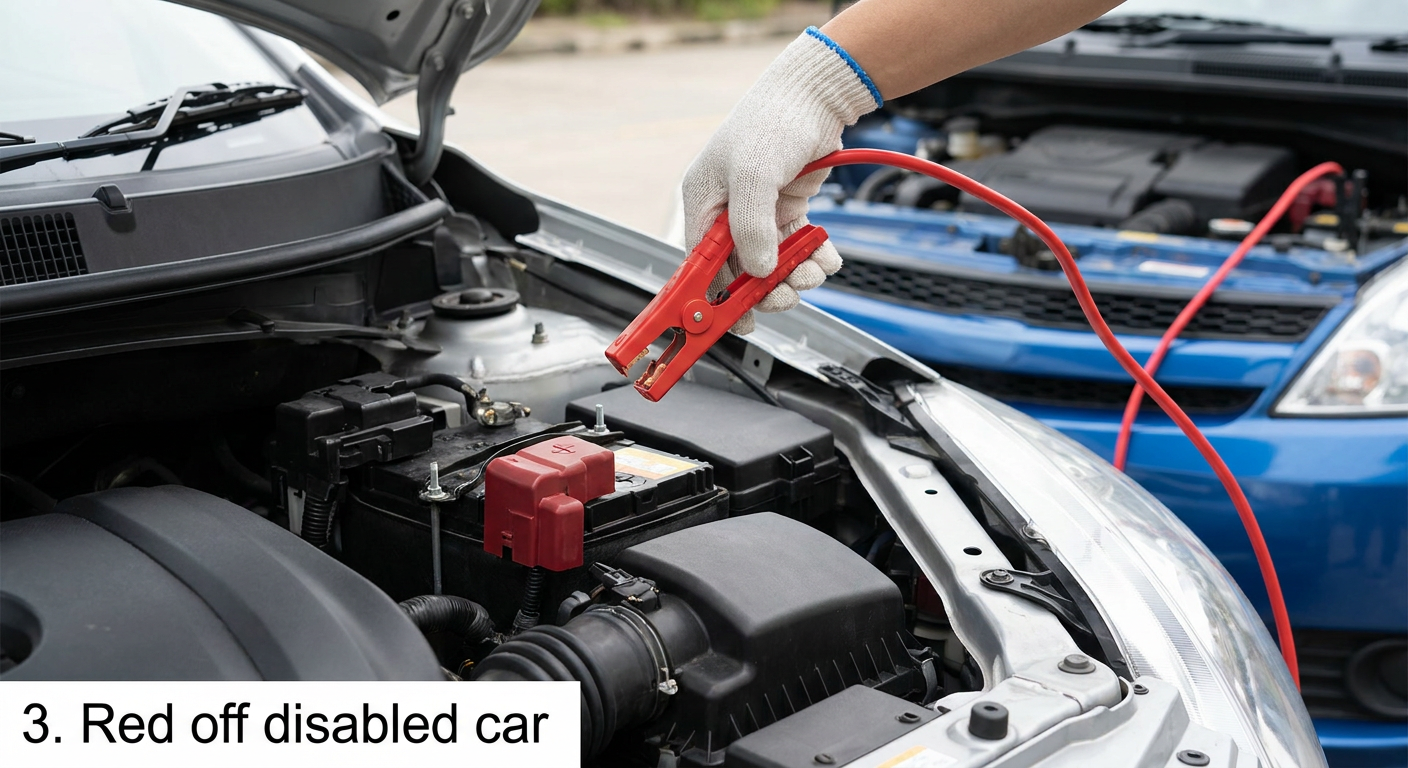
Instructional illustration generated with AI for Howmigo. Remove the red clamp from the previously disabled car’s positive connection. The cable is still connected to the assisting car: do not let the loose clamp touch metal.
15. Disconnect red from the assisting car
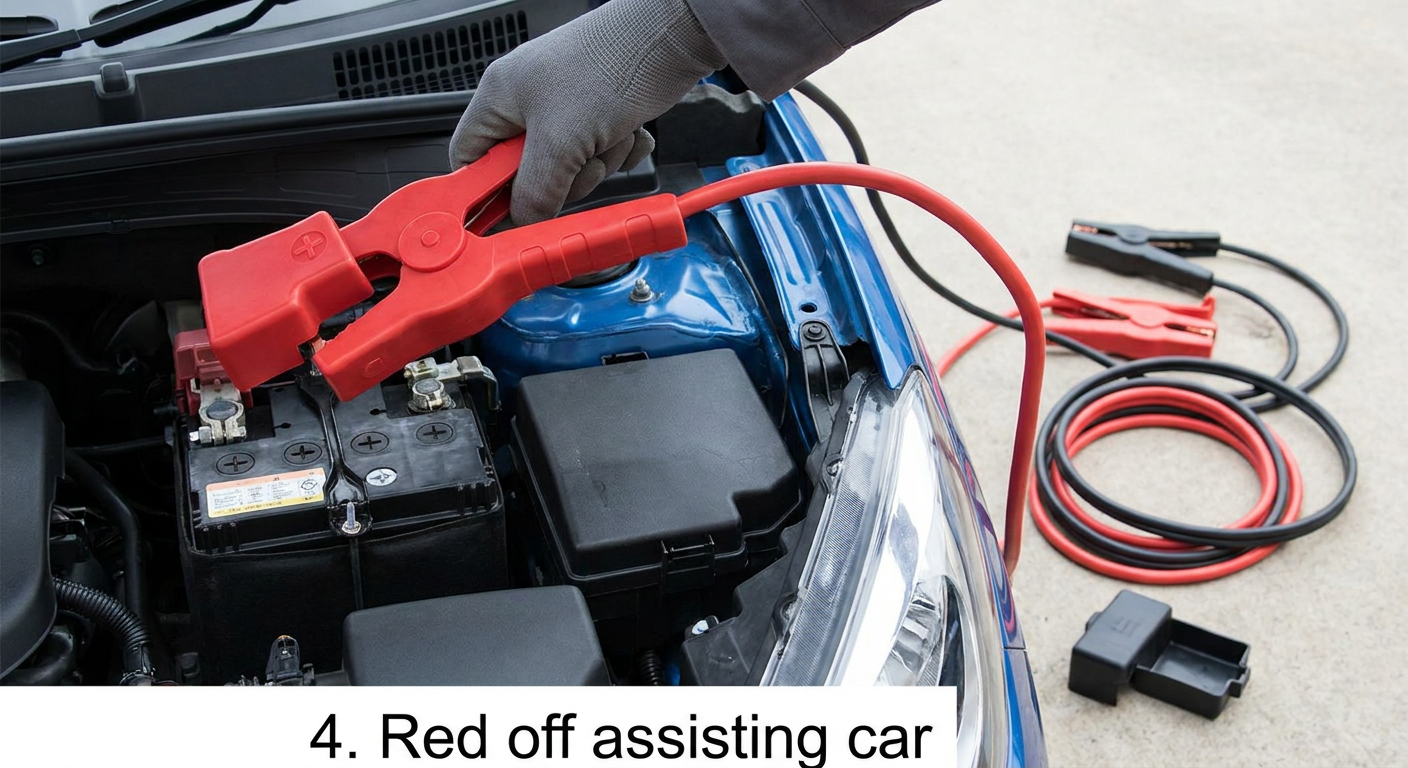
Instructional illustration generated with AI for Howmigo. Finally, remove the red clamp from the assisting car’s positive connection. Put the cable away and replace the terminal covers. Check that both engine compartments are clear before closing the hoods.
16. Recharge and check the battery afterward
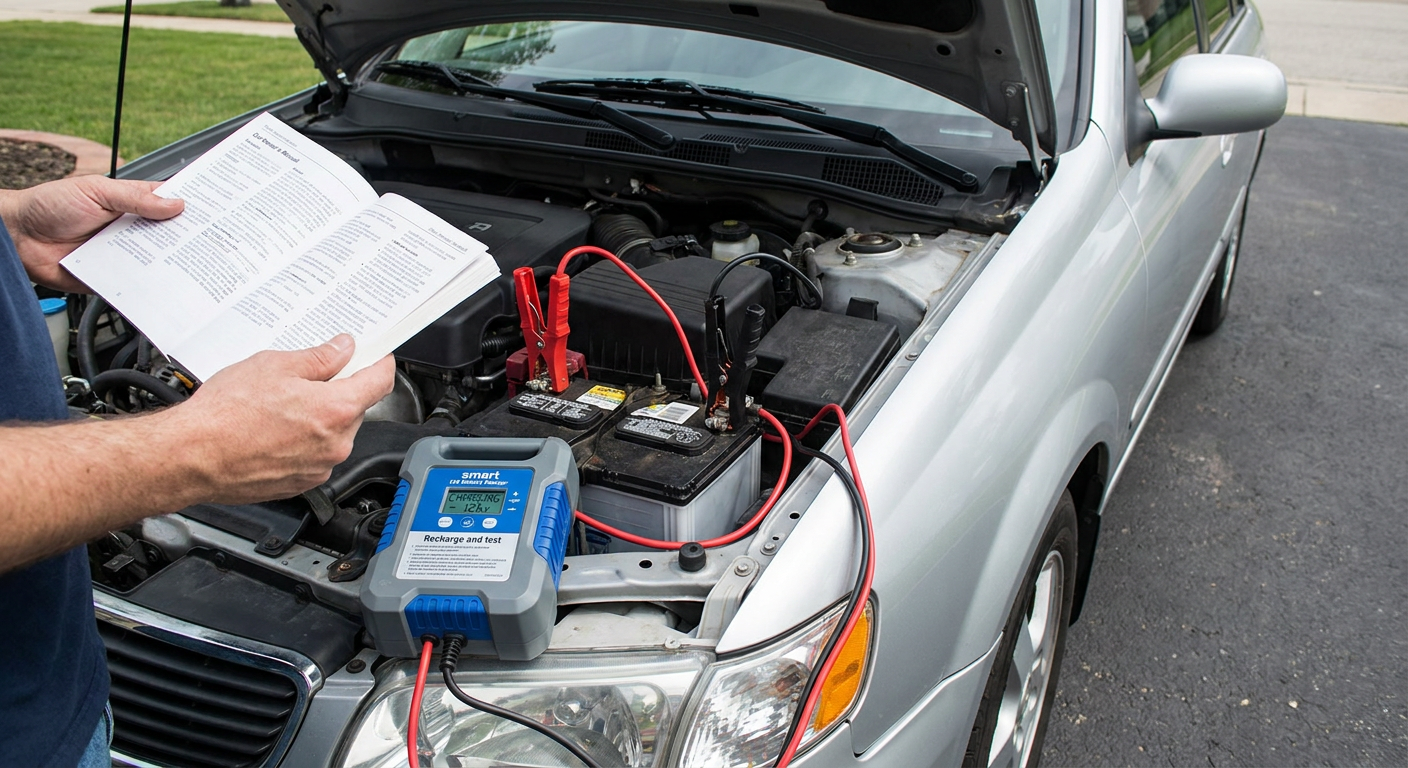
Instructional illustration generated with AI for Howmigo. A successful start does not mean the battery is fully charged. Arrange a full charge using a compatible battery charger according to the manual; a short drive may not be enough. Have the battery and charging system tested if the problem returns. If the charging warning light stays on or the car stops again, contact roadside assistance.
Did this guide help you?
Was this guide useful?
Discussion
No comments yet
Ask a question, share a tip, or reply to someone else.
Sign in to commentLoading comments…