
How to Sew on a Button by Hand
Replace a missing four-hole shirt button by hand. Learn to position it, stitch both pairs of holes and make a small thread shank so it fastens comfortably. If the garment also has an opened seam, see how to repair a split seam by hand.
Updated
What you need
Tick off what you already have.
Tools
Materials
 AI illustration
Step 01 / 08
Prepare and mark the position
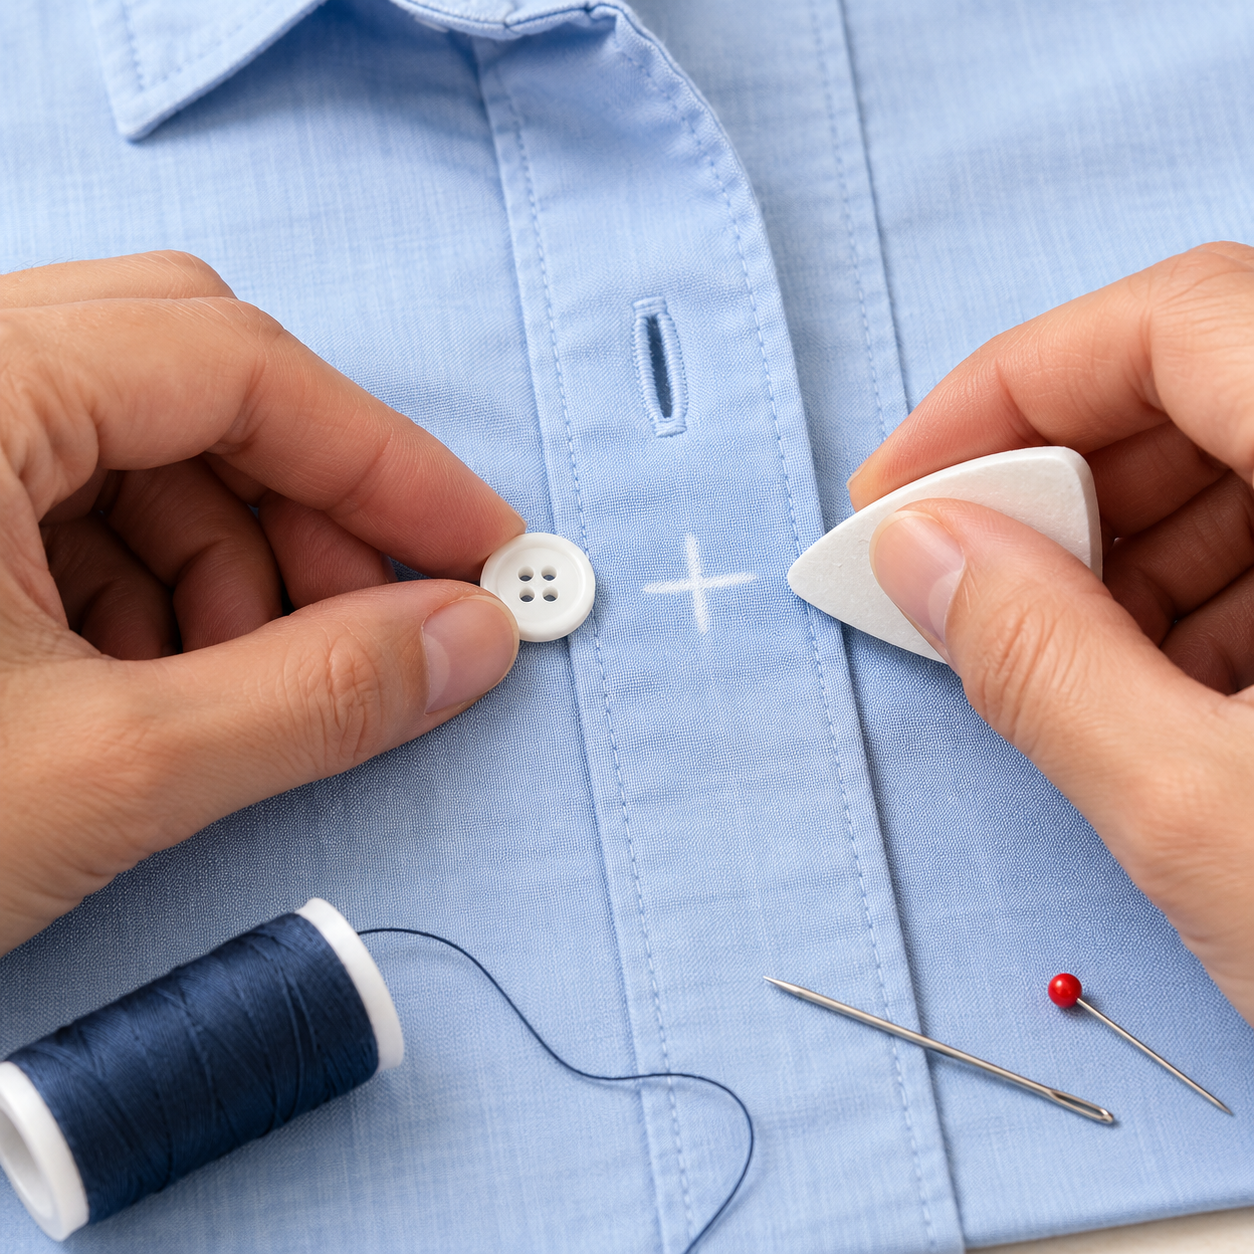
Work on a garment you are not wearing. Remove loose old thread without cutting the fabric. For an ordinary woven shirt, choose a matching four-hole button that fits the buttonhole. Align the front edges and mark its position through the buttonhole with tailor's chalk. Repair torn fabric before attaching the button. Keep needles, pins and buttons away from children.
1. Prepare and mark the position
Instructional illustration generated with AI for Howmigo. Work on a garment you are not wearing. Remove loose old thread without cutting the fabric. For an ordinary woven shirt, choose a matching four-hole button that fits the buttonhole. Align the front edges and mark its position through the buttonhole with tailor's chalk. Repair torn fabric before attaching the button. Keep needles, pins and buttons away from children.
2. Thread the needle
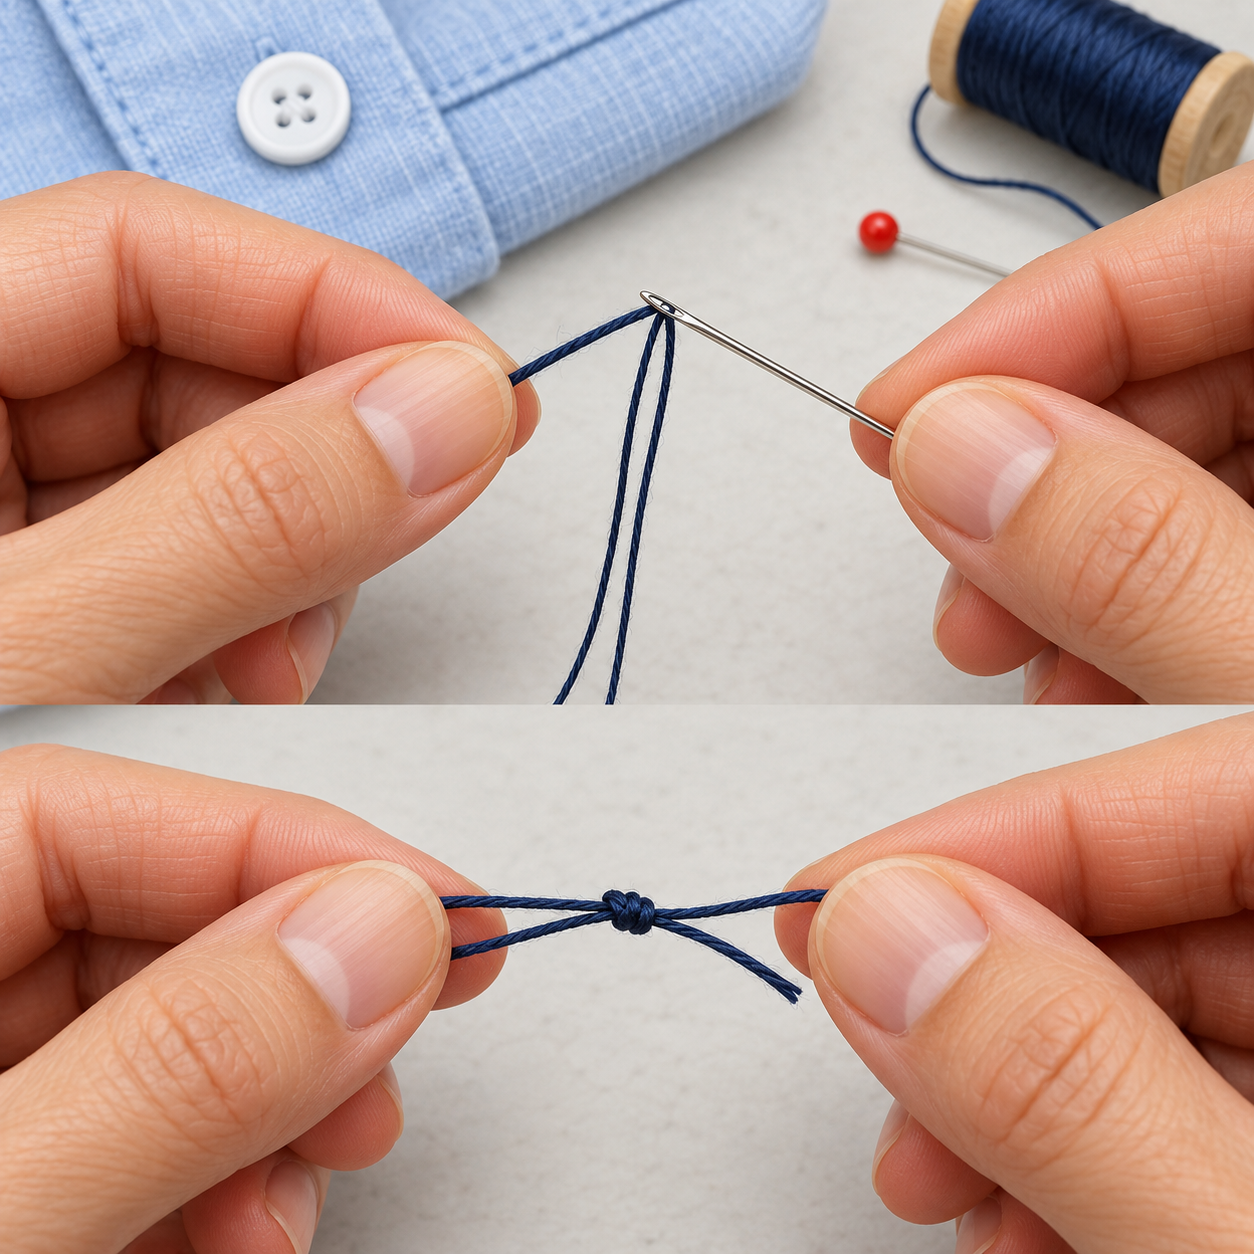
Instructional illustration generated with AI for Howmigo. Cut about 50 cm (20 in) of sewing thread. Pass one end through the needle's eye, bring the two ends together and knot them. You now have a doubled thread roughly 25 cm (10 in) long. Use a needle fine enough to pass easily through the button holes.
3. Anchor the thread and position the button
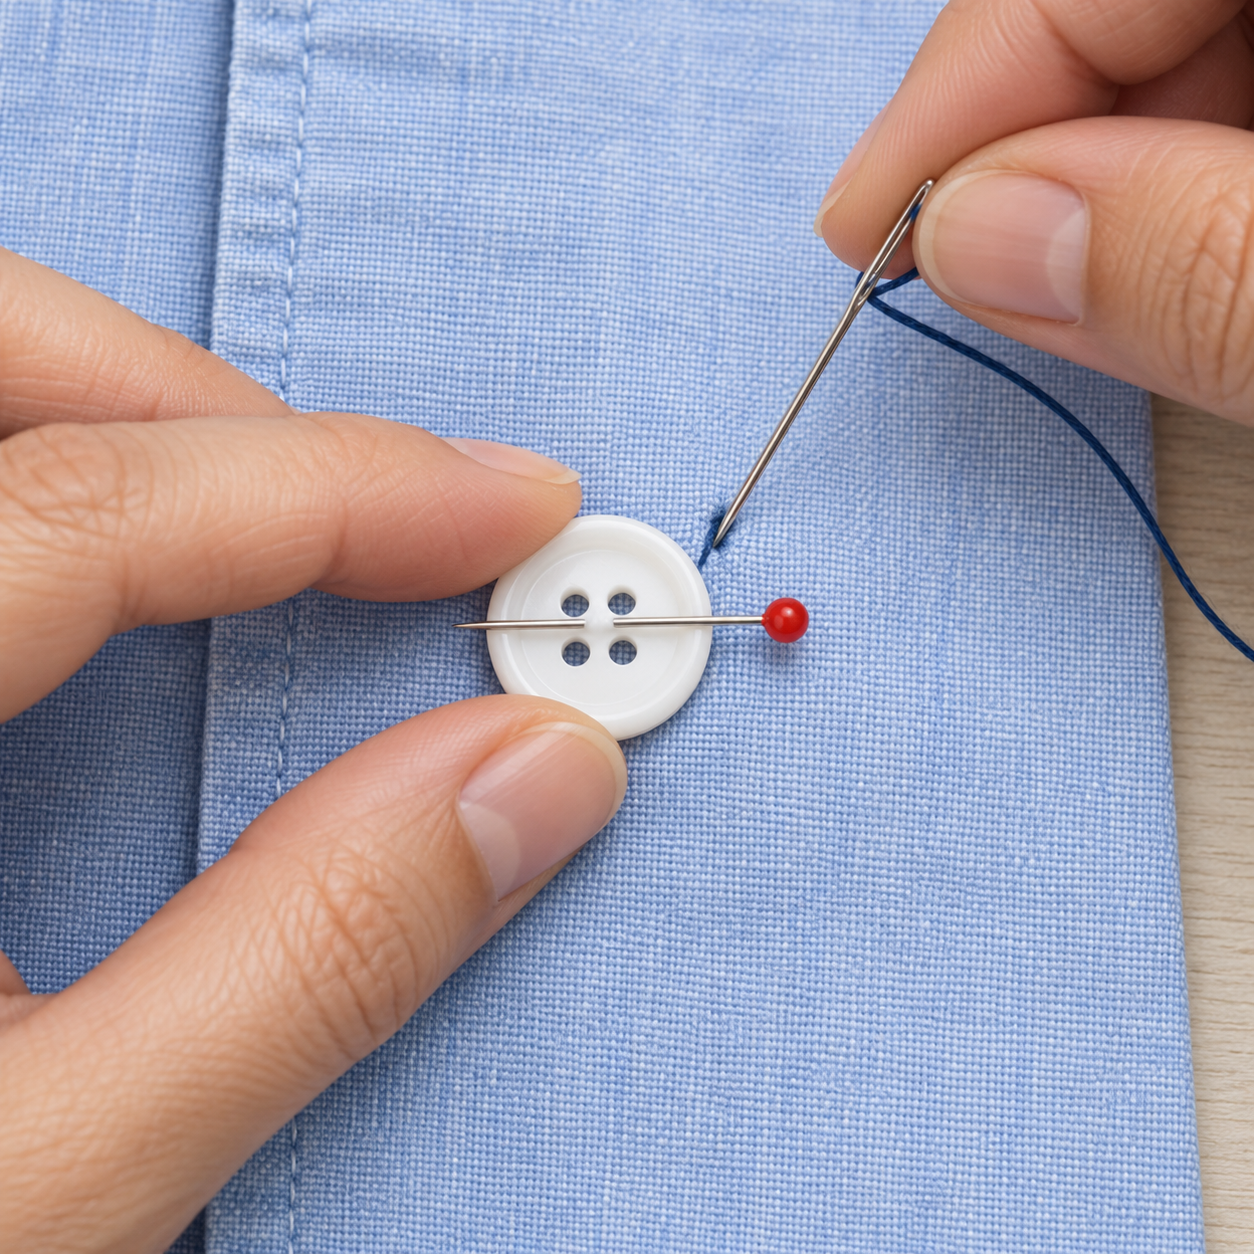
Instructional illustration generated with AI for Howmigo. Bring the needle up from the underside at the mark and take a small stitch to anchor the thread. Place the button over the mark. Lay a sewing pin across the button between the two rows of holes; stitches will pass over it to leave a little space beneath the button.
4. Sew the first pair of holes
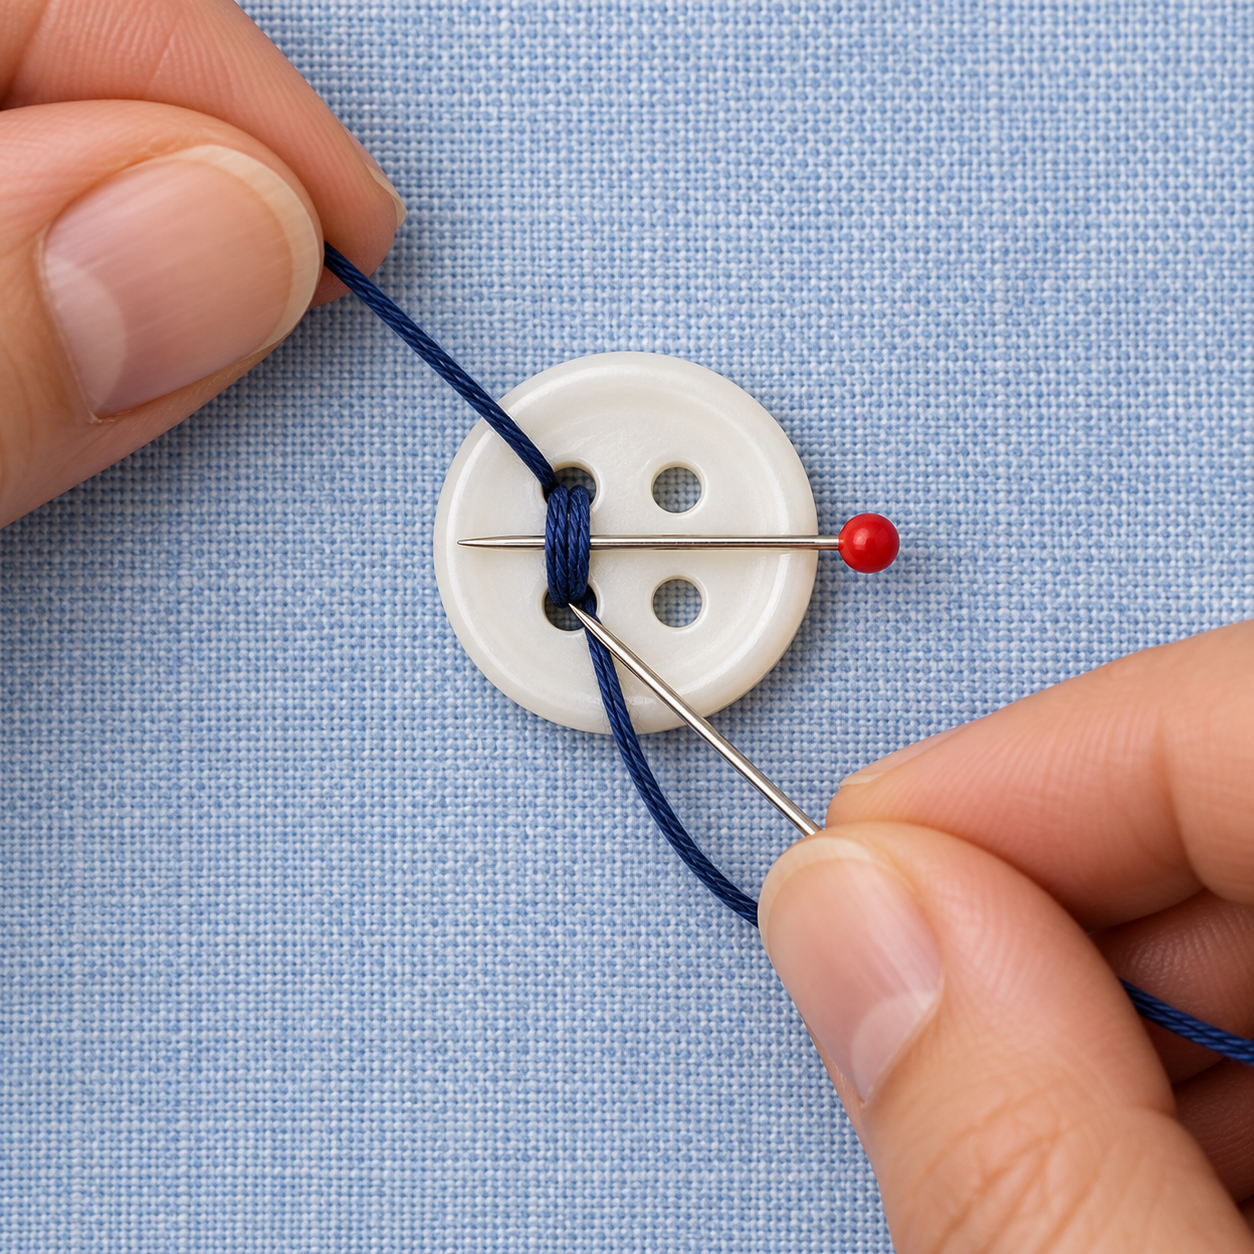
Instructional illustration generated with AI for Howmigo. Bring the needle up through the fabric and the top-left hole, then down through the bottom-left hole and fabric. Pass the thread over the spacer pin. Repeat this path three or four times, keeping the button aligned. Pull the thread snugly over the pin without puckering the fabric.
5. Sew the second pair of holes
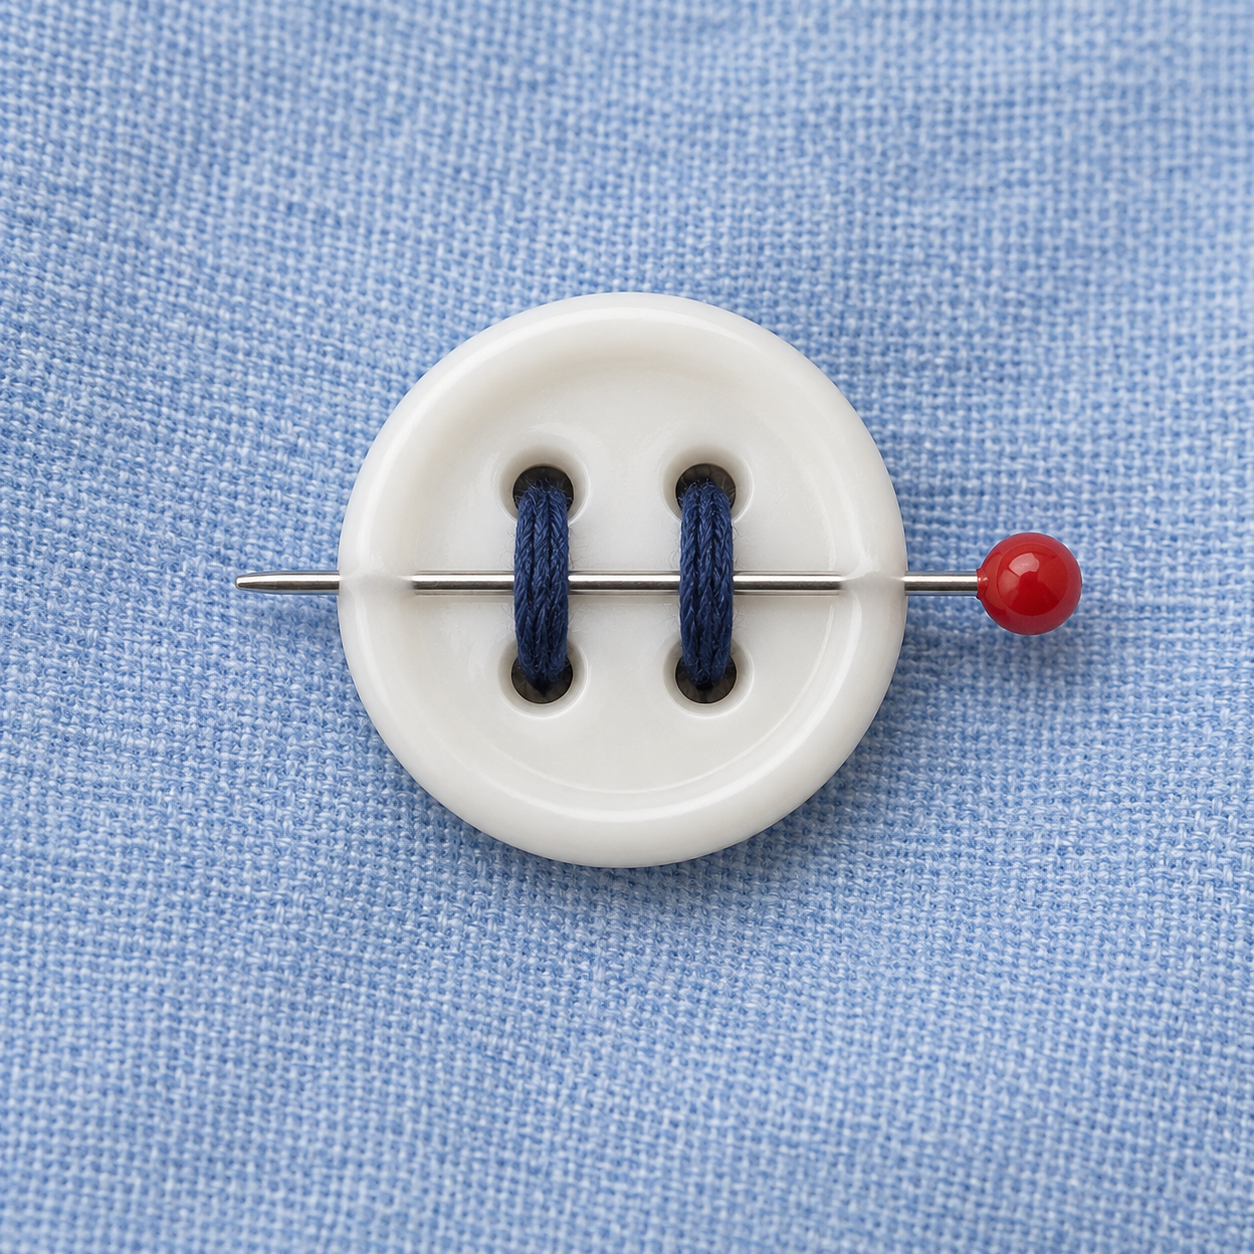
Instructional illustration generated with AI for Howmigo. From underneath, bring the needle up through the top-right hole and down through the bottom-right hole and fabric. Repeat three or four times over the spacer pin. Both pairs should now have parallel bars of stitches. Finish with the needle on the underside.
6. Make a small thread shank
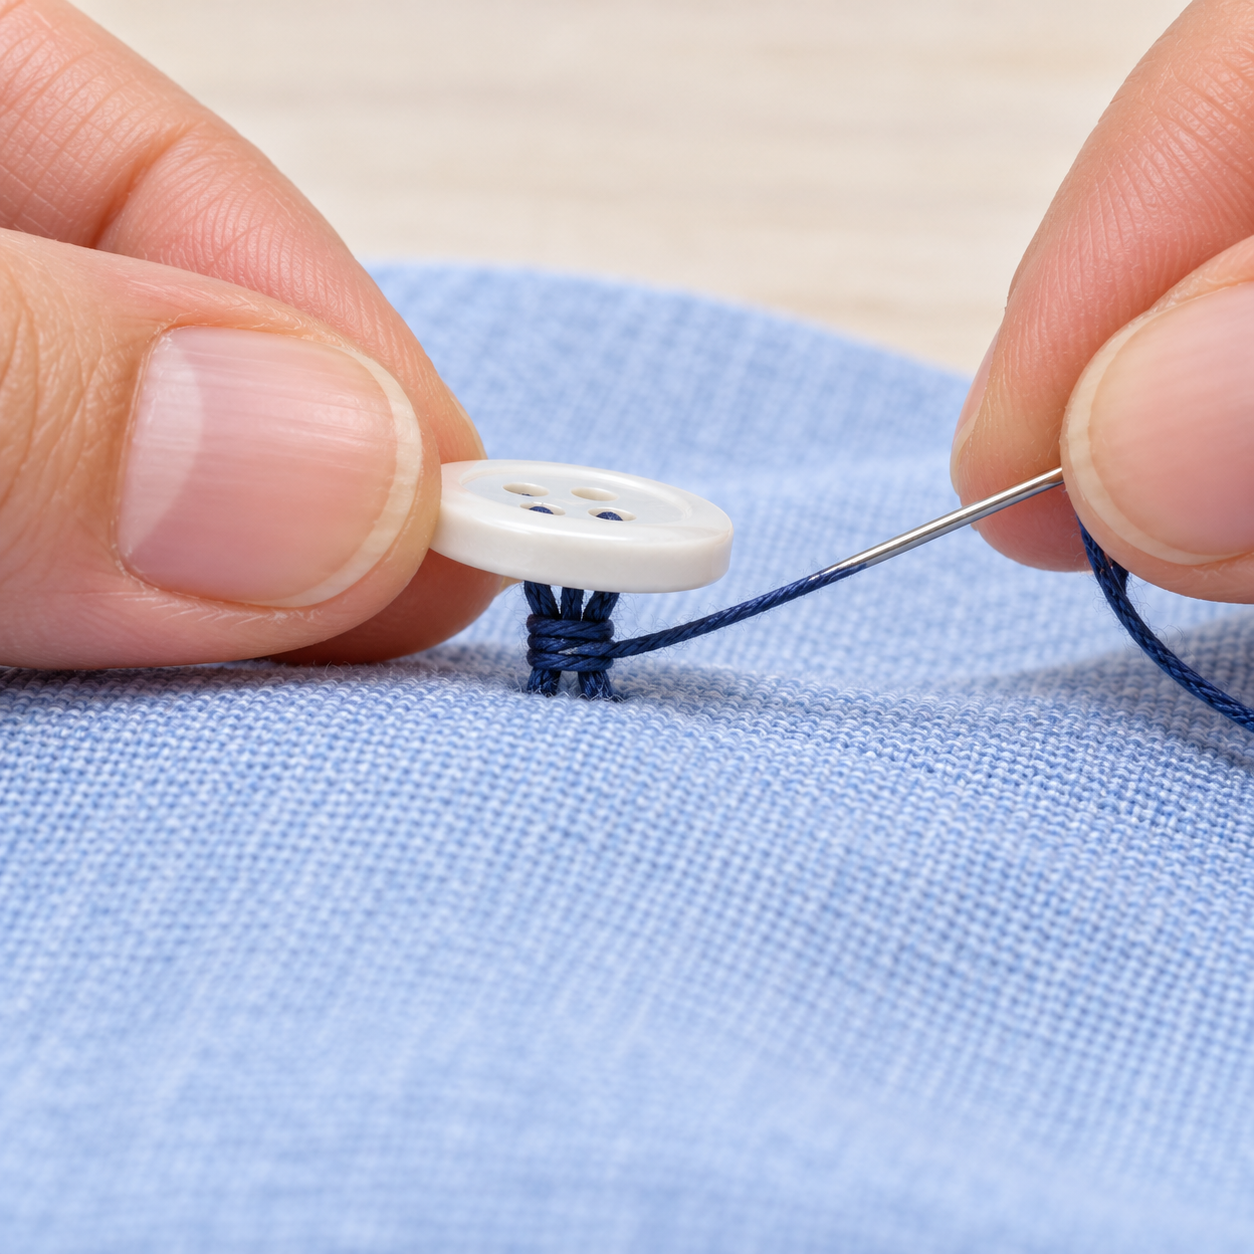
Instructional illustration generated with AI for Howmigo. Remove the spacer pin. Bring the needle up through the fabric beside the stitches, without going through a button hole. Lift the button gently and wrap the thread around the stitches underneath it three or four times. This short thread shank leaves room for the buttonhole layer.
7. Secure and trim the thread
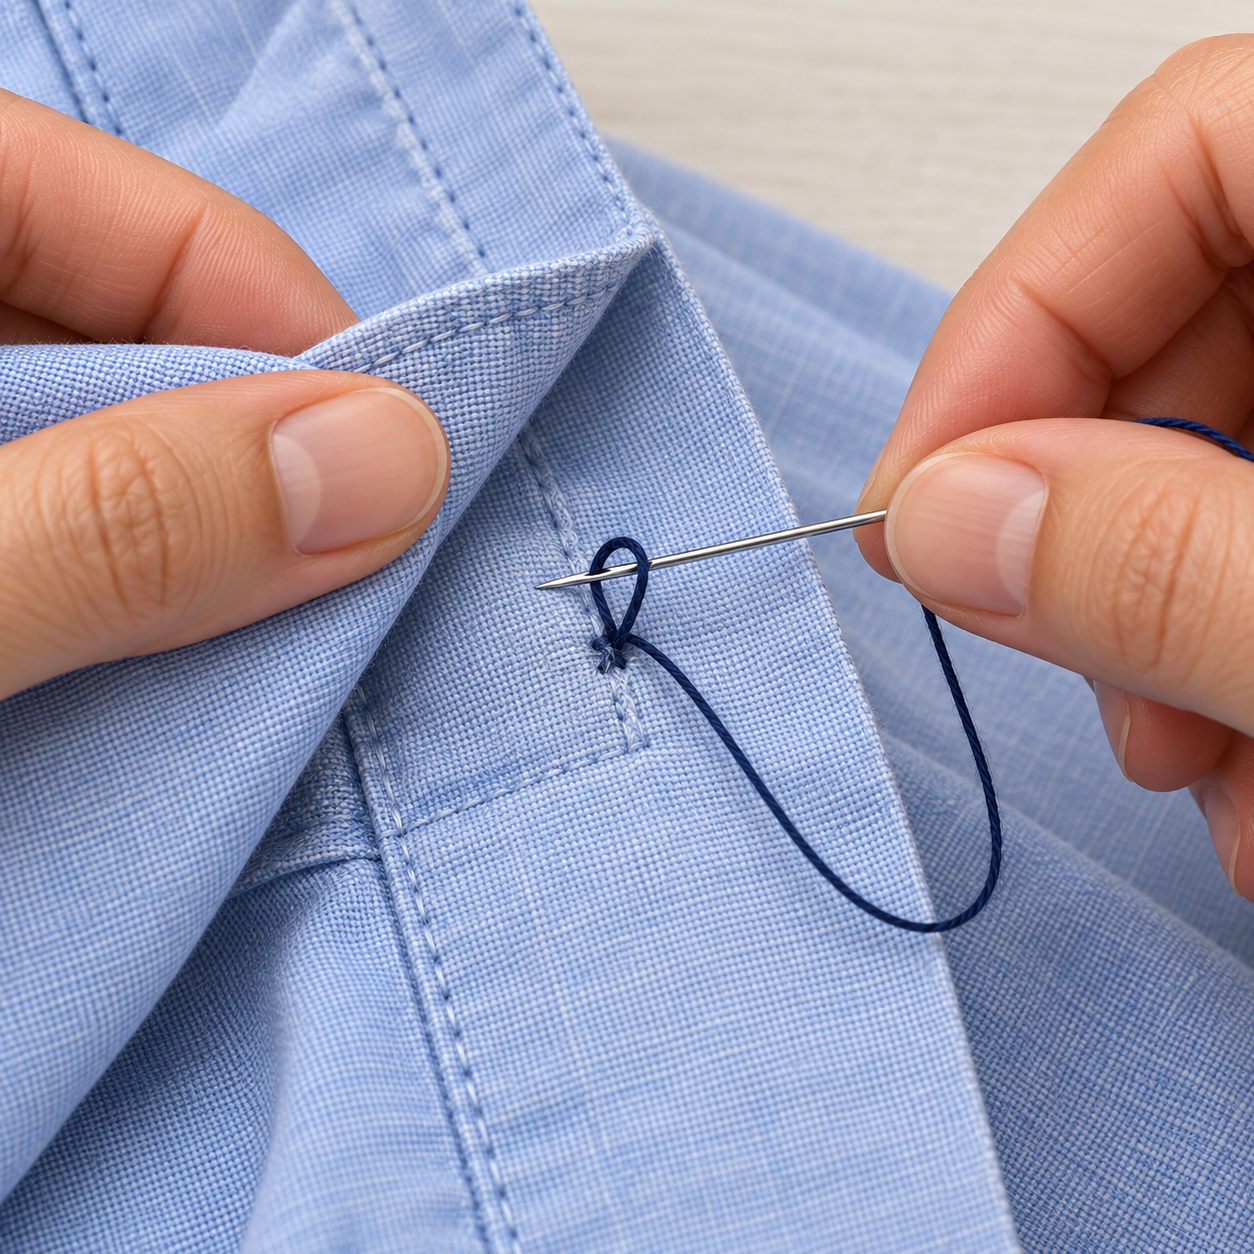
Instructional illustration generated with AI for Howmigo. Pass the needle back to the underside. Take a tiny stitch through the fabric beneath the button, leave a loop and pass the needle through it to make a knot. Repeat once, then trim the thread a few millimetres (about 1/8 in) from the knot without cutting the fabric or other stitches.
8. Test the fastening
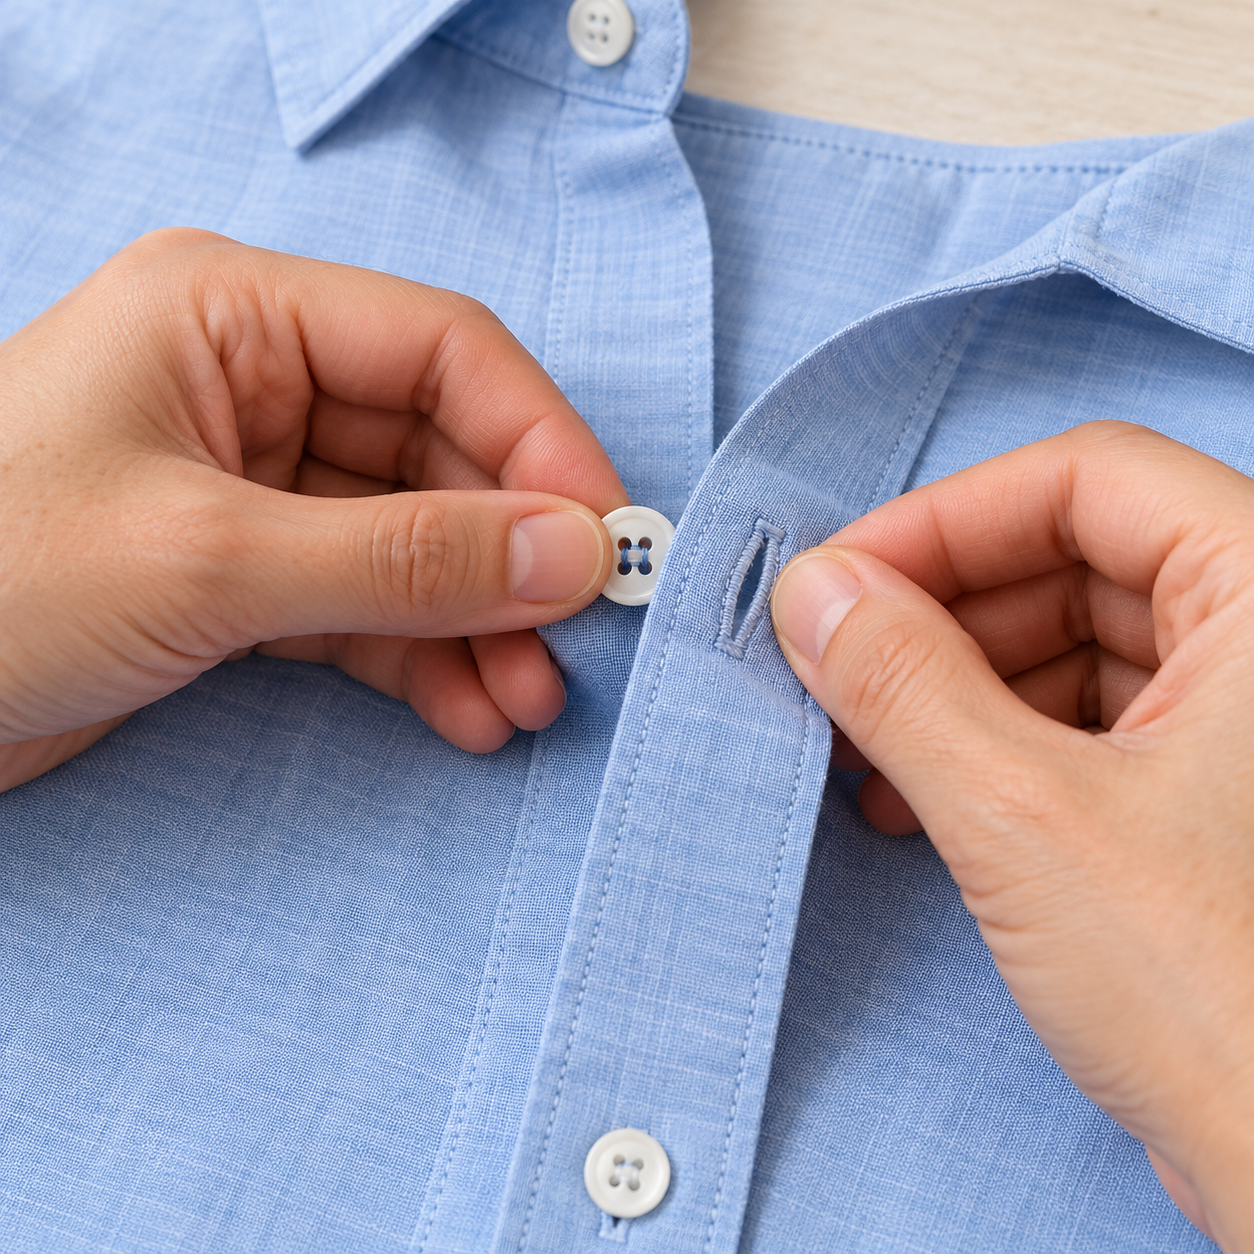
Instructional illustration generated with AI for Howmigo. Gently tug the button to check that it is secure. Button and unbutton the shirt; the fabric should lie flat and the fastening should move comfortably. If the button is too tight or misaligned, remove the new stitches carefully and sew it again. Put away the needle, pin and scissors.
Did this guide help you?
Was this guide useful?
Discussion
No comments yet
Ask a question, share a tip, or reply to someone else.
Sign in to commentLoading comments…