
How to Repair a Split Seam by Hand
Close a short opened seam in non-stretch woven fabric using backstitch. This method needs access to the inside and intact fabric on both sides of the original stitching. For another common clothing repair, see how to sew on a button by hand.
Updated
What you need
Tick off what you already have.
Tools
Materials
 AI illustration
Step 01 / 05
Check the damage
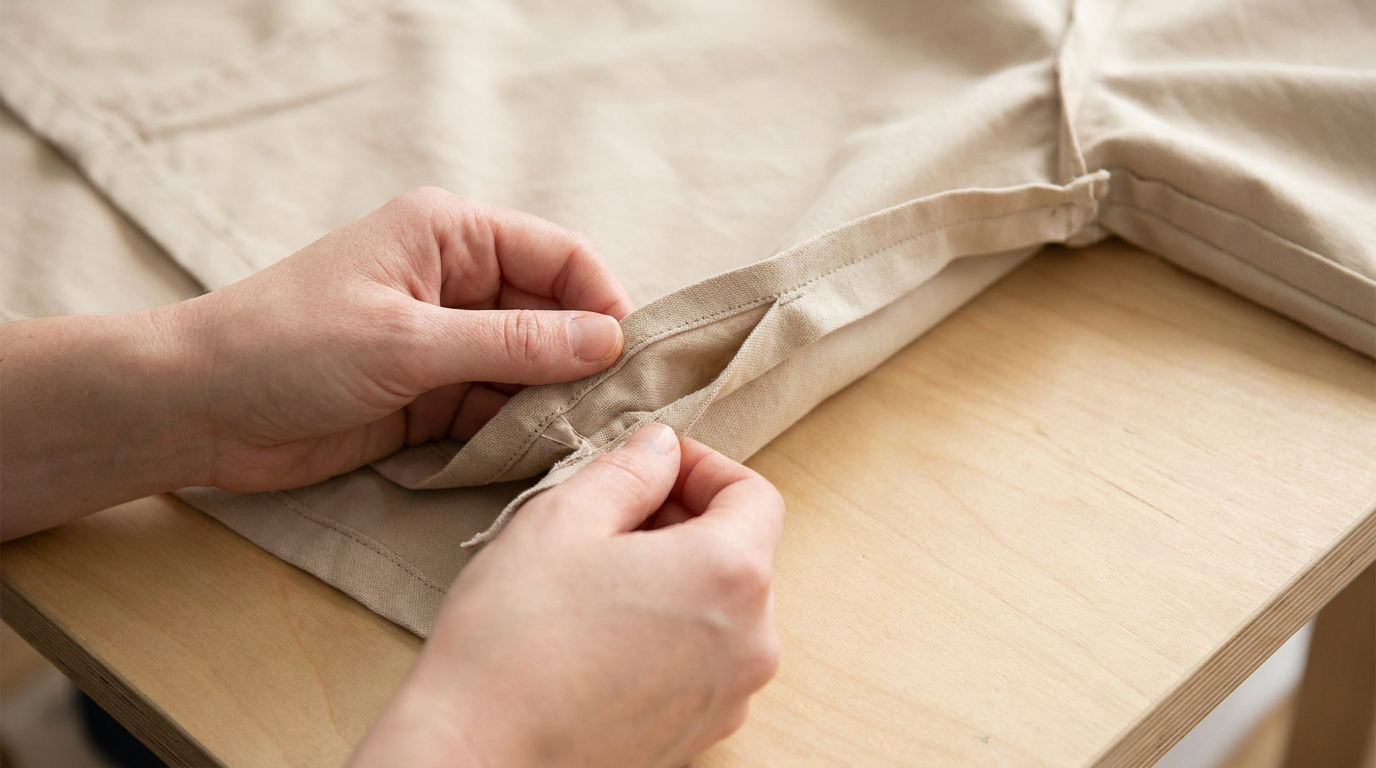
Use this method only where the stitching has broken and the fabric is intact. If the fabric is torn, badly frayed or stretchy, choose a repair suited to it instead. Work with the garment clean, dry and off your body. Turn it inside out and find both ends of the opening.
1. Check the damage
Instructional illustration generated with AI for Howmigo. Use this method only where the stitching has broken and the fabric is intact. If the fabric is torn, badly frayed or stretchy, choose a repair suited to it instead. Work with the garment clean, dry and off your body. Turn it inside out and find both ends of the opening.
2. Align and clip the fabric
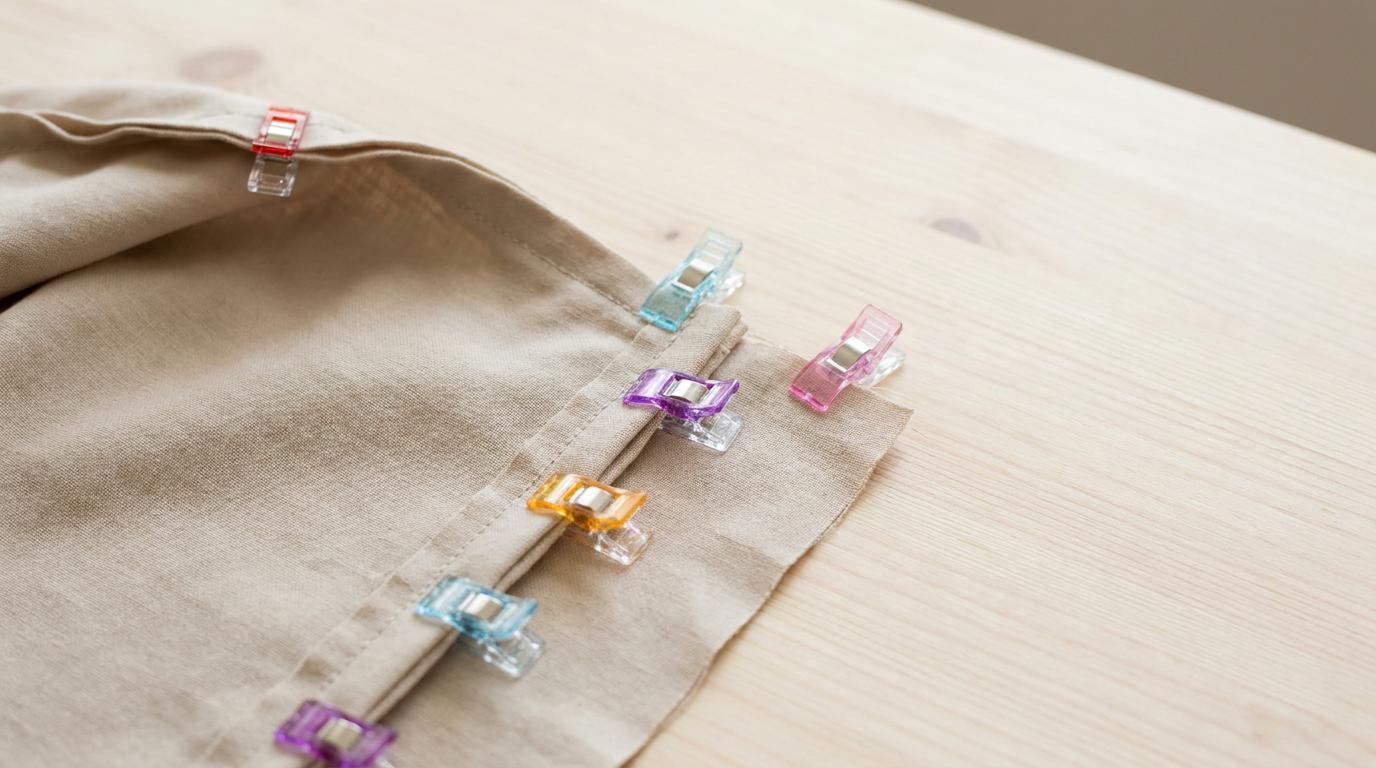
Instructional illustration generated with AI for Howmigo. Place the two fabric layers right sides together and match the original stitch line. Clip the seam allowances together so the edges cannot shift. Keep linings and the opposite side of the garment clear. Trim only detached thread ends; do not cut sound stitches or fabric.
3. Thread and anchor the needle
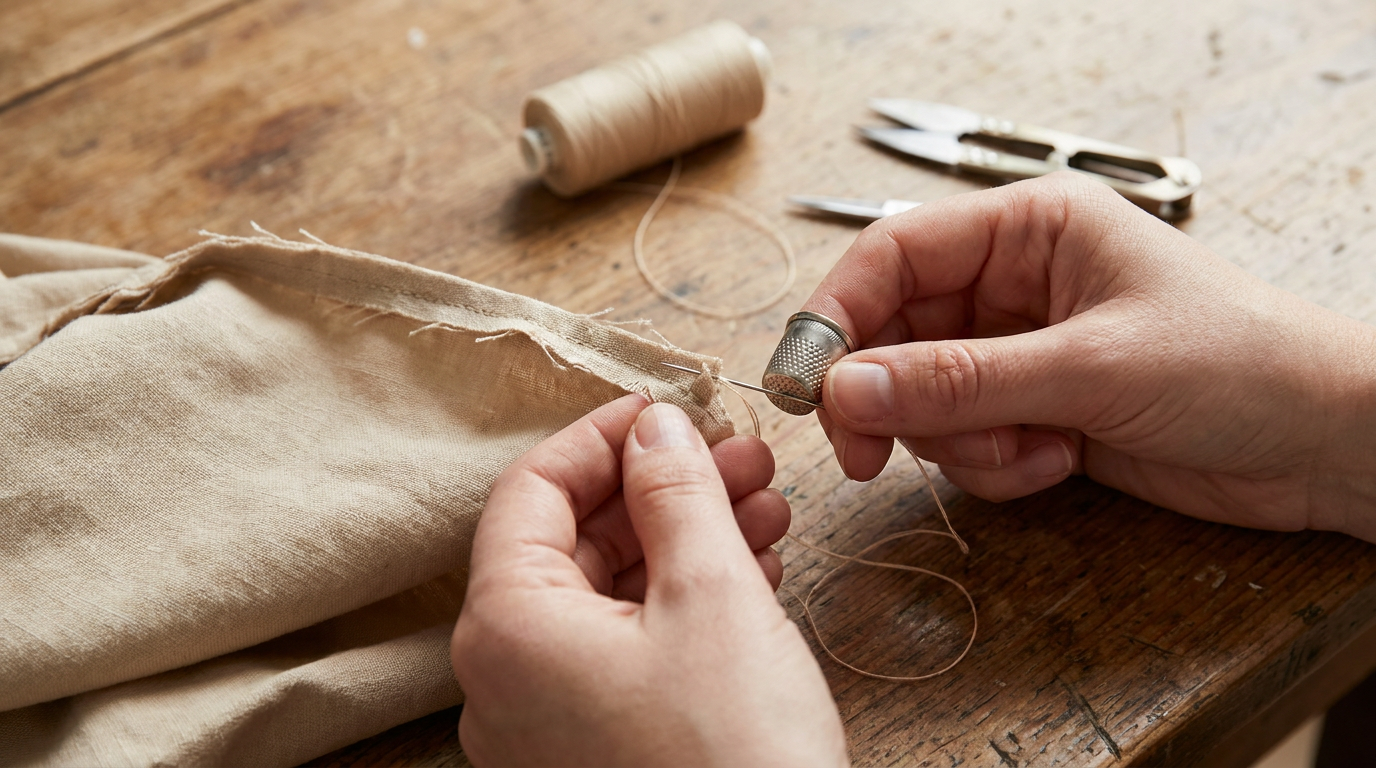
Instructional illustration generated with AI for Howmigo. Cut about 45 cm of matching thread. Thread the needle, leave a short loose tail at the eye and knot the long end. Start about 1 cm before the opening in intact stitching. Pass through both seam layers on the old stitch line and make two small stitches in the same place to anchor.
4. Close the gap with backstitch
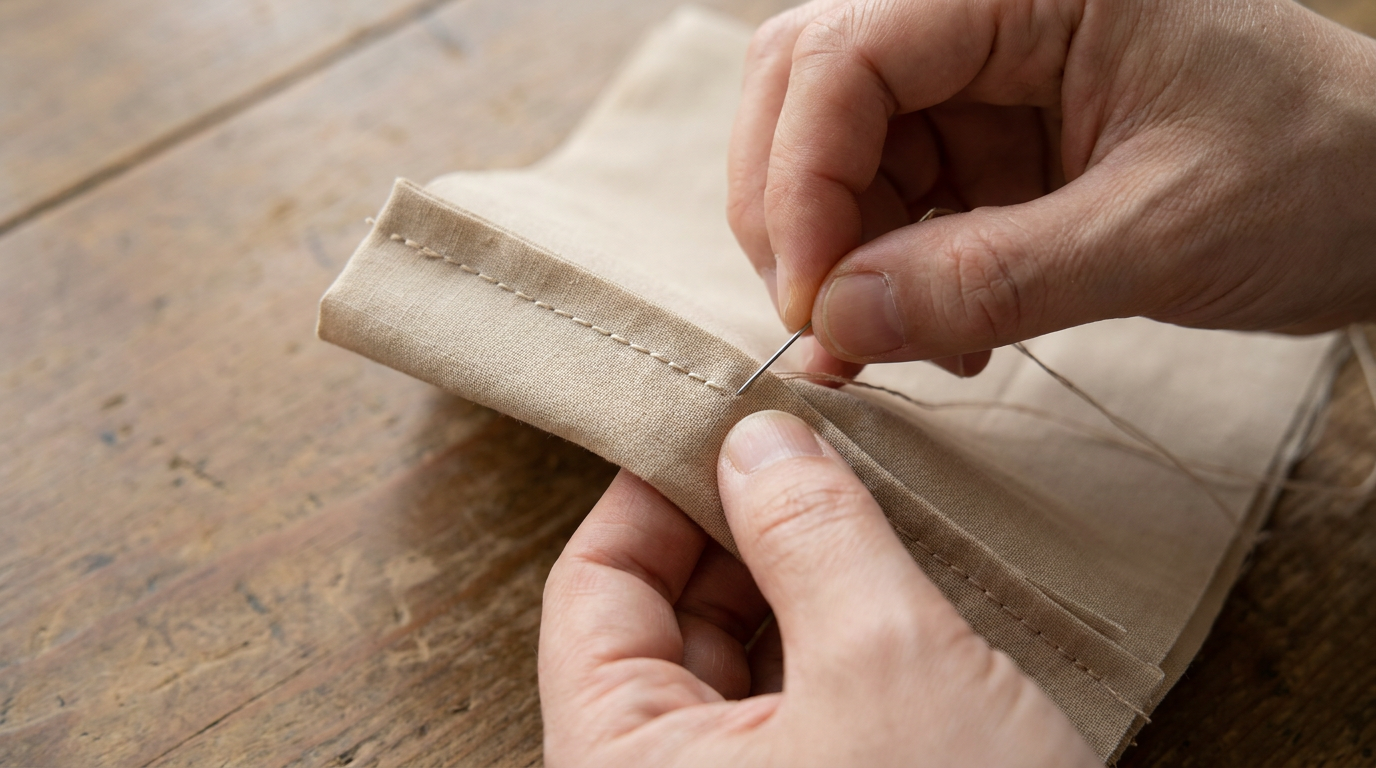
Instructional illustration generated with AI for Howmigo. Bring the needle up through both layers. Insert it about 2–3 mm behind that point, then bring it up 2–3 mm ahead of the previous emergence point. Repeat: go back into the end of the previous stitch, then emerge one stitch length ahead. Follow the old seam line, removing clips as you go. Keep the thread snug without puckering and continue about 1 cm into intact stitching beyond the gap.
5. Secure and check the seam
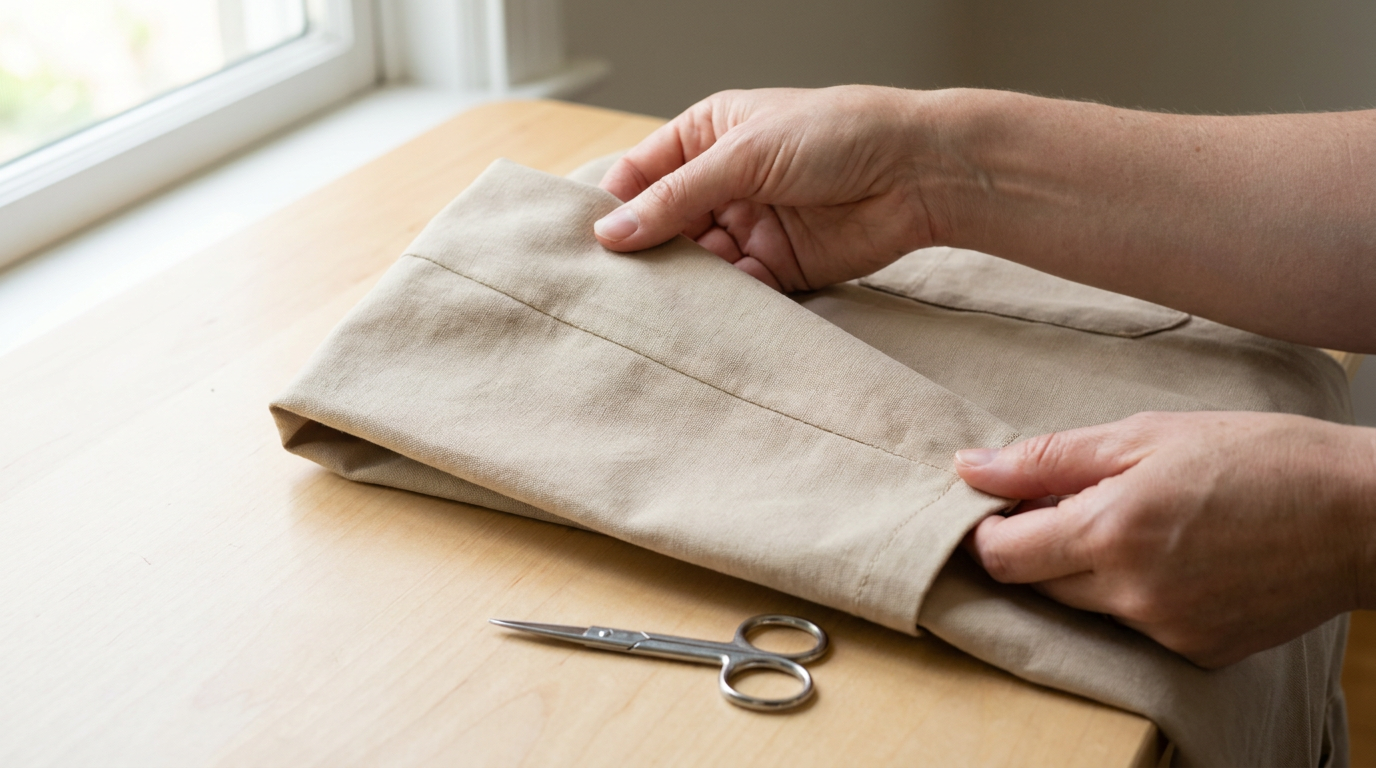
Instructional illustration generated with AI for Howmigo. On the inside, slide the needle under the last stitch, pass it through the resulting loop and tighten gently. Repeat to secure, then cut the thread leaving a short tail. Remove every clip and put the needle away. Turn right side out and gently check for gaps or puckering; redo uneven areas without pulling the fabric hard.
Common questions & troubleshooting
Did this guide help you?
Was this guide useful?
Discussion
No comments yet
Ask a question, share a tip, or reply to someone else.
Sign in to commentLoading comments…