
How to Repair a Loose Screw Hole in Wood
Restore grip in a worn screw hole in solid wood using glued hardwood toothpicks, then reinstall the screw after the glue cures. For tiny wall holes rather than wood joints, see how to fill small nail holes in a wall.
Updated
What you need
Tick off what you already have.
Tools
Materials
 AI illustration
Step 01 / 06
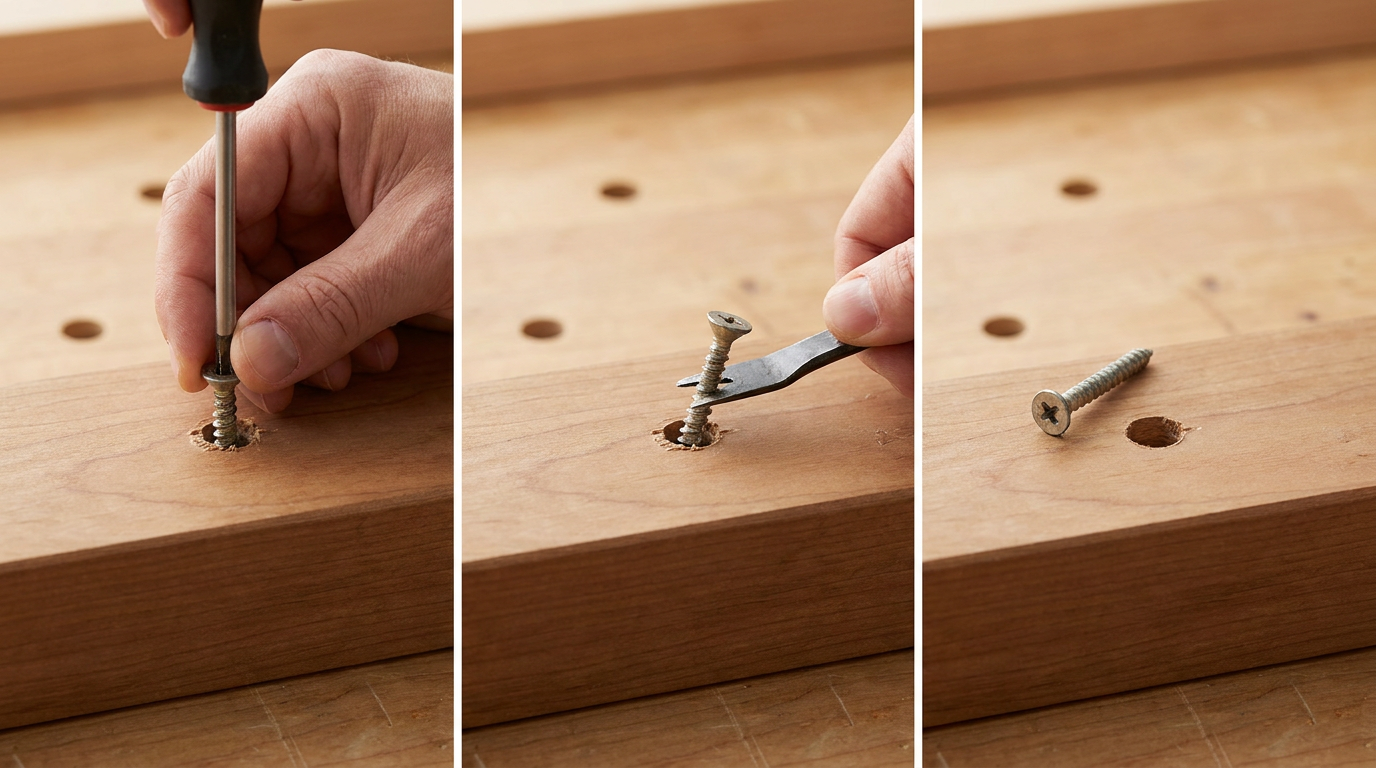
Remove the screw and inspect the wood
Support the fitting, remove the loose screw and check the surrounding wood. This repair suits a stripped hole in sound solid wood. Replace split, rotten or badly crushed wood, and use the correct specialist fixing for plasterboard, chipboard or structural work.
1. Remove the screw and inspect the wood
Instructional illustration generated with AI for Howmigo. Support the fitting, remove the loose screw and check the surrounding wood. This repair suits a stripped hole in sound solid wood. Replace split, rotten or badly crushed wood, and use the correct specialist fixing for plasterboard, chipboard or structural work.
2. Clean the worn hole
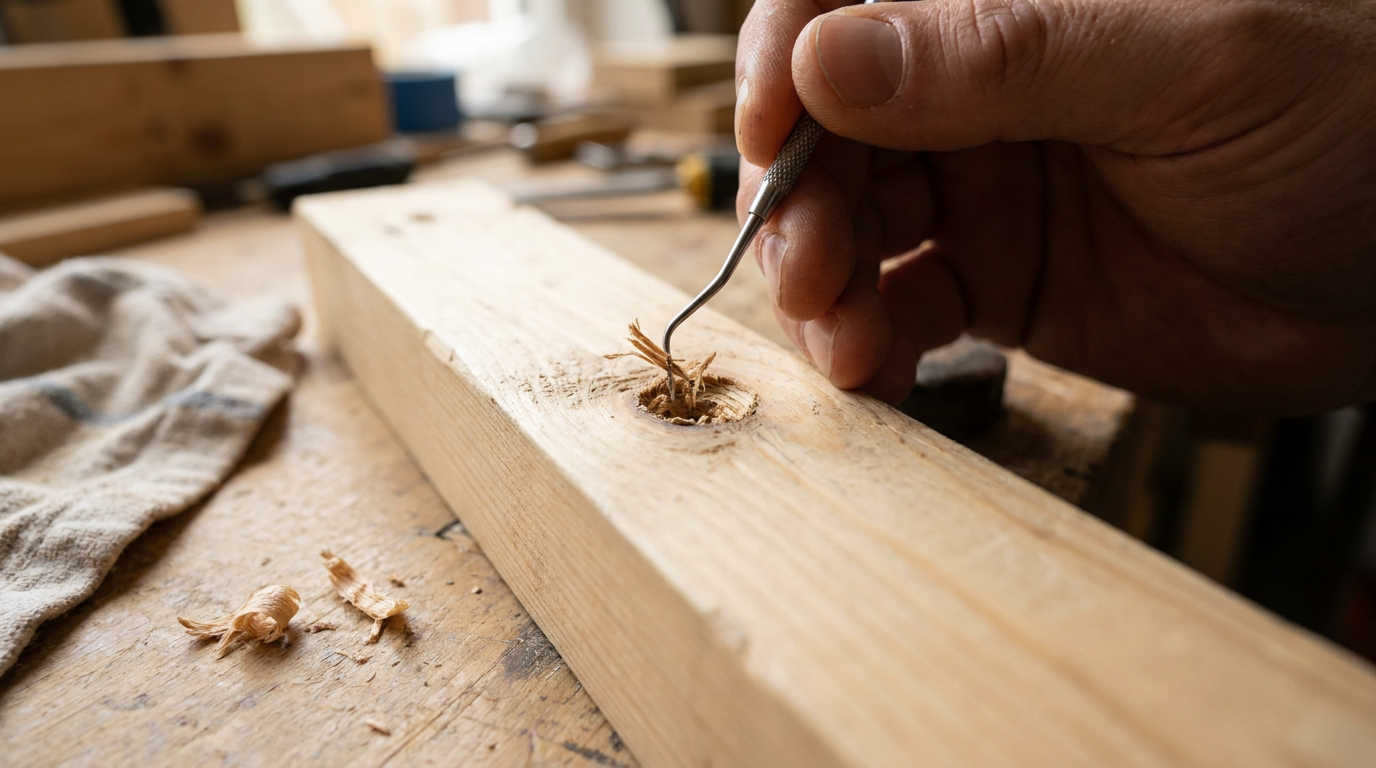
Instructional illustration generated with AI for Howmigo. Remove loose fibres and dust with the tip of a dry toothpick or a narrow brush. Do not enlarge the hole. Check that the original screw is straight, undamaged and suitable for the fitting.
3. Coat hardwood pieces with glue
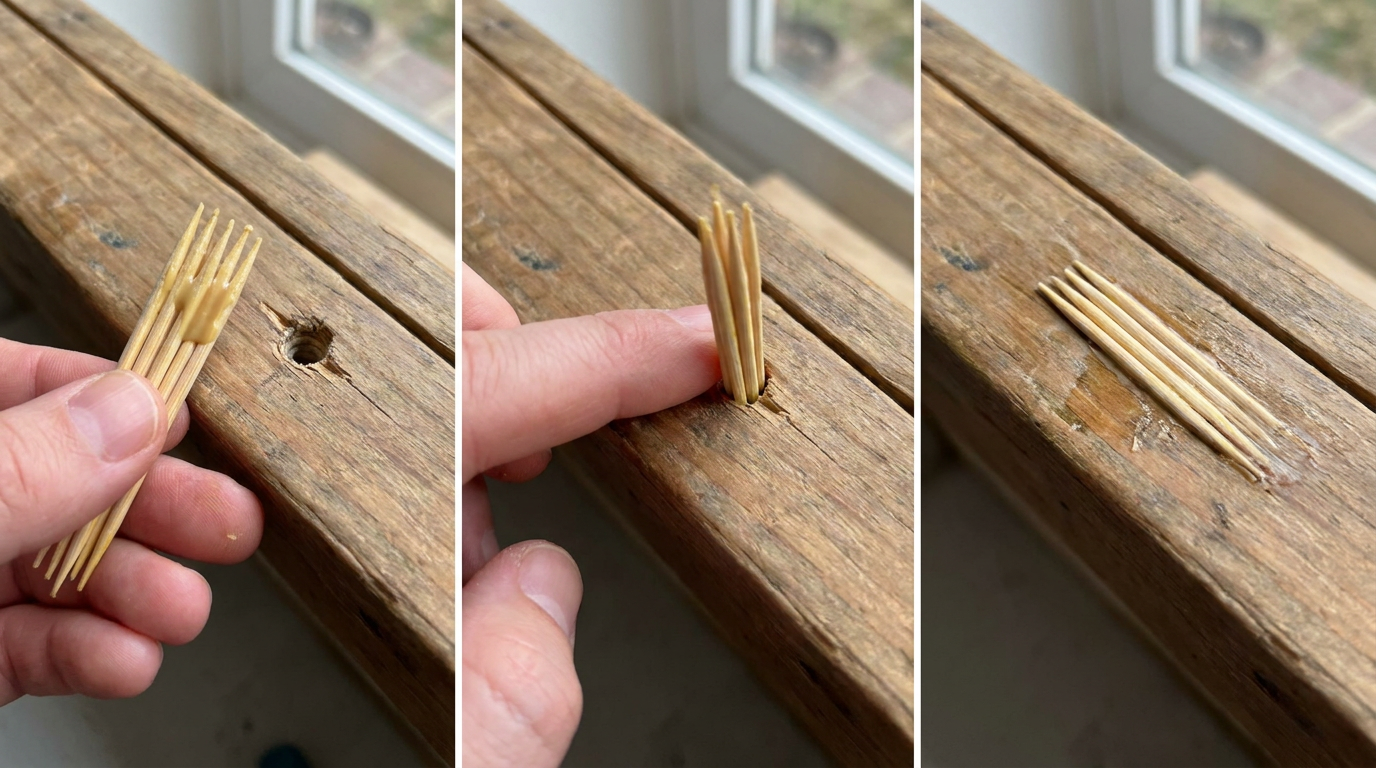
Instructional illustration generated with AI for Howmigo. Apply wood glue to two or more hardwood toothpicks or slim hardwood splinters. Press them into the hole until it is firmly filled, adding only enough material to occupy the worn space without forcing the wood apart.
4. Trim and let the glue cure
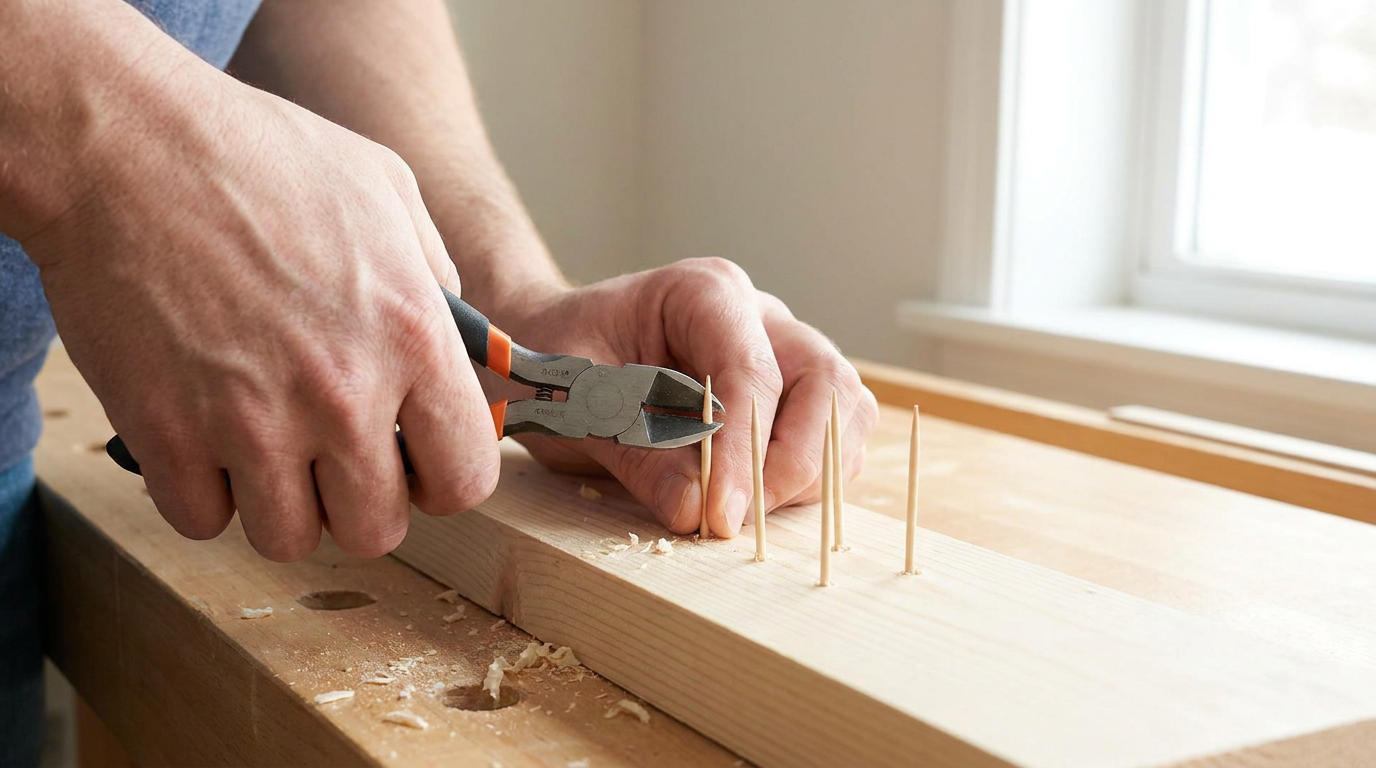
Instructional illustration generated with AI for Howmigo. Trim the projecting wood flush with a sharp utility knife, cutting away from your hands and finished surfaces. Wipe off squeezed-out glue and leave the repair untouched for the full curing time stated by the glue manufacturer.
5. Drill a small pilot hole
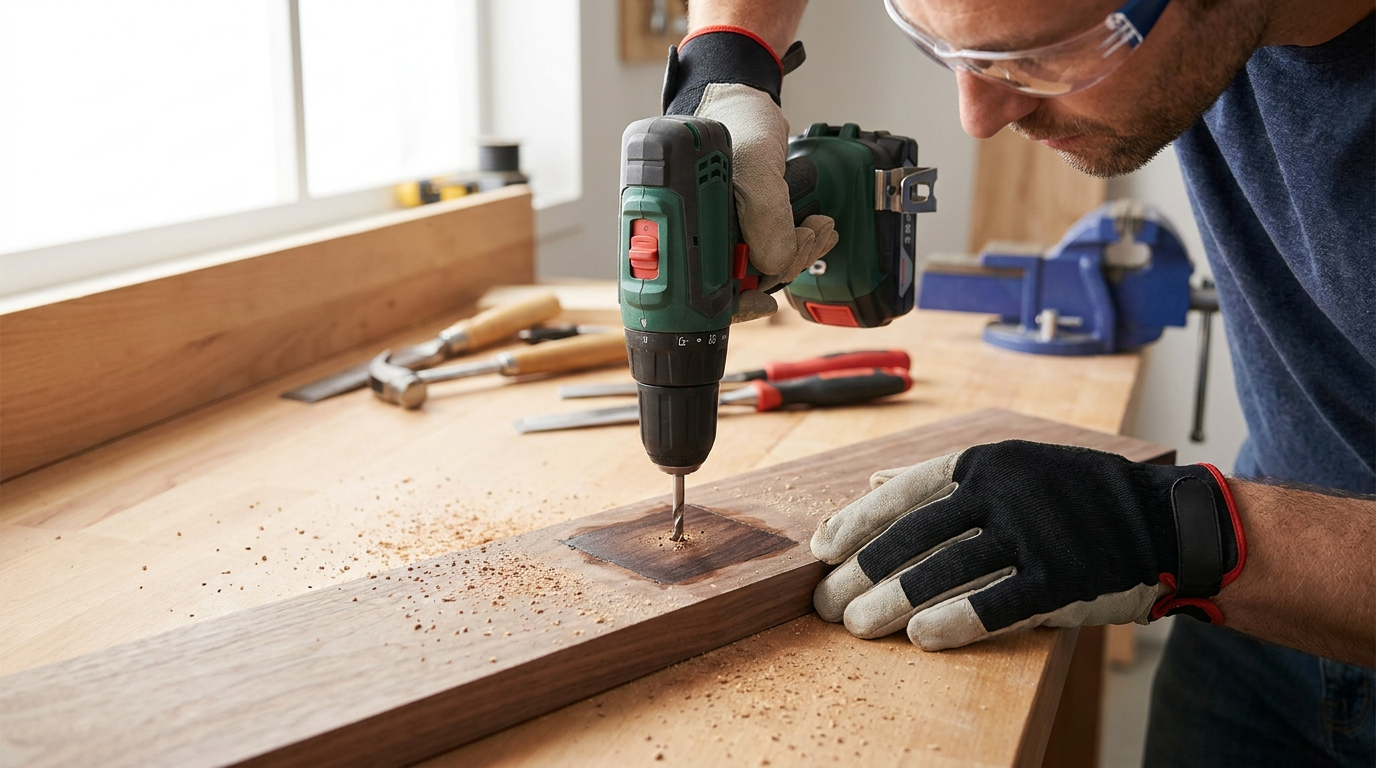
Instructional illustration generated with AI for Howmigo. Mark the centre and drill straight into the repair with a pilot bit appropriate for the screw's core diameter. Set a depth stop or tape flag so you do not drill through the workpiece or into hidden services.
6. Refit and test the screw
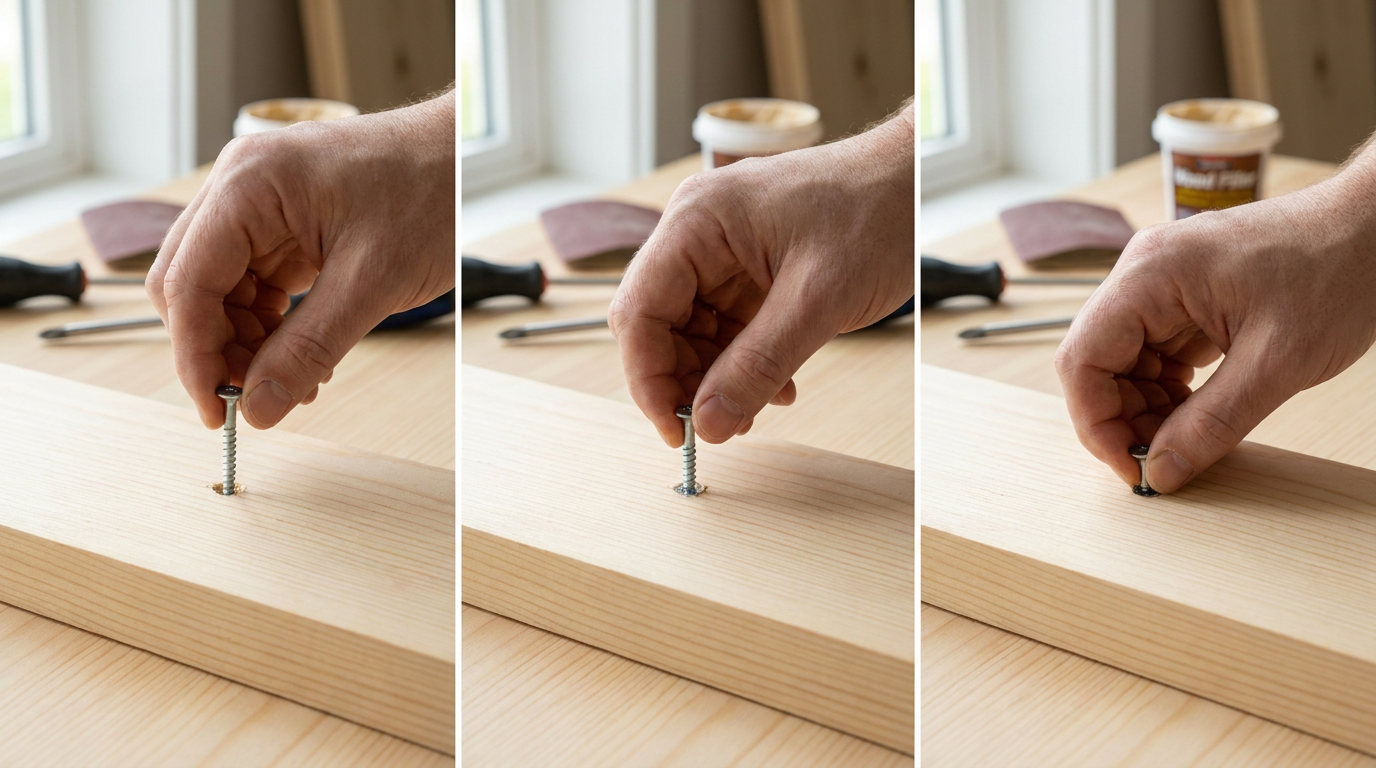
Instructional illustration generated with AI for Howmigo. Reinstall the fitting and tighten the screw by hand until it is snug. Stop if the wood begins to split or the screw spins. Test the fitting gently; load-bearing hardware needs a repair method rated for its intended load.
Common questions & troubleshooting
Did this guide help you?
Was this guide useful?
Discussion
No comments yet
Ask a question, share a tip, or reply to someone else.
Sign in to commentLoading comments…