
How to Fill Small Nail Holes in a Wall
Repair small nail holes in a sound, painted plasterboard or plaster wall. Allow about 20 minutes of hands-on work, plus the drying times stated on your filler, primer and paint.
Updated
What you need
Tick off what you already have.
Tools
Materials
 AI illustration
Step 01 / 07
Check the wall and protect the floor
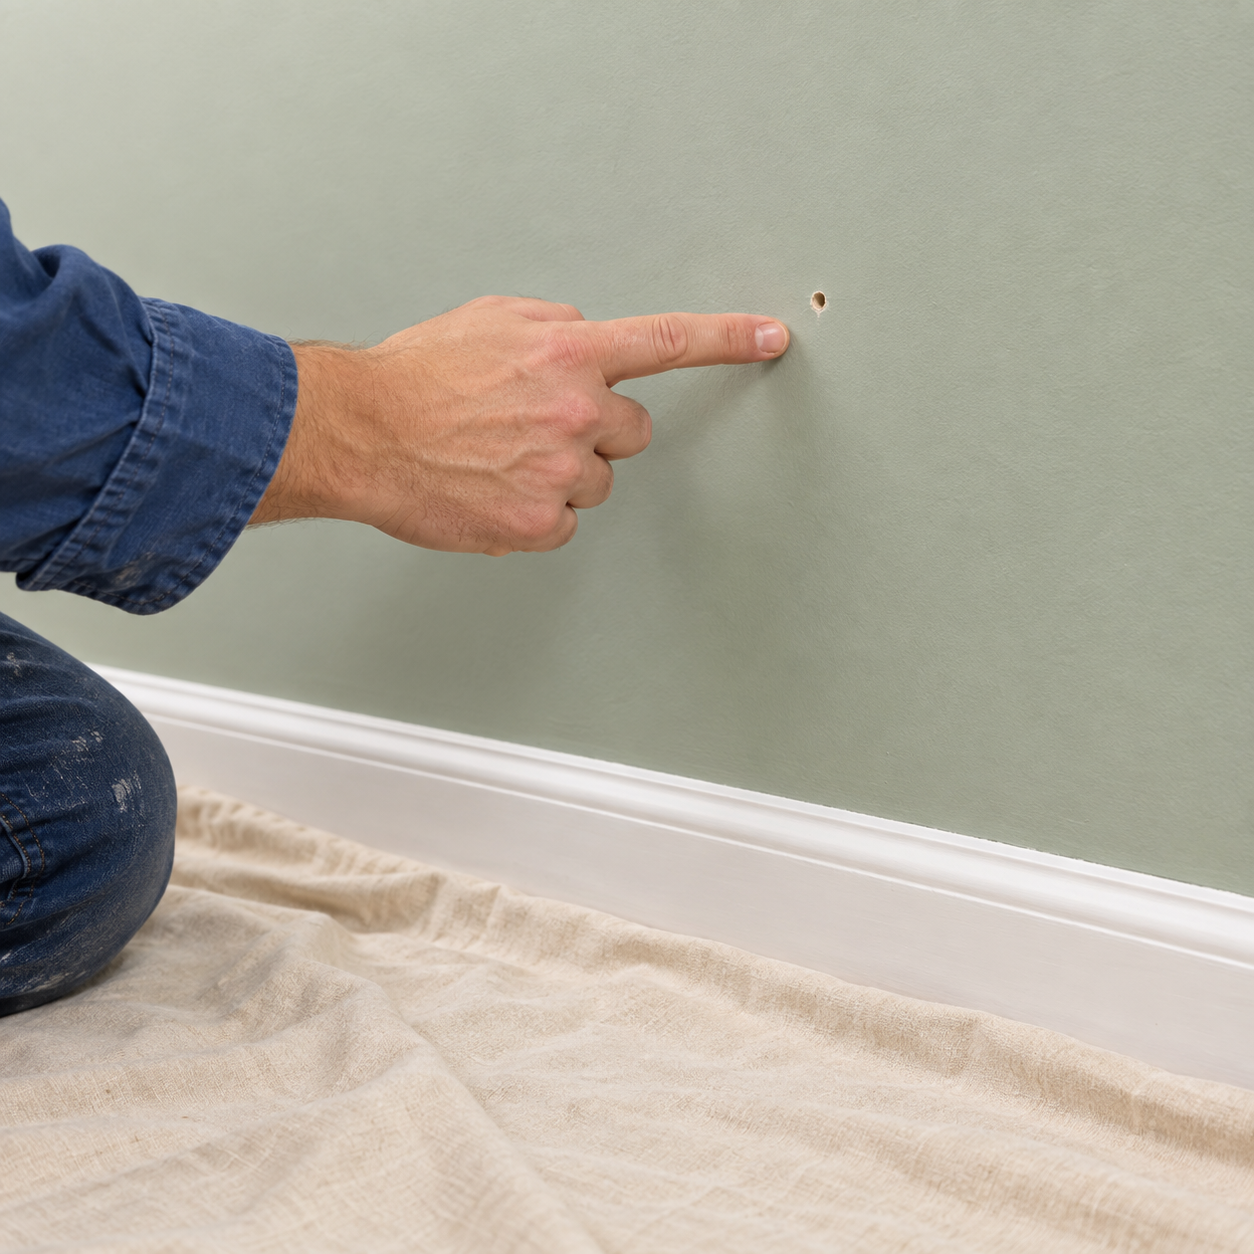
Use this method only for small nail holes in a dry, sound, painted plasterboard or plaster wall. Larger holes, loose plaster and damp damage need a different repair. Remove any nail carefully and cover the floor. If old paint or textured coatings could contain hazardous materials, have them assessed before scraping or sanding.
1. Check the wall and protect the floor
Instructional illustration generated with AI for Howmigo. Use this method only for small nail holes in a dry, sound, painted plasterboard or plaster wall. Larger holes, loose plaster and damp damage need a different repair. Remove any nail carefully and cover the floor. If old paint or textured coatings could contain hazardous materials, have them assessed before scraping or sanding.
2. Clean and prepare the hole
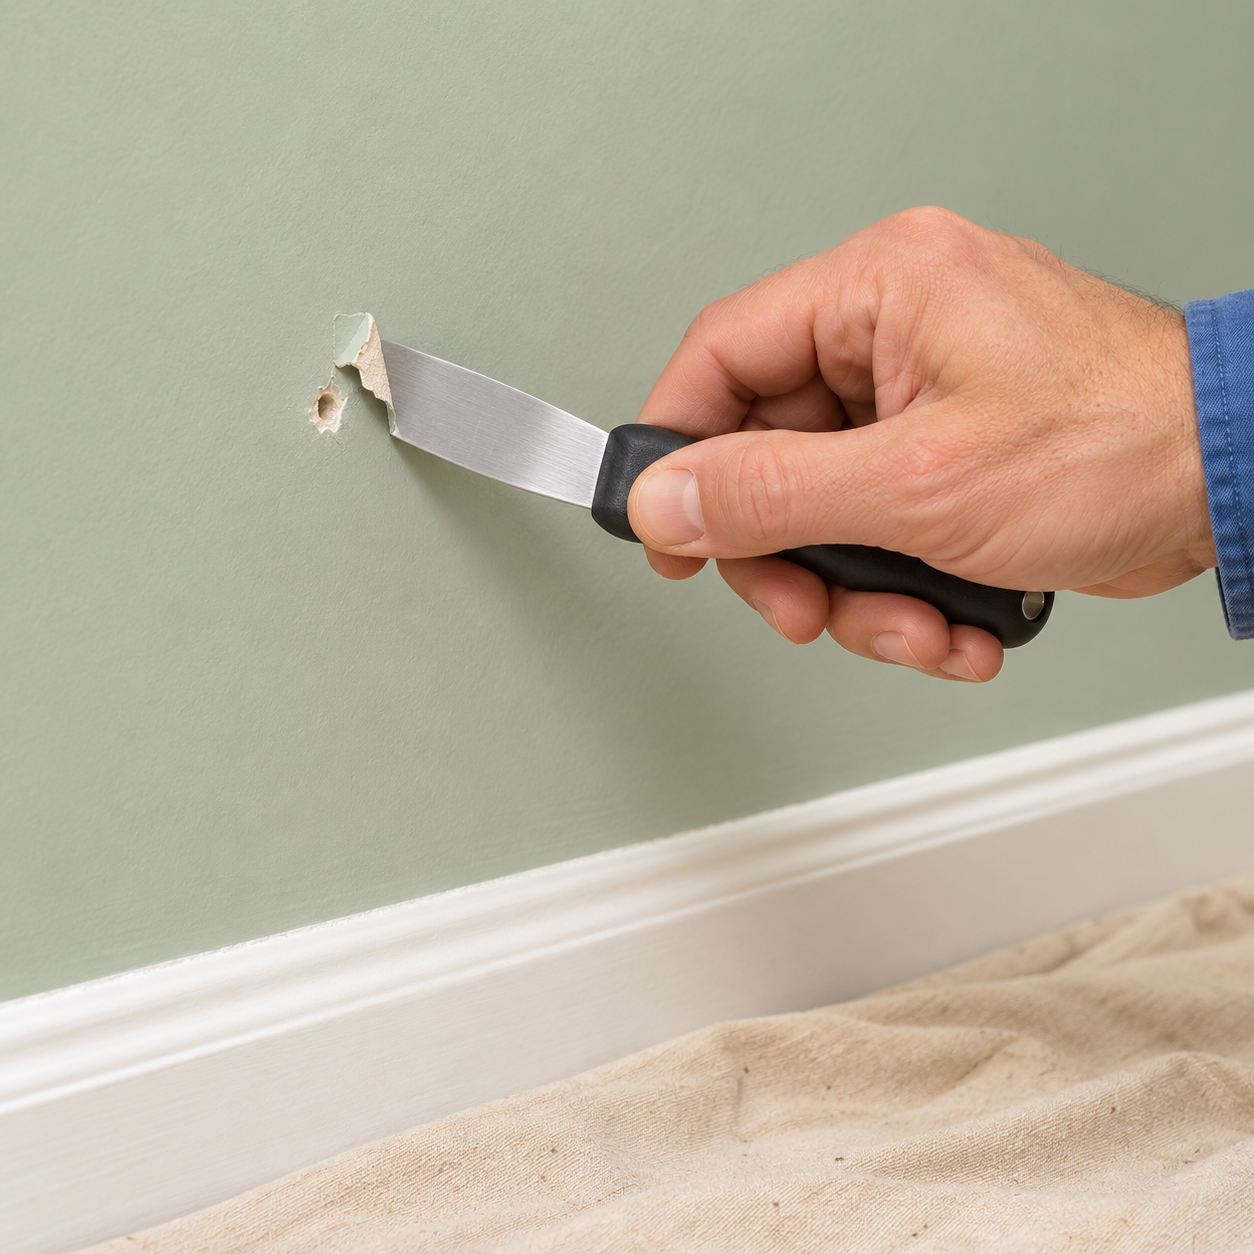
Instructional illustration generated with AI for Howmigo. Gently lift away loose flakes with a filling knife without enlarging the hole or tearing the plasterboard paper. Brush away dust, wipe with a barely damp cloth and let the surface dry. The surrounding paint must be firmly attached.
3. Press filler into the hole
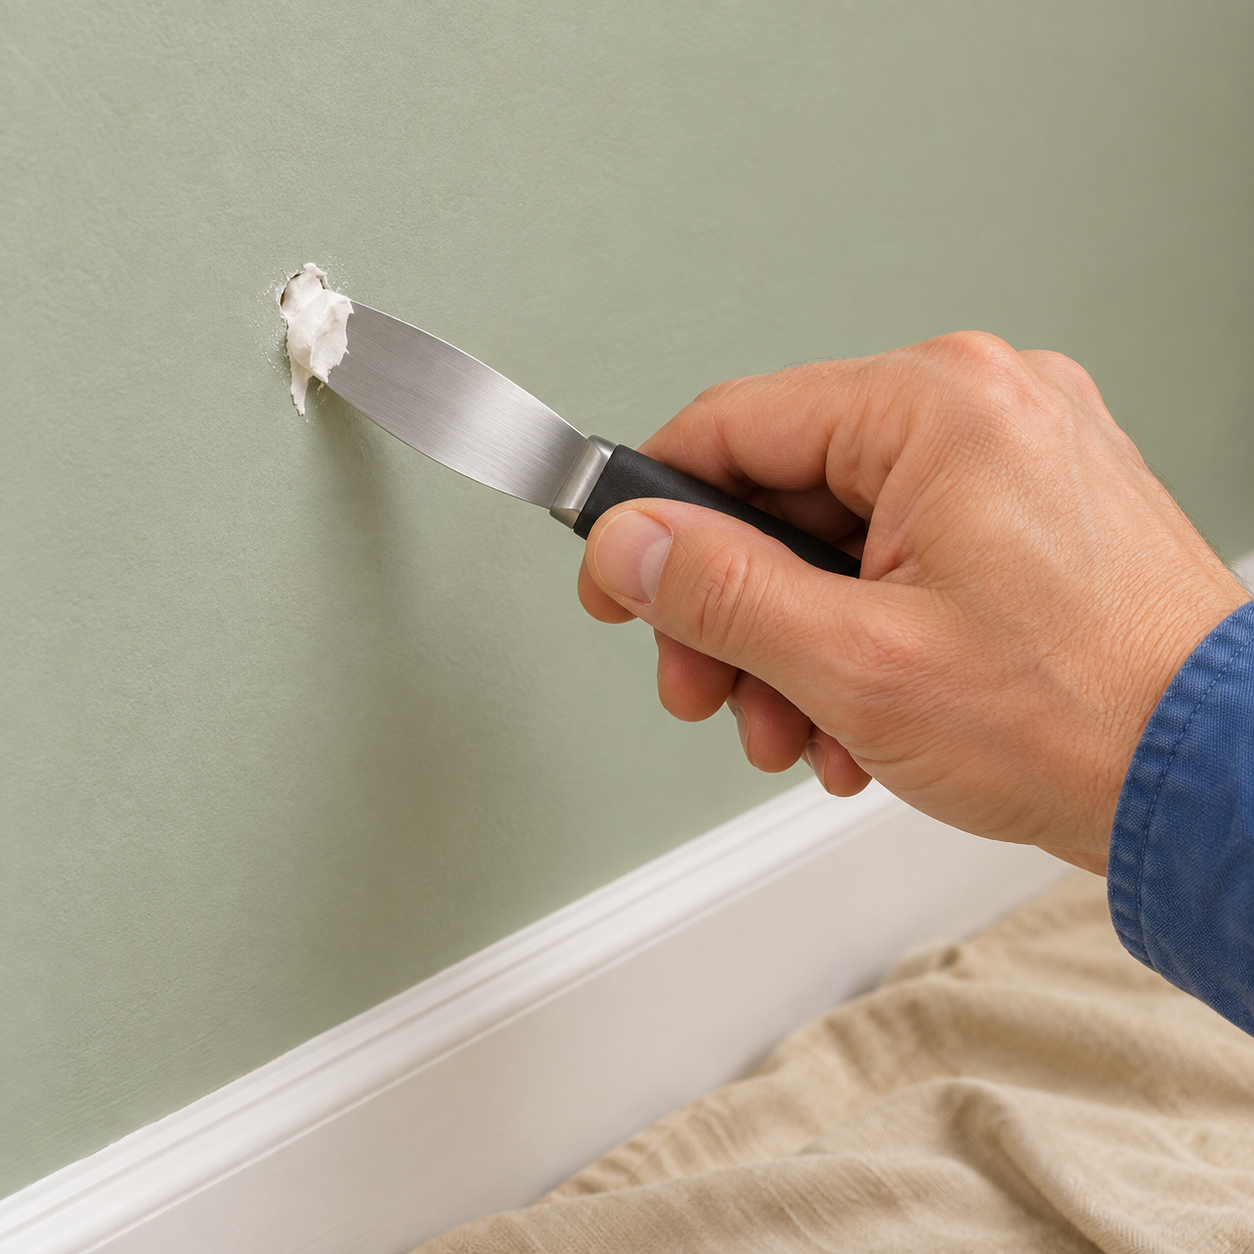
Instructional illustration generated with AI for Howmigo. Check the filler's instructions and maximum layer thickness. Take a small amount on the knife and press it into the hole from different directions. Leave a thin, slightly proud patch and scrape excess from the surrounding wall.
4. Let the filler dry and check for shrinkage
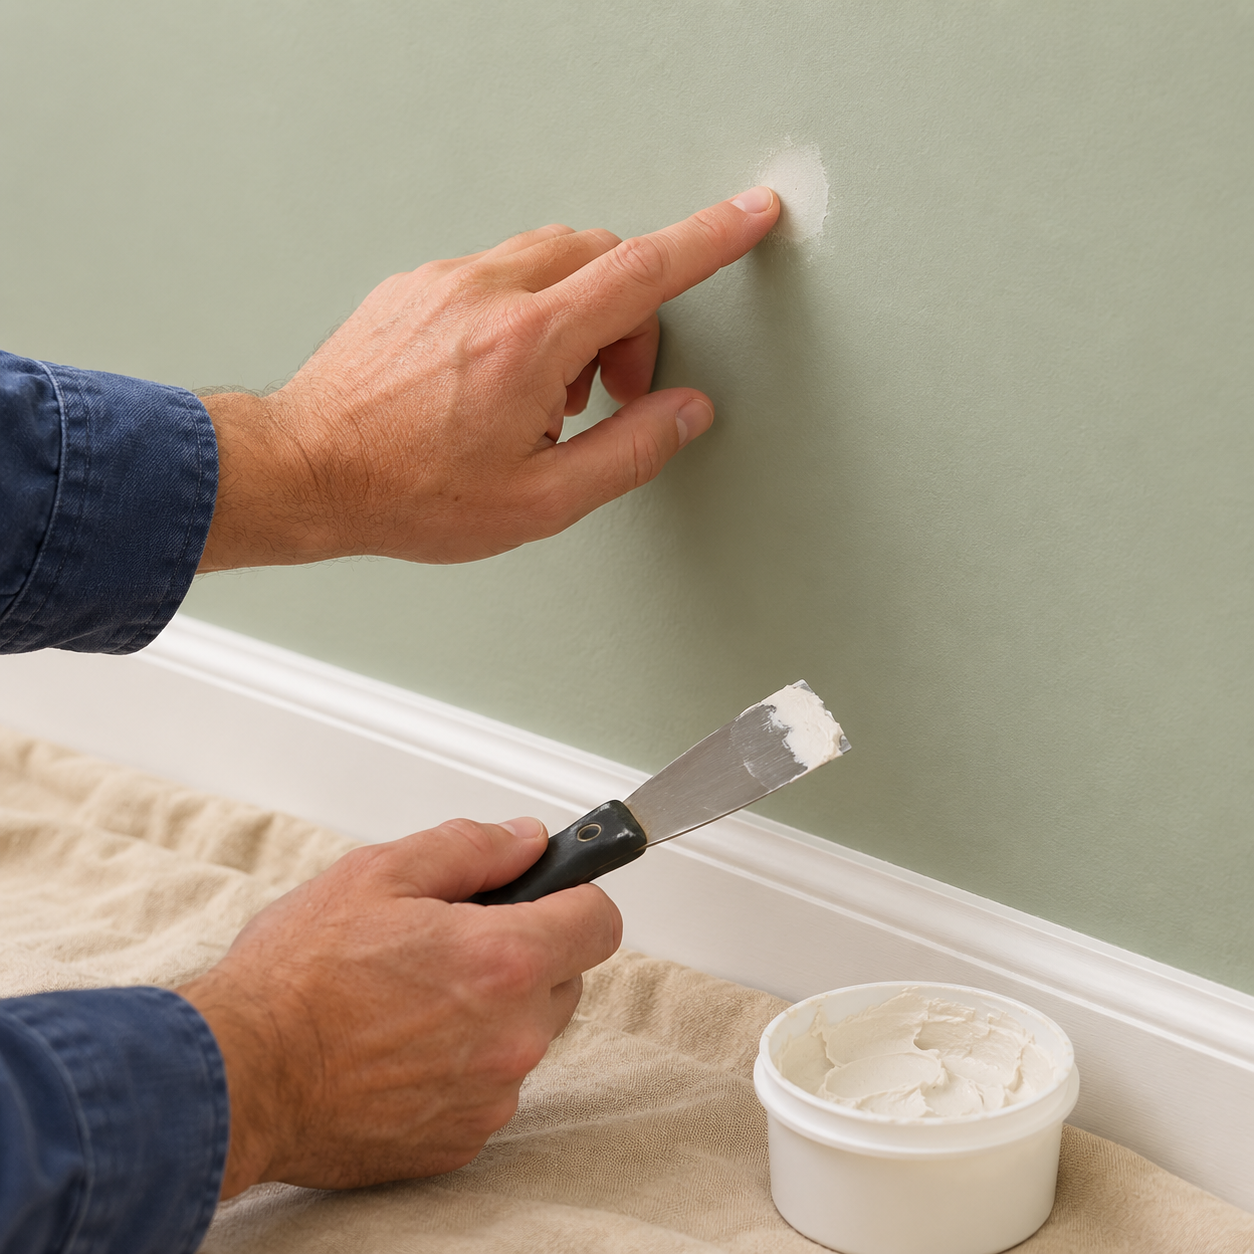
Instructional illustration generated with AI for Howmigo. Wait for the full drying time on the product label; depth, temperature and humidity affect it. Do not sand soft filler. If the repair has sunk below the wall, apply another thin layer and let it dry fully.
5. Sand gently until level
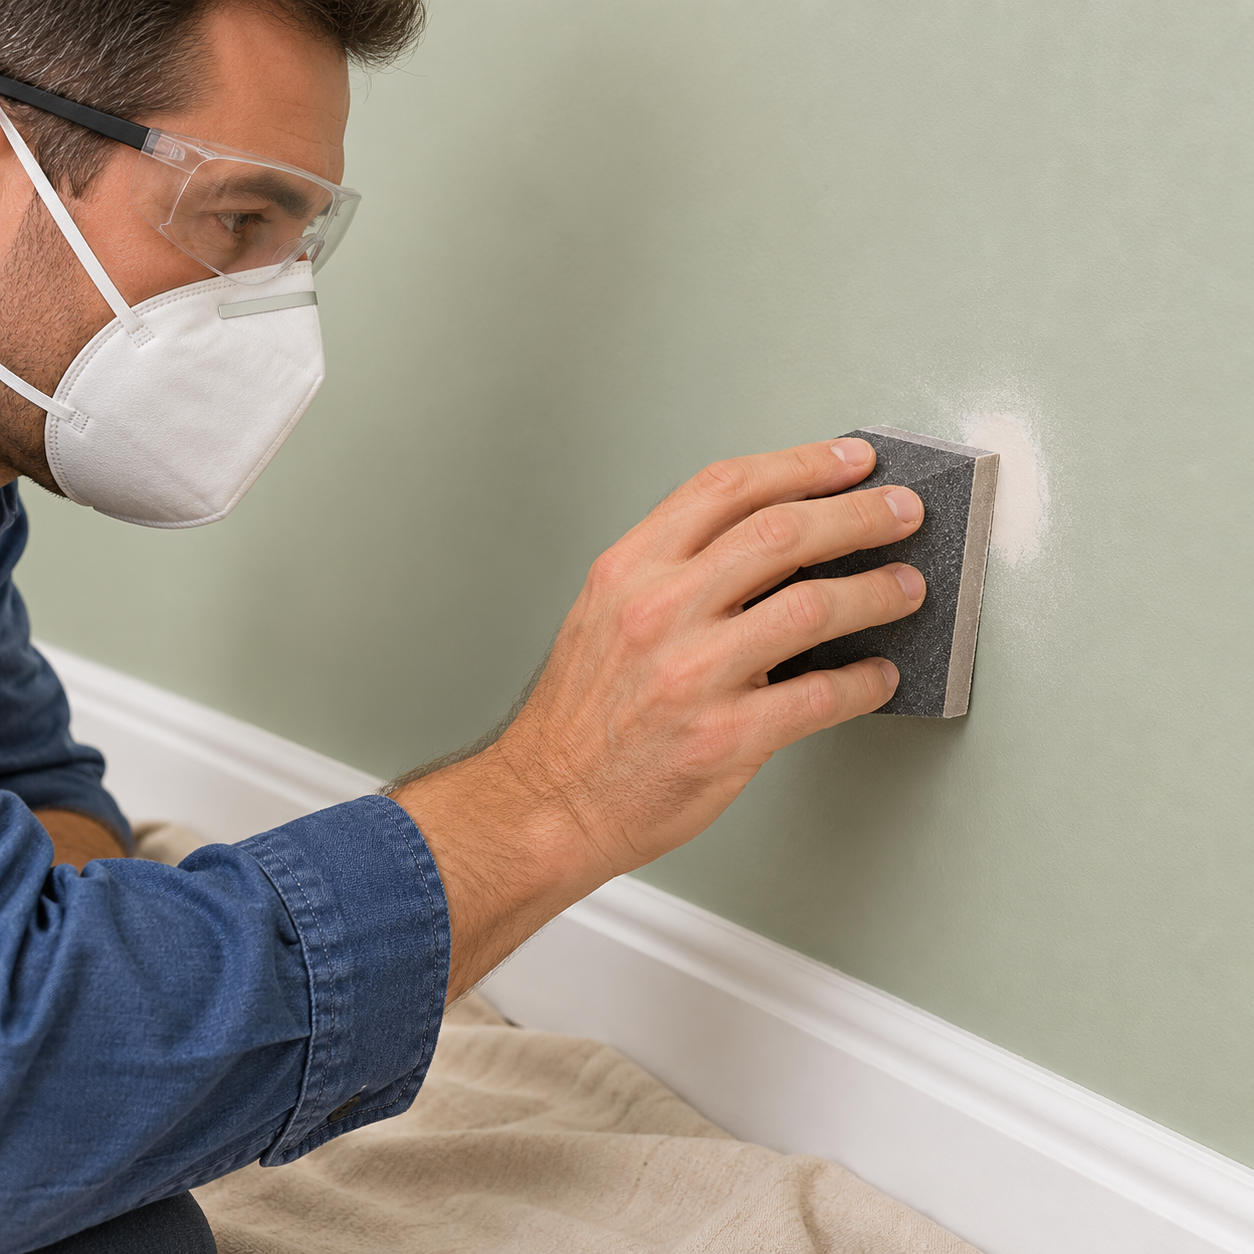
Instructional illustration generated with AI for Howmigo. Wear safety glasses and a suitable dust mask. With 180–220 grit paper on a sanding block, use light pressure to level only the raised filler. Stop when the repair feels flush; do not expose or damage the surrounding plasterboard paper.
6. Remove dust and prime if needed
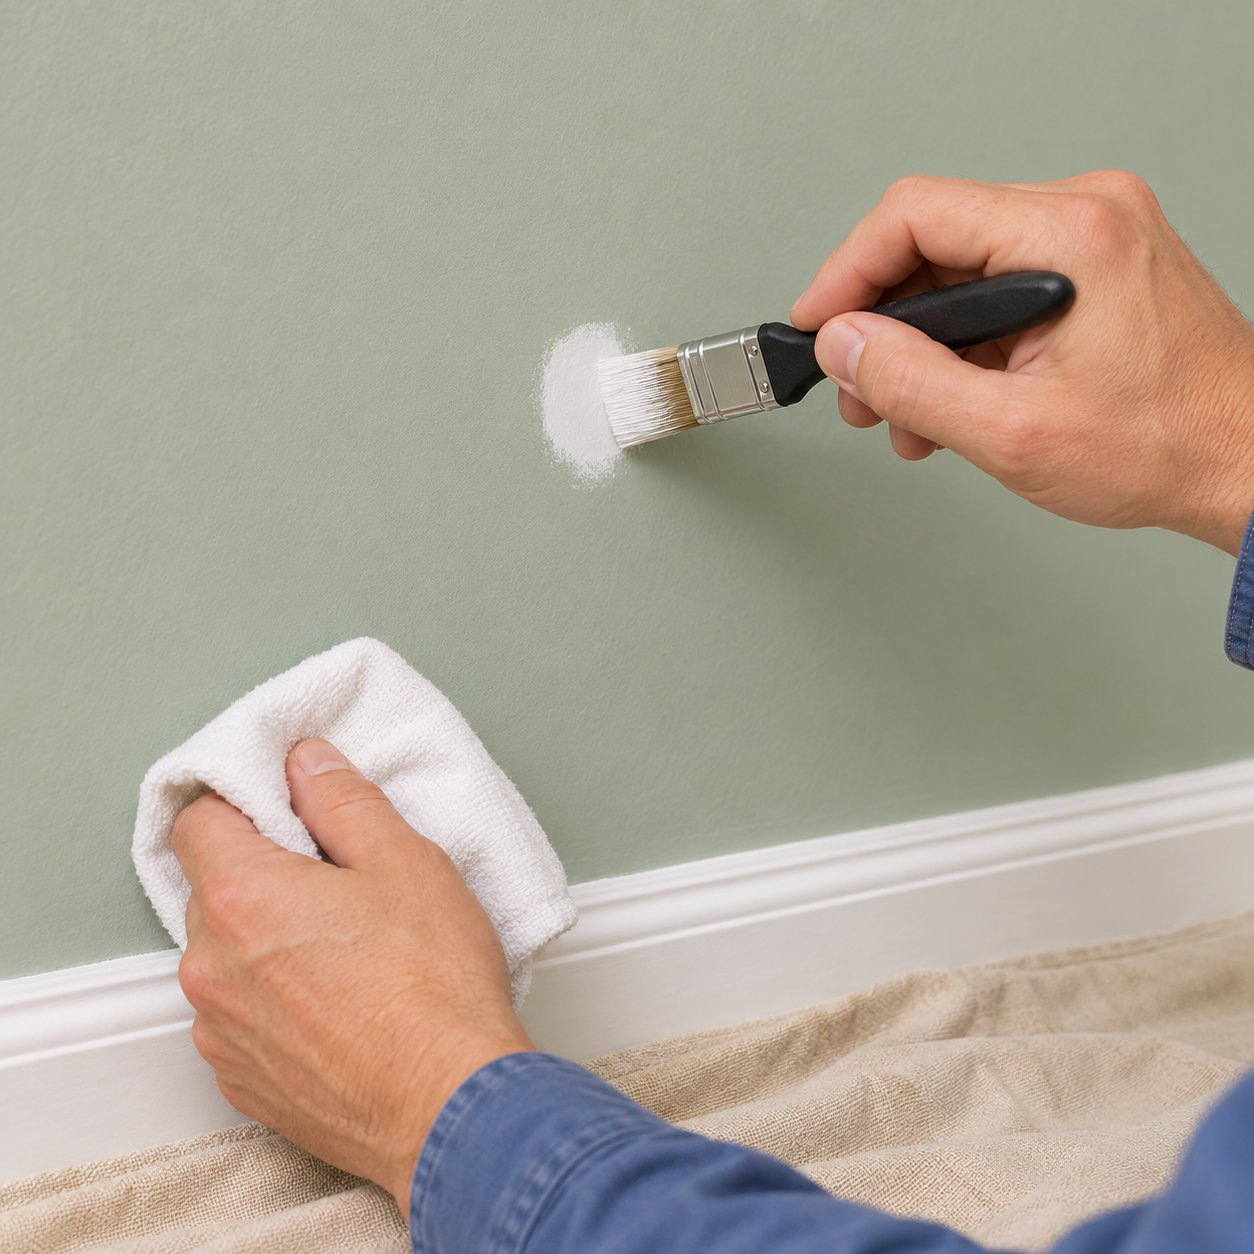
Instructional illustration generated with AI for Howmigo. Remove sanding dust with a clean, barely damp cloth and let the wall dry. Apply compatible primer if the filler or paint instructions require it, then allow it to dry. Some fillers are self-priming; check the label.
7. Touch up the paint and inspect
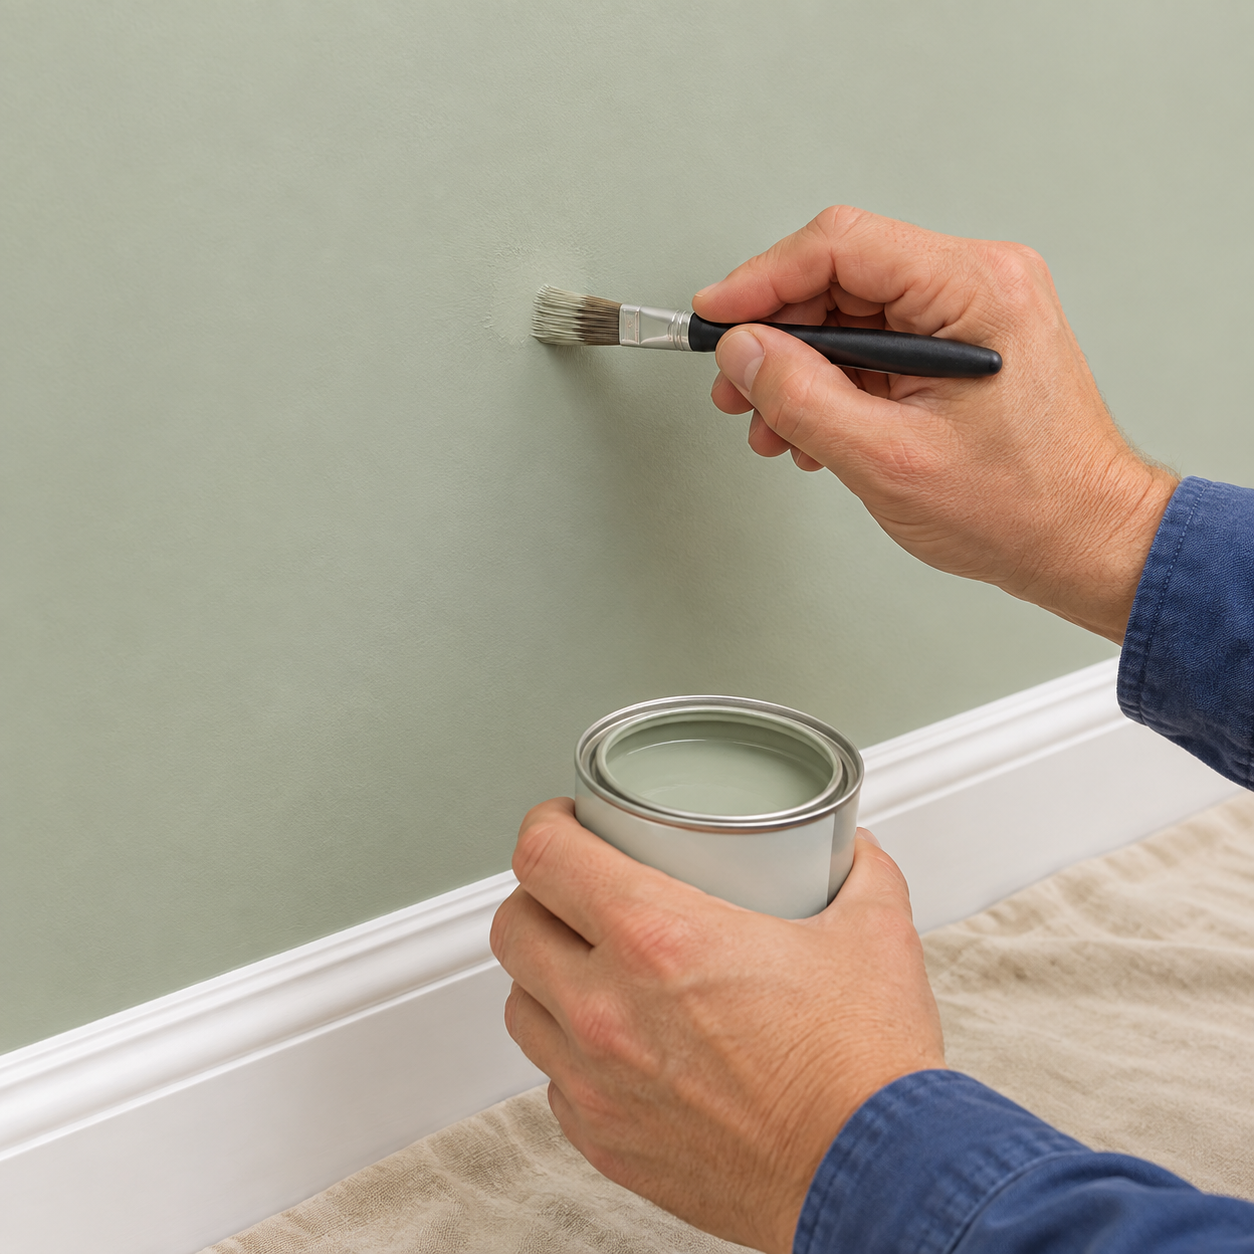
Instructional illustration generated with AI for Howmigo. Use paint matching the wall's colour and sheen, following its coverage and drying instructions. Inspect after it dries. A visible touch-up may require repainting the whole wall to the corners for an even finish. If you repaint the whole wall, use painter’s tape for clean paint edges to protect adjoining surfaces.
Did this guide help you?
Was this guide useful?
Discussion
No comments yet
Ask a question, share a tip, or reply to someone else.
Sign in to commentLoading comments…