
How to Apply Painter’s Tape for Clean Edges
Mask a straight paint boundary on smooth, sound interior trim or a wall. Allow about 20 minutes for masking, plus the tape and paint manufacturers’ waiting times; this guide covers edge masking rather than painting a whole room.
Updated
What you need
Tick off what you already have.
Tools
Materials
 AI illustration
Step 01 / 04
Choose the tape and prepare the surface
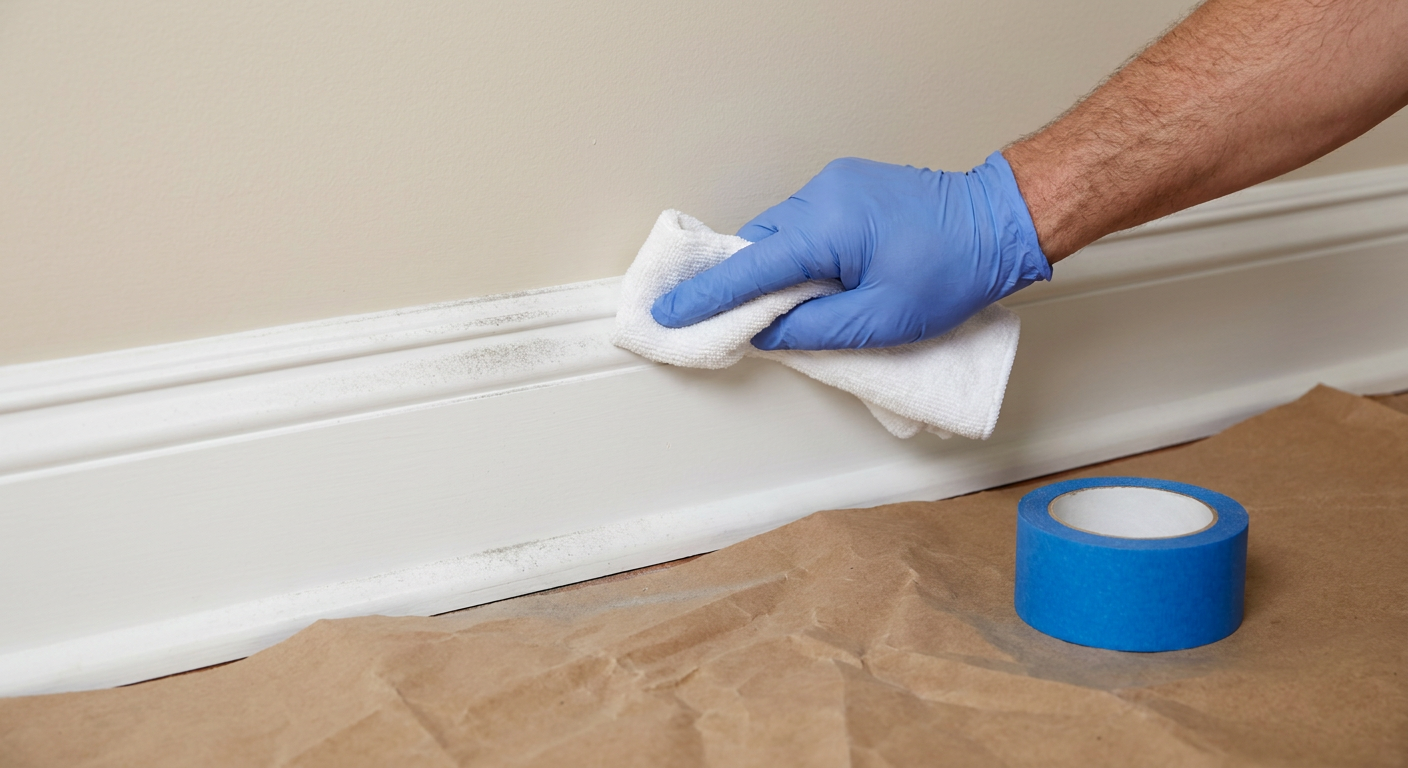
Read the tape label for compatible surfaces, required paint curing time and removal deadline. Use delicate-surface tape only where its label permits; ordinary masking tape may damage finishes. Test a small hidden area first. Wipe away dust and grease using a cleaner approved for the finish, then let the surface dry completely. Do not tape over loose paint or wallpaper unless the tape is rated for it. Protect the floor with a drop cloth. If the wall has small nail holes, repair them before masking: how to fill small nail holes in a wall.
1. Choose the tape and prepare the surface
Instructional illustration generated with AI for Howmigo. Read the tape label for compatible surfaces, required paint curing time and removal deadline. Use delicate-surface tape only where its label permits; ordinary masking tape may damage finishes. Test a small hidden area first. Wipe away dust and grease using a cleaner approved for the finish, then let the surface dry completely. Do not tape over loose paint or wallpaper unless the tape is rated for it. Protect the floor with a drop cloth. If the wall has small nail holes, repair them before masking: how to fill small nail holes in a wall.
2. Lay the tape along the boundary
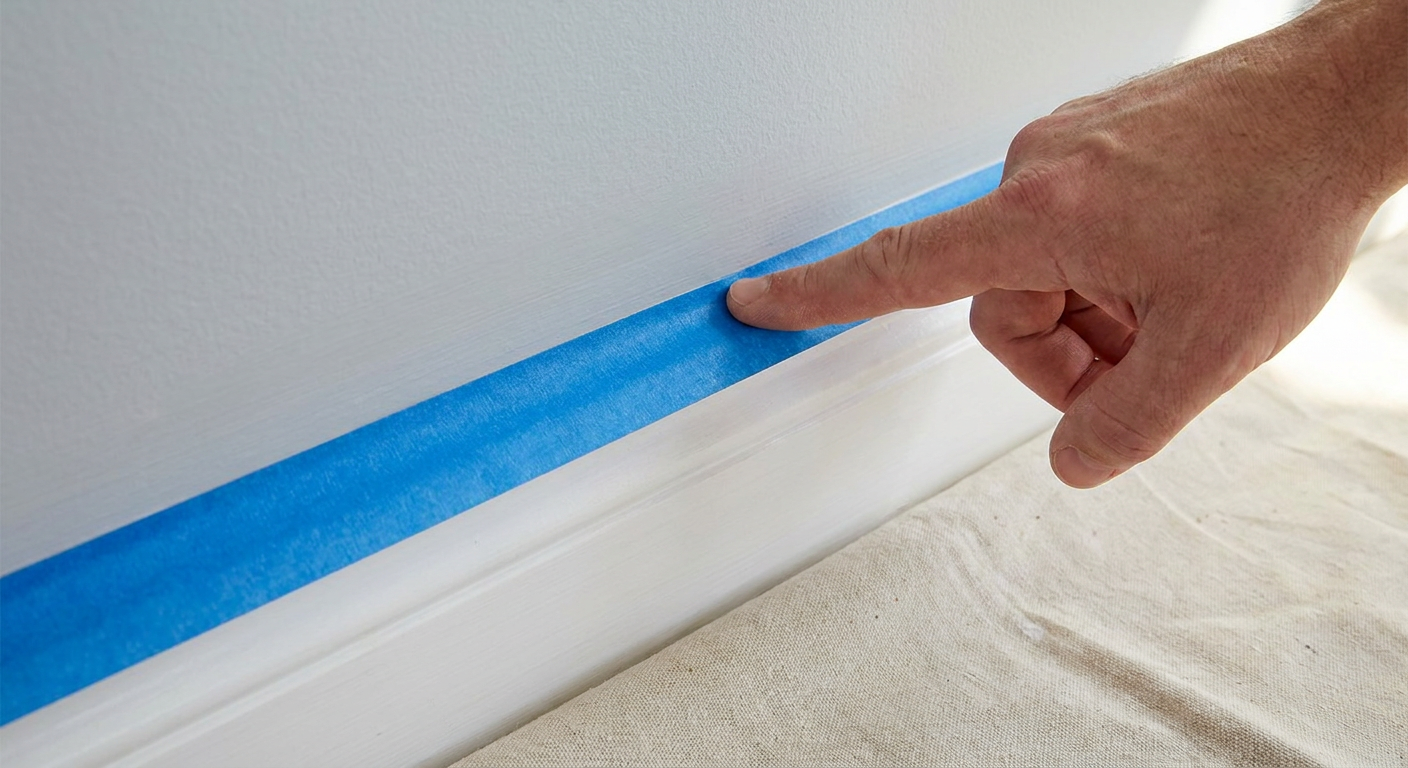
Instructional illustration generated with AI for Howmigo. Place the tape on the side that must stay unpainted, with one edge exactly on the intended paint line. Work in manageable lengths without stretching the tape. Overlap joins slightly and press them flat. Press the paint-facing edge firmly with a clean fingertip along its full length; avoid wrinkles or gaps. Follow the tape label’s waiting time before painting.
3. Paint lightly at the taped edge
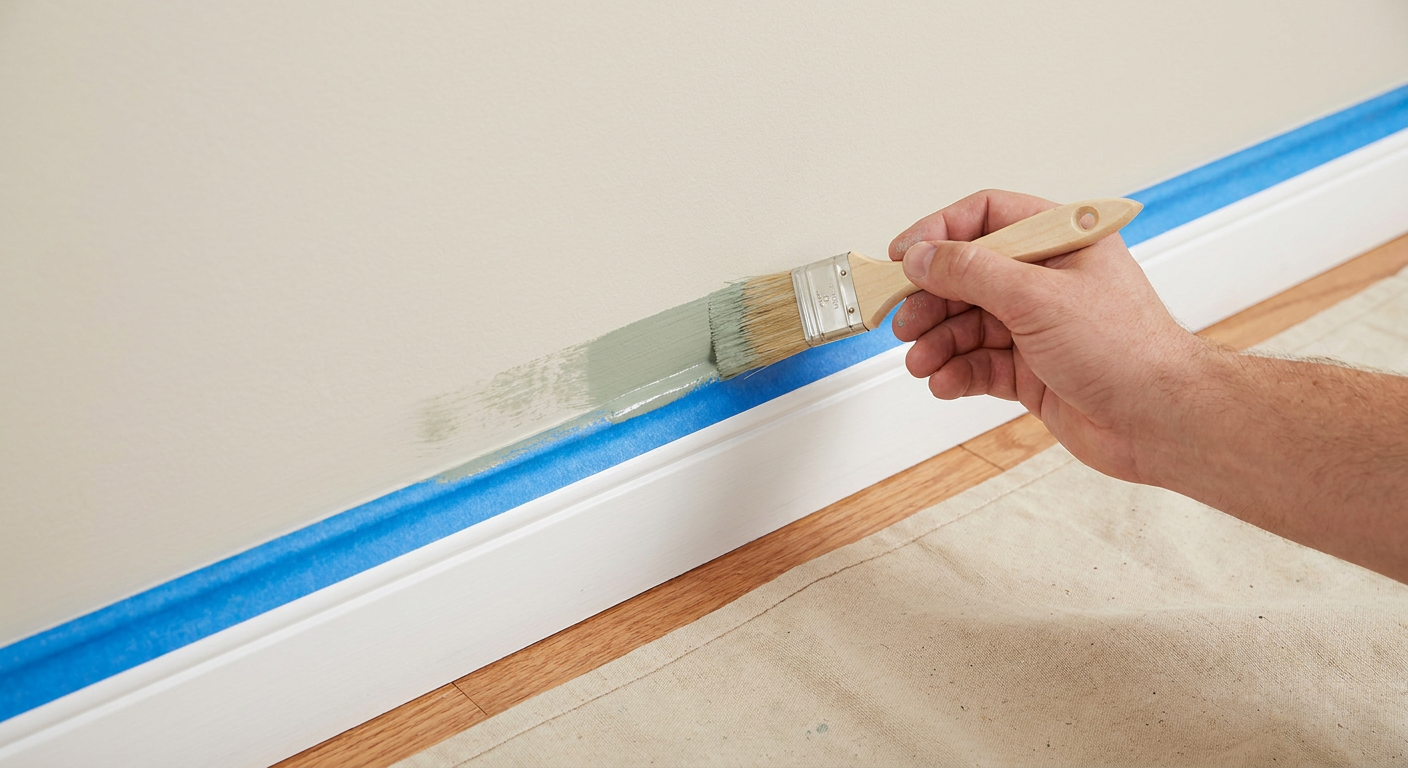
Instructional illustration generated with AI for Howmigo. Use paint compatible with the surface and ventilate as directed on its label. Load the brush lightly and move from the tape onto the area being painted, rather than pushing paint underneath the edge. Apply thin coats and follow the paint’s recoating time. Check that the tape stays sealed and that the full job fits within its removal deadline.
4. Remove the tape at the specified time
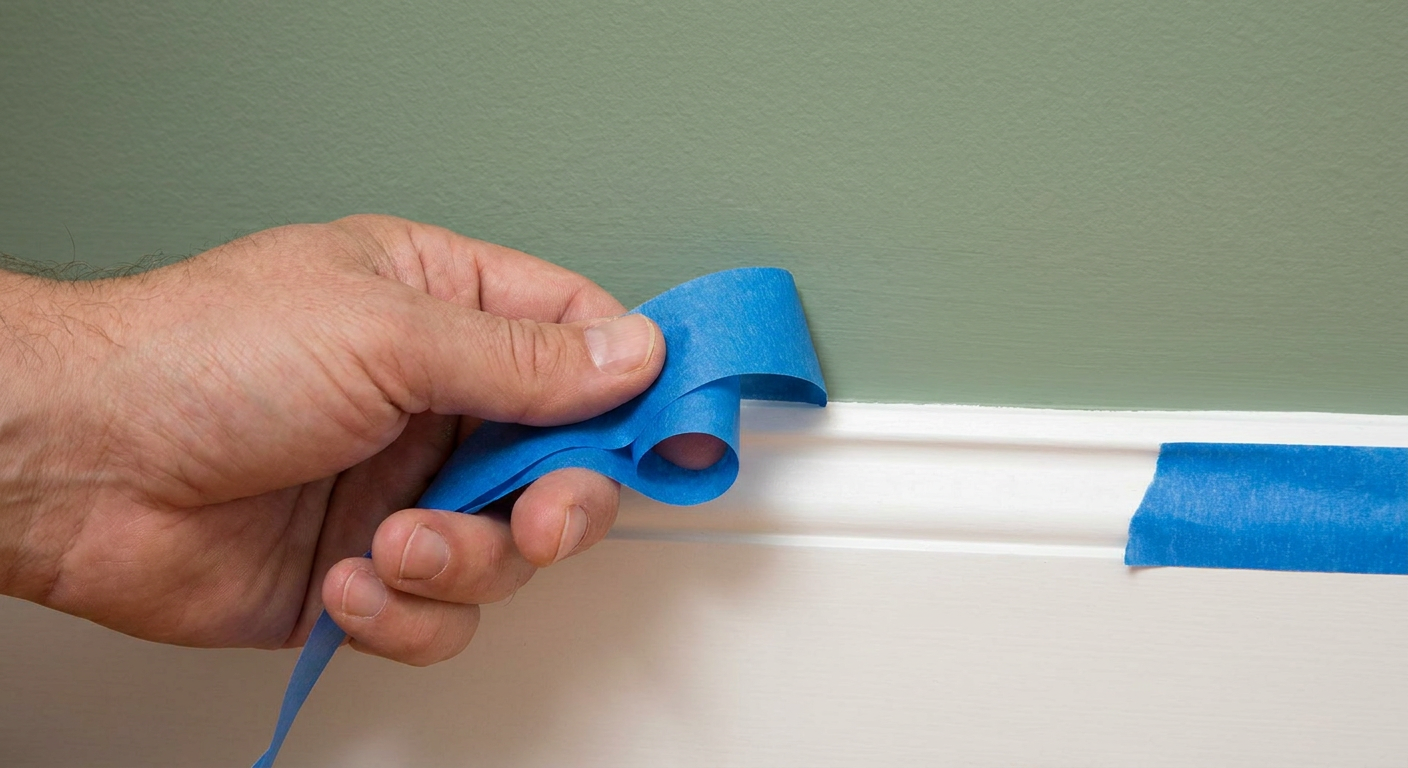
Instructional illustration generated with AI for Howmigo. Follow the tape and paint instructions for removal; some tapes specify paint that is dry to the touch, while others specify wet paint. Pull slowly back over the tape itself at a low angle, approximately 45 degrees to the edge. Stop if paint lifts. If a dried film bridges the tape, carefully score only that film with a sharp knife, cutting away from your hands without gouging the wall. Remove loose tape and inspect the line before any touch-up.
Common questions & troubleshooting
Did this guide help you?
Was this guide useful?
Discussion
No comments yet
Ask a question, share a tip, or reply to someone else.
Sign in to commentLoading comments…