
How to Caulk Around an Interior Window Frame
Fill a small cosmetic gap between fixed interior window trim and the wall with paintable acrylic caulk. Allow 30 minutes of work plus drying time. This does not repair exterior leaks, glazing seals or moving window joints.
Updated
What you need
Tick off what you already have.
Tools
Materials
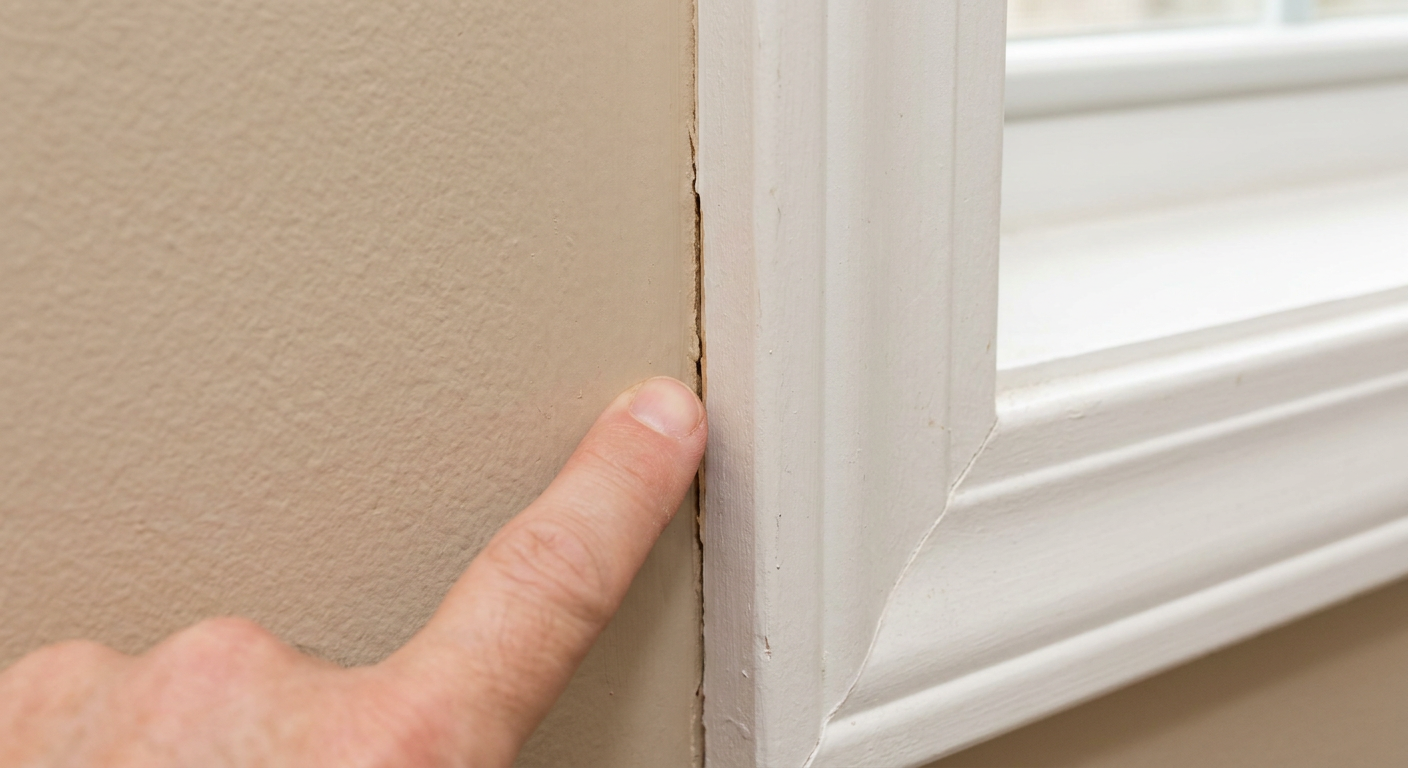 AI illustration
Step 01 / 05
Check the joint and choose the caulk
Work only on the fixed interior trim-to-wall seam. Keep drainage holes, vents, opening sections and glazing seals clear. Stop if there is dampness, rot, loose trim or a widening crack. Choose paintable acrylic caulk approved for both surfaces and the measured gap; a large or deep gap needs the manufacturer's specified backing and joint design, not extra caulk.
1. Check the joint and choose the caulk
Instructional illustration generated with AI for Howmigo. Work only on the fixed interior trim-to-wall seam. Keep drainage holes, vents, opening sections and glazing seals clear. Stop if there is dampness, rot, loose trim or a widening crack. Choose paintable acrylic caulk approved for both surfaces and the measured gap; a large or deep gap needs the manufacturer's specified backing and joint design, not extra caulk.
2. Remove loose material and clean
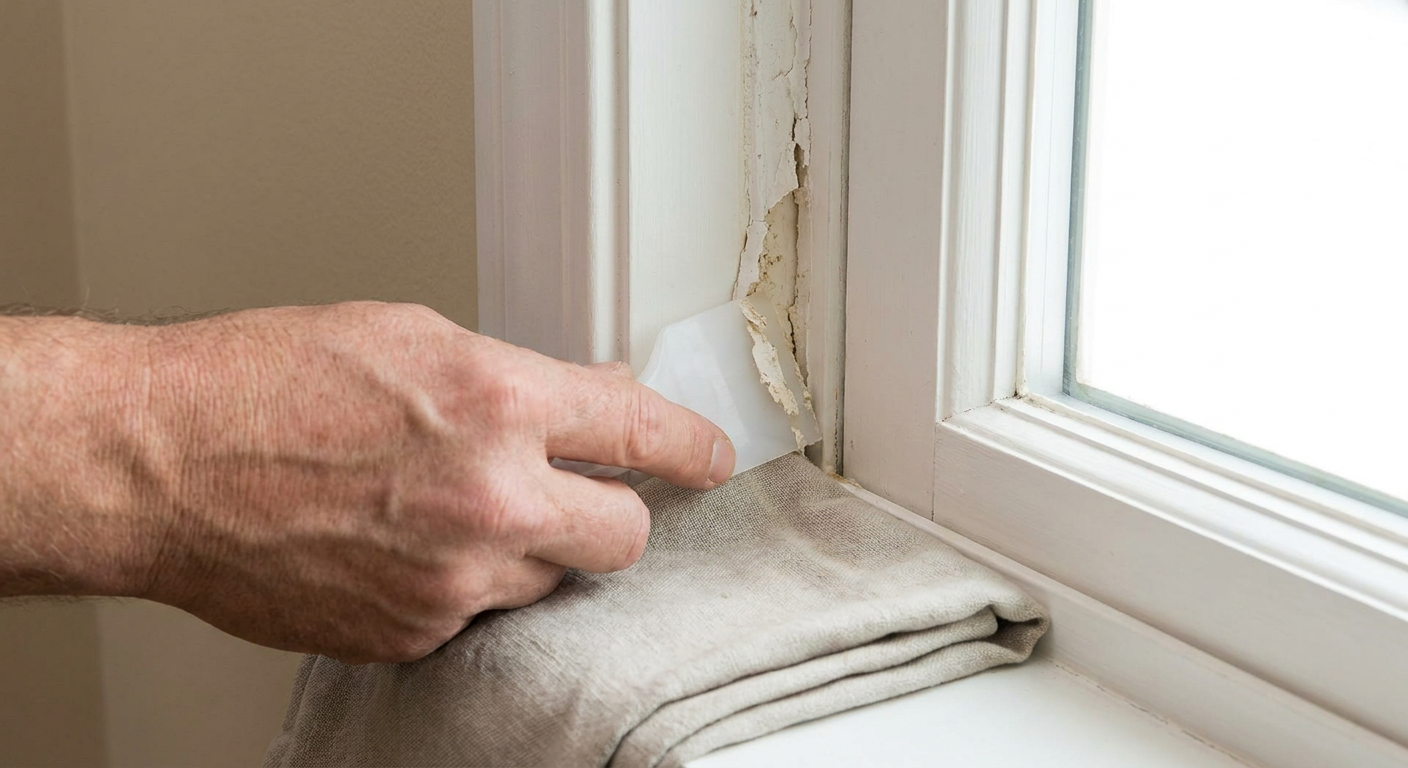
Instructional illustration generated with AI for Howmigo. Protect the sill. Lift loose old caulk with a plastic scraper without damaging the trim. Remove dust and grease using a cleaner safe for both finishes, then let the joint dry fully. Do not sand or scrape suspected lead paint. Follow any primer requirement on the caulk label; do not apply over loose paint or silicone residue.
3. Mask and prepare the cartridge
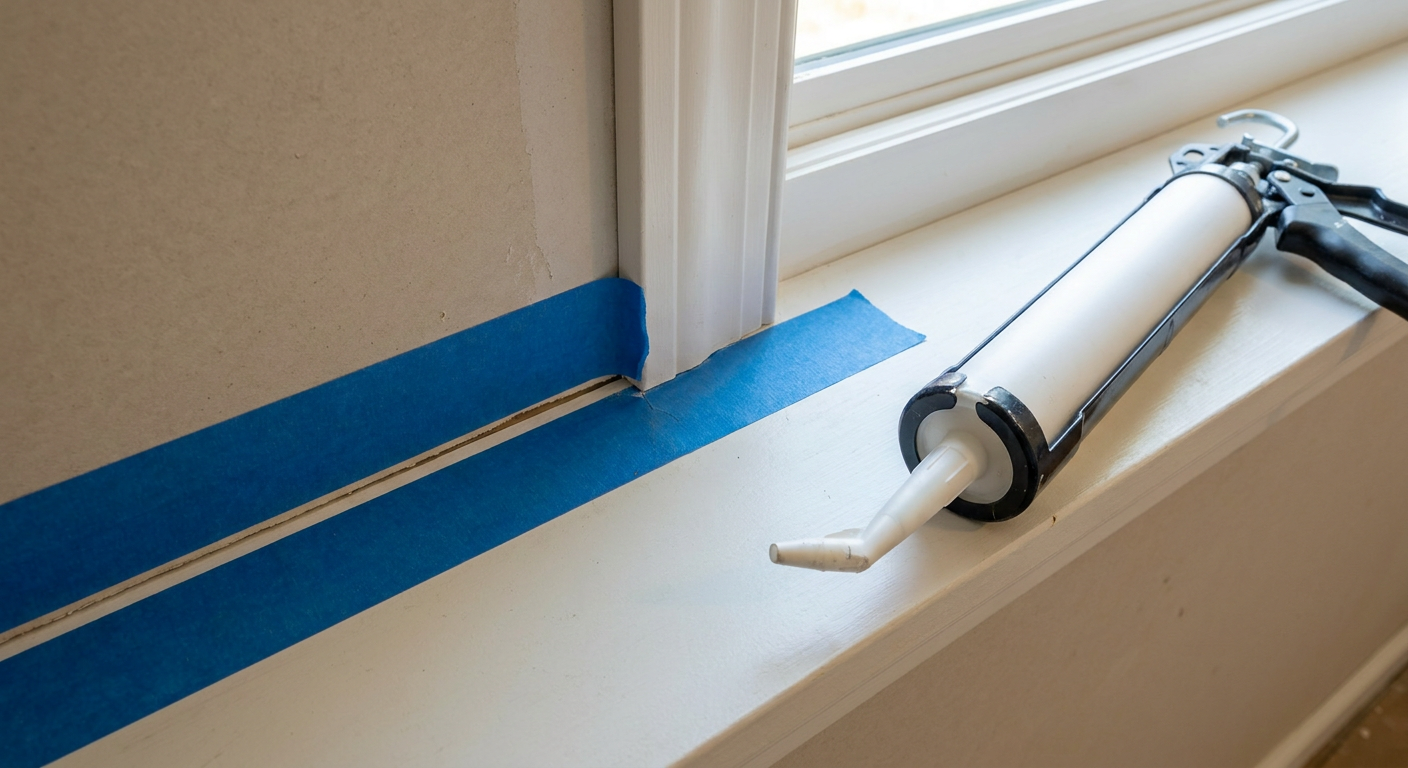
Instructional illustration generated with AI for Howmigo. Test suitable painter’s tape on a hidden area, then place it along both sides of the seam, leaving the intended bead exposed. Cut the nozzle away from your hands at an angle, making an opening no wider than needed. Open the inner seal if required and load the cartridge. Practise on scrap and release the gun pressure to stop flow. For guidance on placing the tape neatly along a straight edge, see how to apply painter’s tape for clean edges.
4. Apply and smooth a continuous bead
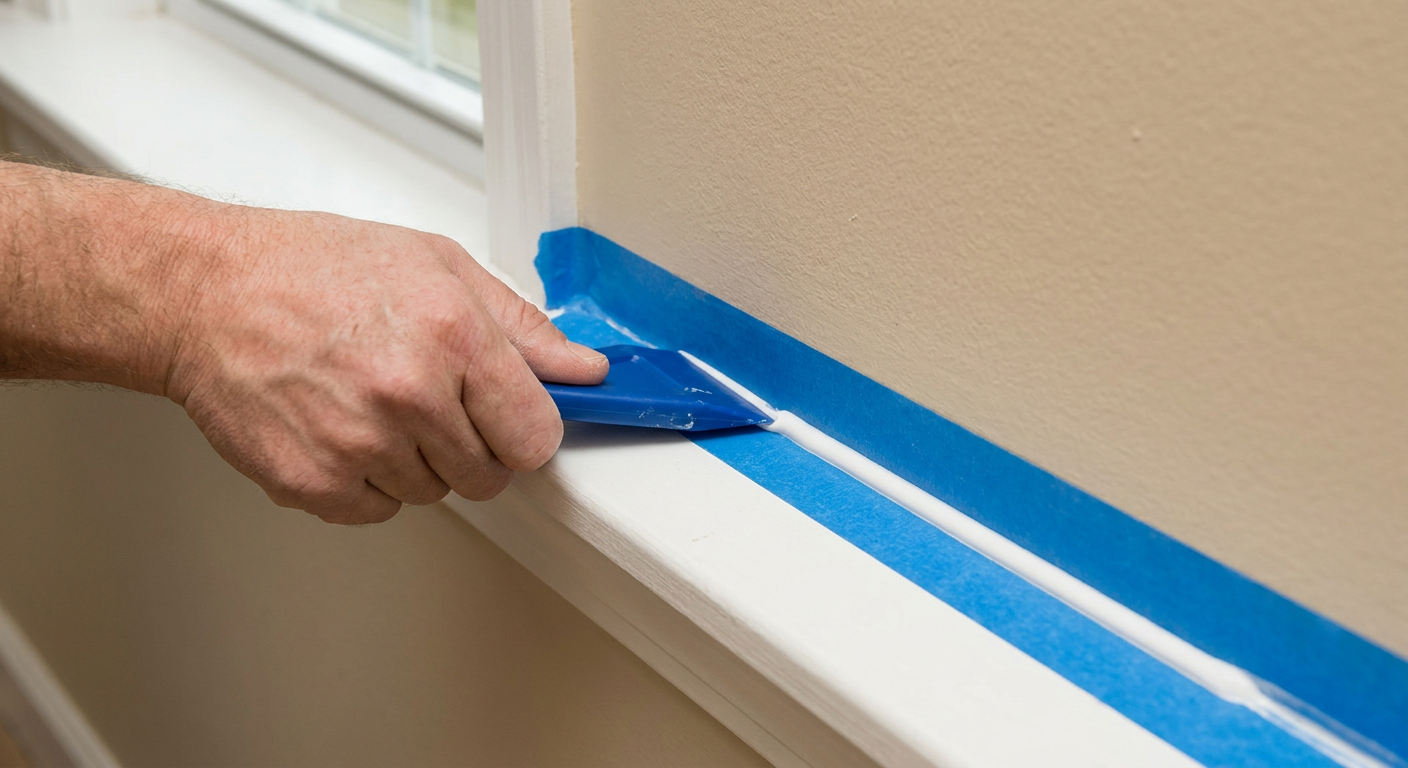
Instructional illustration generated with AI for Howmigo. Hold the nozzle at the seam and move steadily while squeezing gently. Apply enough to contact both sides without leaving voids. Release the pressure at the end. Smooth once with a finishing tool before a skin forms, using only the wetting method allowed by the label. Remove excess and peel the tape away while the caulk is still fresh.
5. Let it dry and check the finish
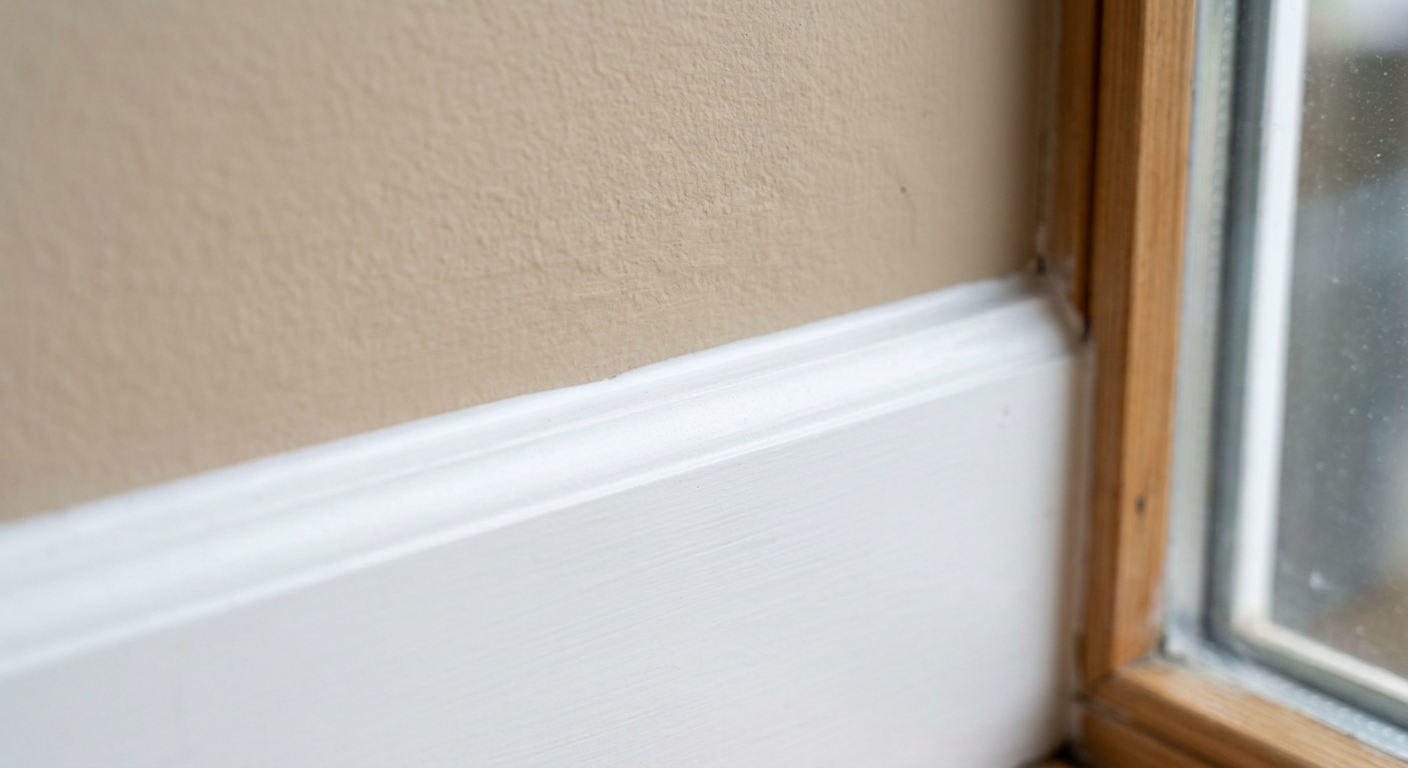
Instructional illustration generated with AI for Howmigo. Leave the joint undisturbed and ventilate as directed. Observe the specified temperature, drying and painting times; paint-ready is not necessarily fully cured. Once dry, check for gaps or separation and repair according to the product instructions. Paint only with a compatible coating after the stated wait. Recurring cracks or moisture need diagnosis, not repeated covering.
Common questions & troubleshooting
Did this guide help you?
Was this guide useful?
Discussion
No comments yet
Ask a question, share a tip, or reply to someone else.
Sign in to commentLoading comments…