
How to Seal Around a Bathroom Sink
Replace the exposed silicone joint between a securely fixed ceramic bathroom sink and a tiled wall. Allow about 45 minutes of work, plus cleaning, drying and the sealant manufacturer's full curing time.
Updated
What you need
Tick off what you already have.
Tools
Materials
 AI illustration
Step 01 / 06
Check the joint and choose compatible silicone
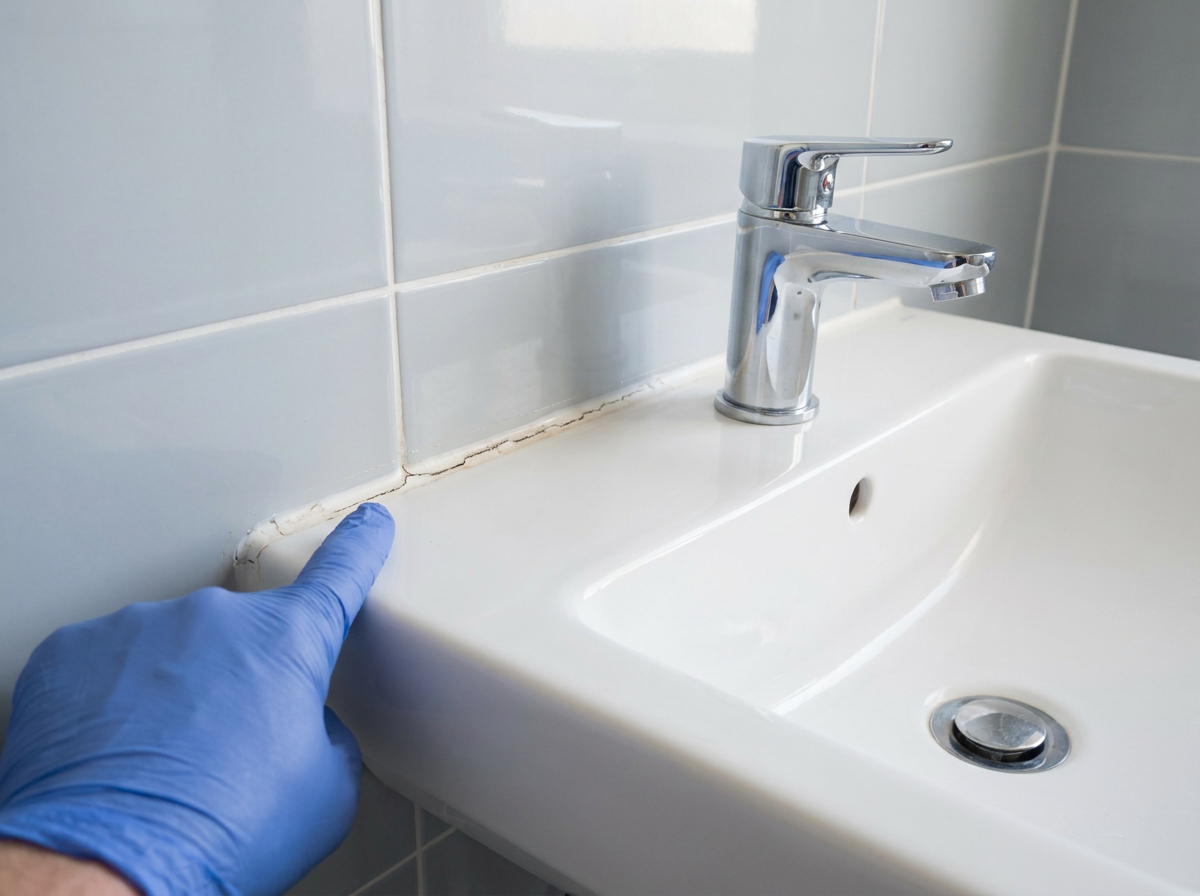
Work only on the exposed joint between a firmly fixed ceramic sink and glazed wall tiles. If the sink moves, the wall is damp or soft, or water is leaking from plumbing, fix that problem first. This bead is not a repair for concealed waterproofing. Choose sanitary silicone approved for both surfaces and the joint dimensions. Natural stone, other materials and unusually wide or deep gaps need a suitable product and joint design. Read the product instructions, ventilate and wear the specified gloves.
1. Check the joint and choose compatible silicone
Instructional illustration generated with AI for Howmigo. Work only on the exposed joint between a firmly fixed ceramic sink and glazed wall tiles. If the sink moves, the wall is damp or soft, or water is leaking from plumbing, fix that problem first. This bead is not a repair for concealed waterproofing. Choose sanitary silicone approved for both surfaces and the joint dimensions. Natural stone, other materials and unusually wide or deep gaps need a suitable product and joint design. Read the product instructions, ventilate and wear the specified gloves.
2. Remove the old silicone carefully
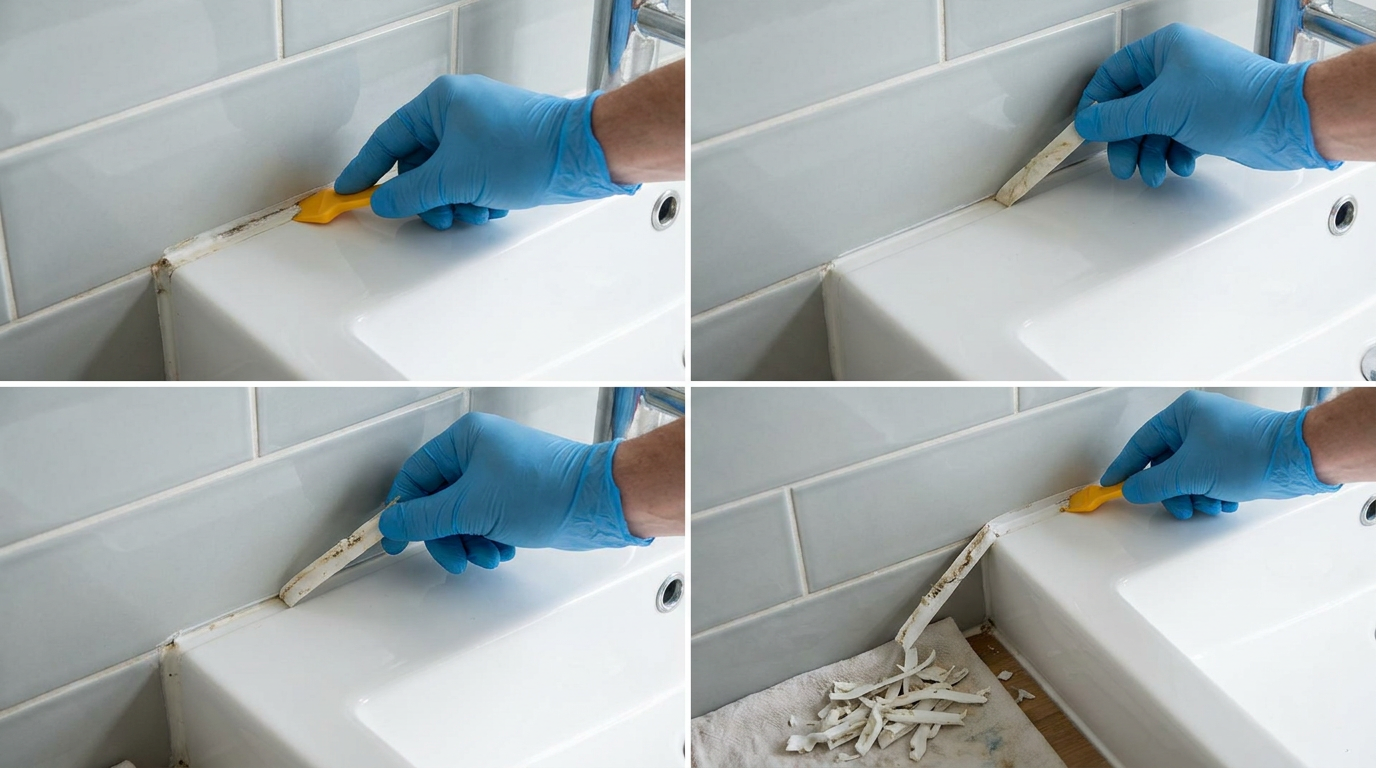
Instructional illustration generated with AI for Howmigo. Keep the sink unused and protect the drain from debris. Lift and peel away the old bead with a sealant removal tool or plastic scraper. Avoid scratching the glaze or digging into the wall. Remove all loose silicone and remaining film from the bonding surfaces. If needed, use only a silicone remover approved for these surfaces and remove its residue as instructed. Do not cover old silicone with a new layer.
3. Clean, dry and mask the edges
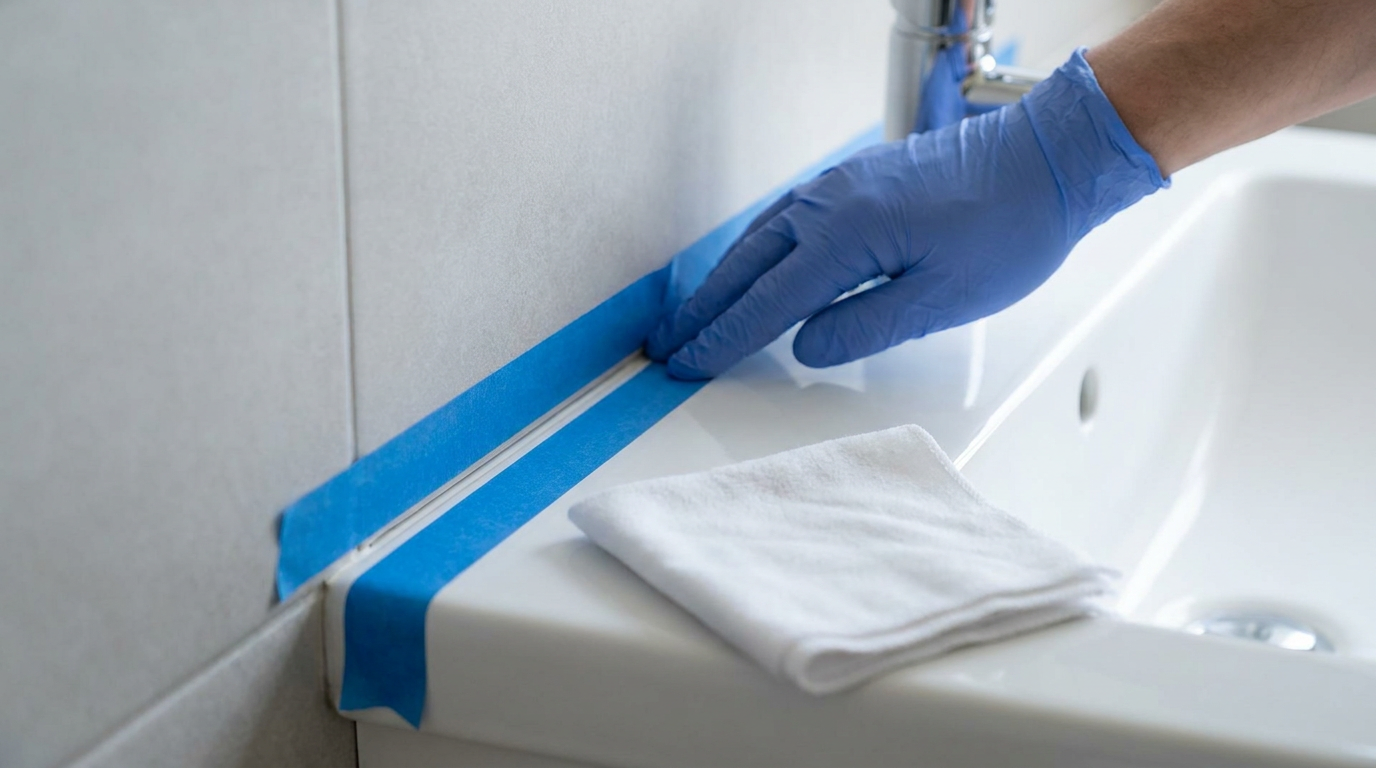
Instructional illustration generated with AI for Howmigo. Clean the joint with a surface-compatible cleaner; test it on a hidden area first. Remove cleaner residue as directed and let both surfaces and the gap dry fully. Never mix cleaning products. Tape parallel edges, leaving enough clean surface on both sides for the silicone to bond as specified by its manufacturer. Press the tape down. Persistent dampness or extensive mould requires investigation before resealing.
4. Apply one continuous bead
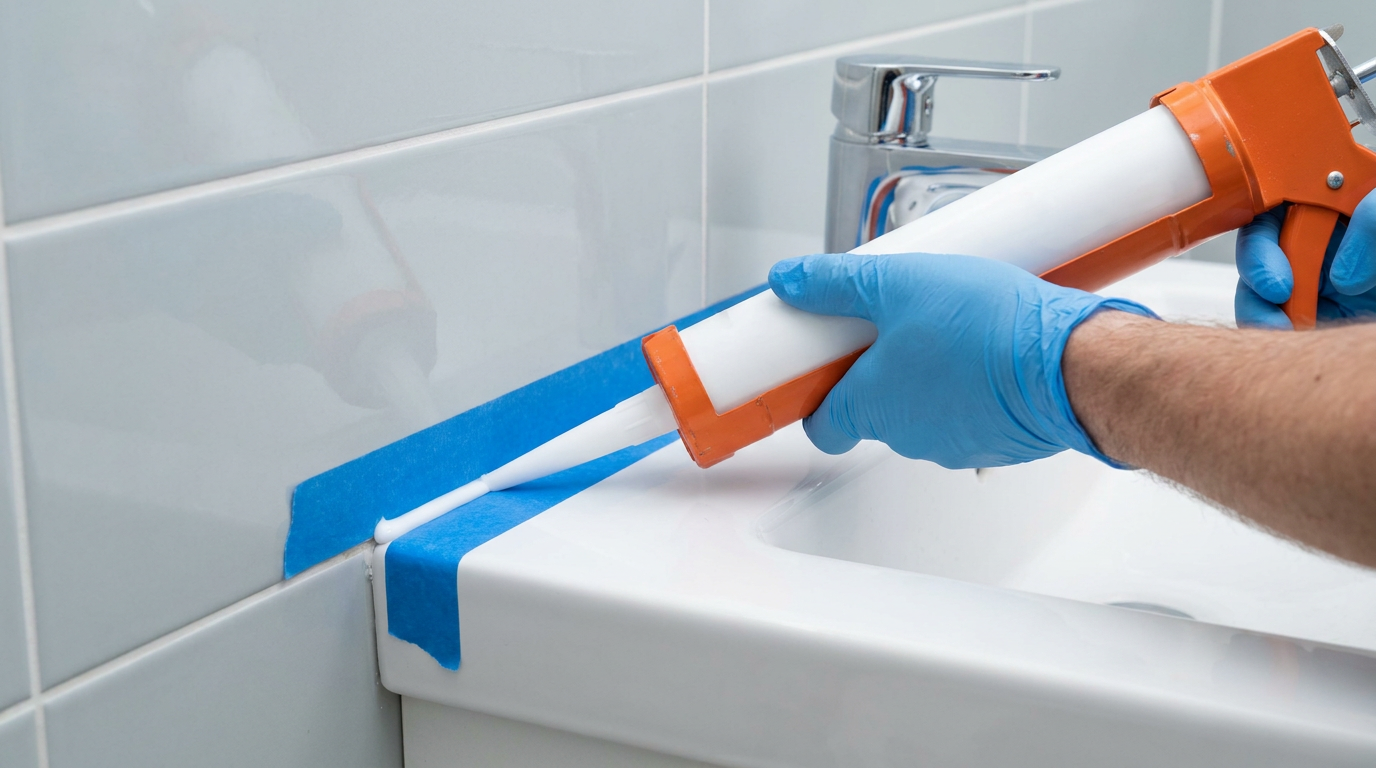
Instructional illustration generated with AI for Howmigo. Open the cartridge as instructed. Cut the nozzle at about 45 degrees, starting with a small opening suited to the required bead, and load the caulking gun. Cut away from your hands. Practise on scrap material, then apply steadily along the joint so the silicone contacts both surfaces without gaps. Release the gun pressure when stopping. Follow the product's joint dimensions; do not bridge a large empty gap with a thin surface layer.
5. Smooth the bead and remove the tape
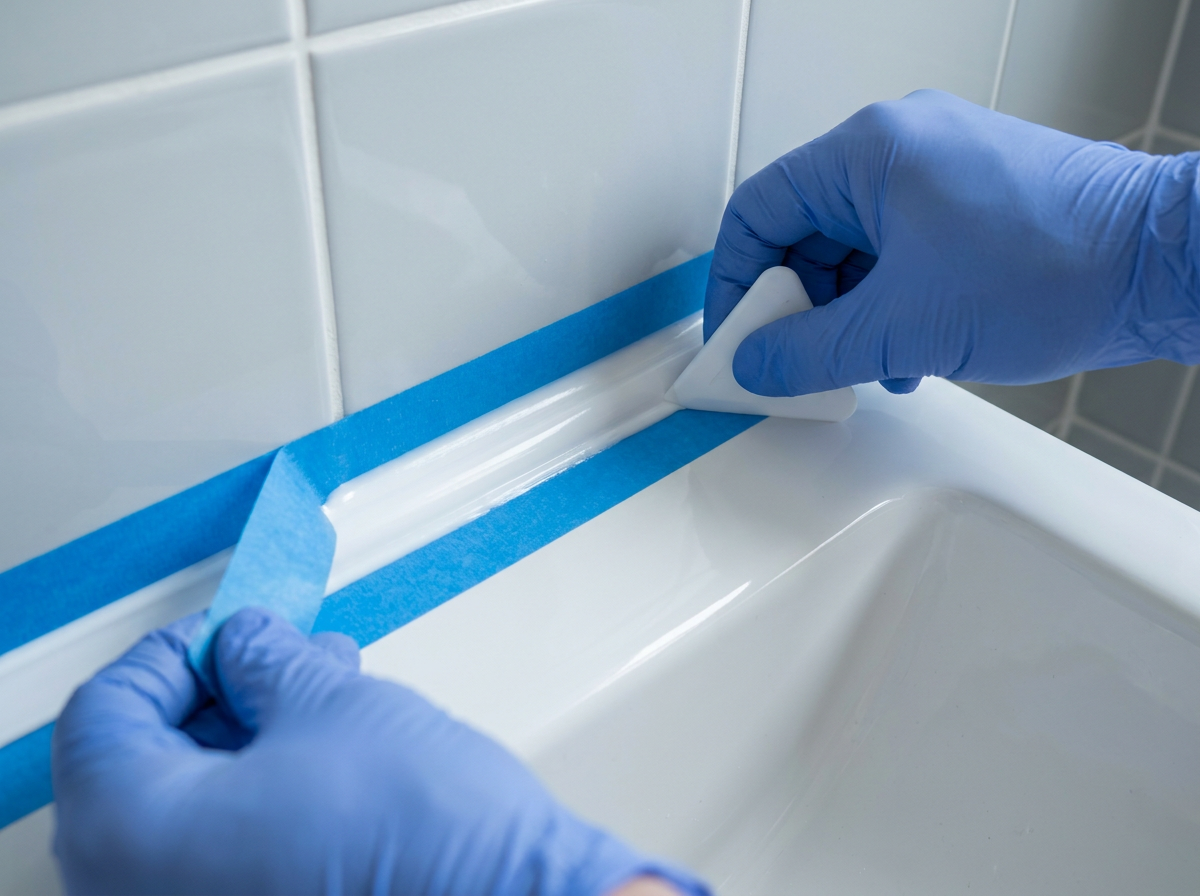
Instructional illustration generated with AI for Howmigo. Before a skin forms, draw a suitable finishing tool along the bead with gentle pressure to make a continuous, slightly concave joint. Use a smoothing liquid only if the silicone manufacturer permits it, keeping it off unsealed bonding surfaces. Immediately peel the tape away from the wet bead. Gently flatten any raised edges within the working time. Do not keep reworking silicone once it starts to skin.
6. Let it cure before using the sink
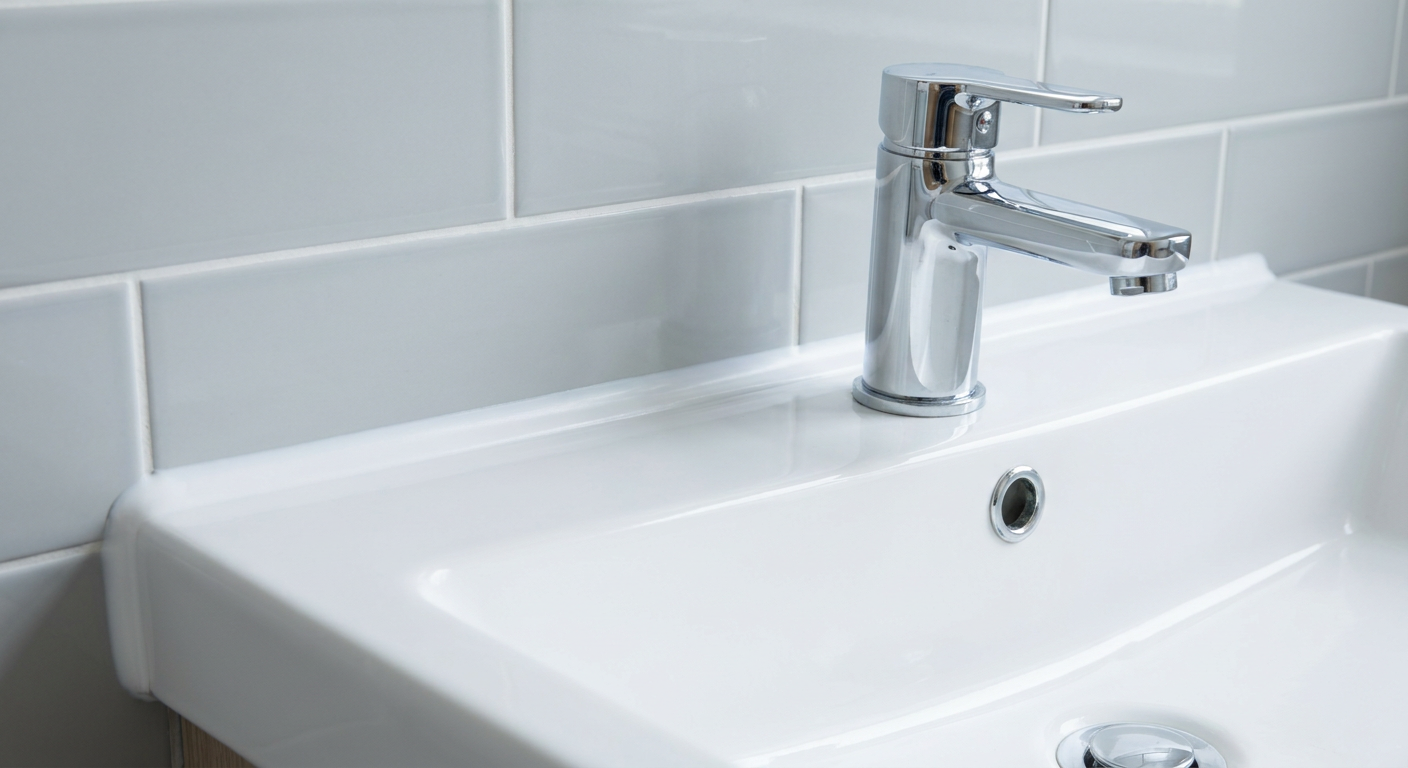
Instructional illustration generated with AI for Howmigo. Keep the joint dry and undisturbed for the full curing time stated for your product and bead size. Surface dryness does not mean it has cured through. Keep the area ventilated; do not speed curing with a heater. Once cured, inspect for gaps, lifting or poor adhesion before normal use. A failed section needs removal, preparation and resealing; do not smear fresh silicone over a failed cured bead.
Common questions & troubleshooting
Did this guide help you?
Was this guide useful?
Discussion
No comments yet
Ask a question, share a tip, or reply to someone else.
Sign in to commentLoading comments…