
How to Repot a Houseplant
Give a crowded leafy houseplant more growing room with this beginner-friendly guide to choosing a pot, handling roots, repotting and aftercare.
Updated
What you need
Tick off what you already have.
Tools
Materials
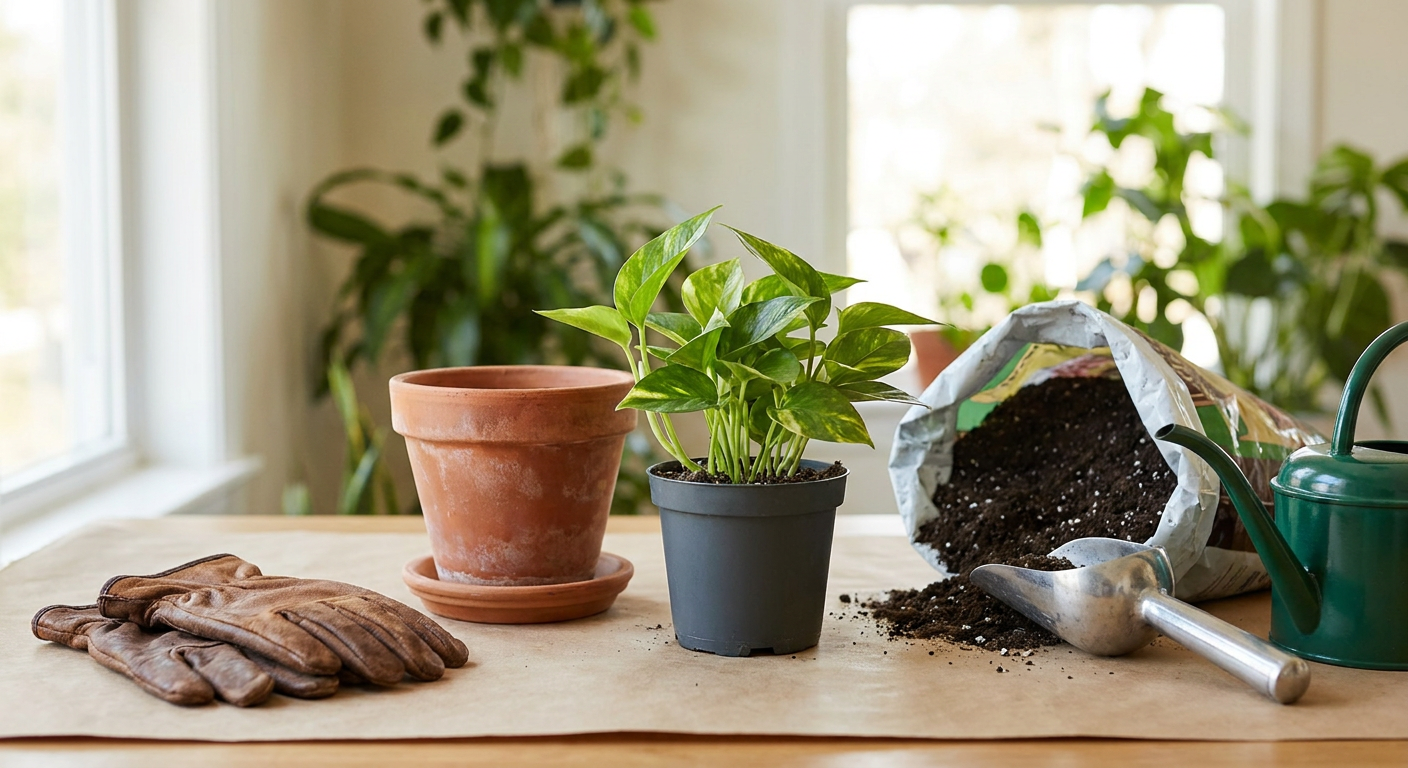 AI illustration
Step 01 / 10
Gather your supplies
You will need a clean pot with drainage holes, a saucer, fresh potting mix suitable for your plant, a small scoop, a watering can and gloves. Protect the work surface. This guide is for common leafy houseplants such as pothos; orchids, cacti and other specialist plants need different mixes and care.
1. Gather your supplies
Instructional illustration generated with AI for Howmigo. You will need a clean pot with drainage holes, a saucer, fresh potting mix suitable for your plant, a small scoop, a watering can and gloves. Protect the work surface. This guide is for common leafy houseplants such as pothos; orchids, cacti and other specialist plants need different mixes and care.
2. Check whether a larger pot is needed
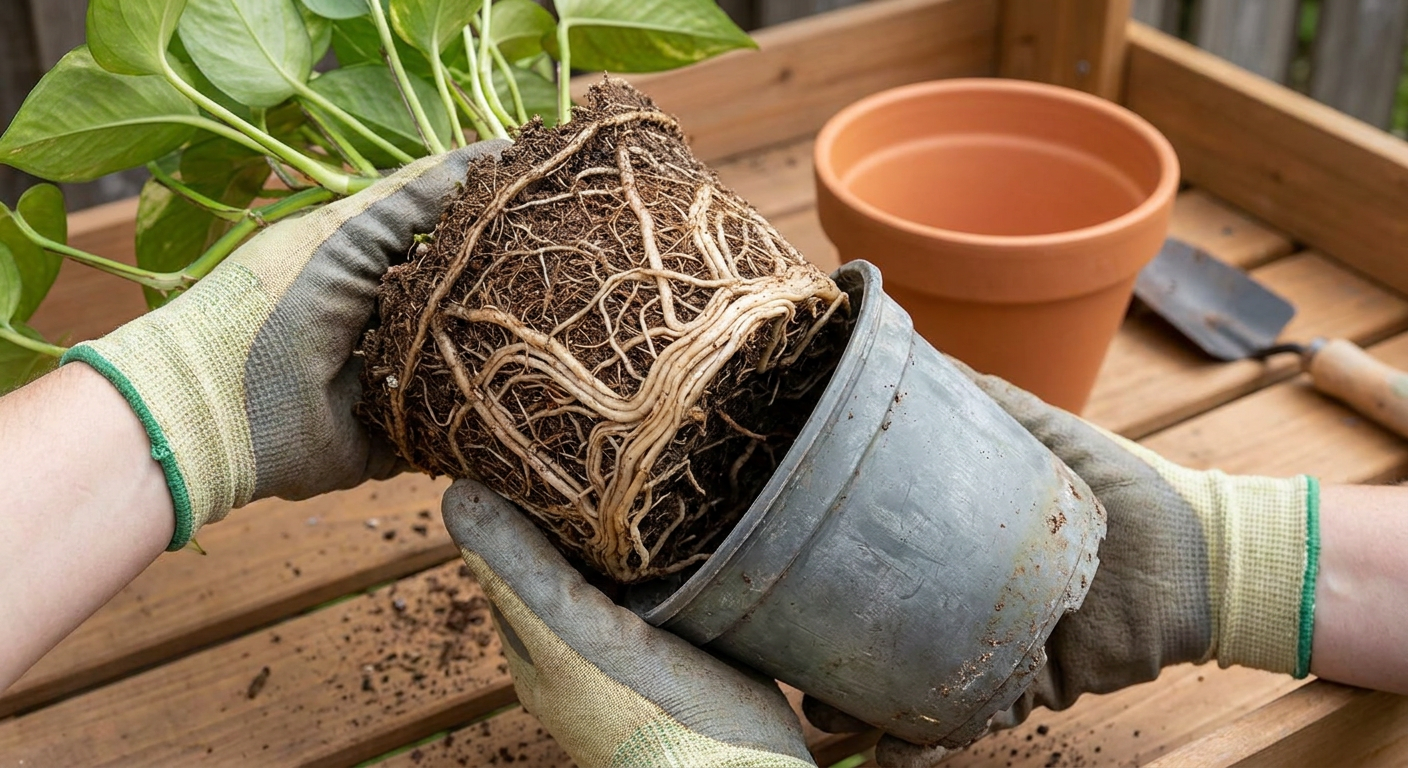
Instructional illustration generated with AI for Howmigo. Repot when the root ball is crowded with circling roots, rather than simply because one root appears through a hole. Spring or early summer is usually a good time. If the roots still have plenty of space, a larger pot may not be needed.
3. Choose the pot and potting mix
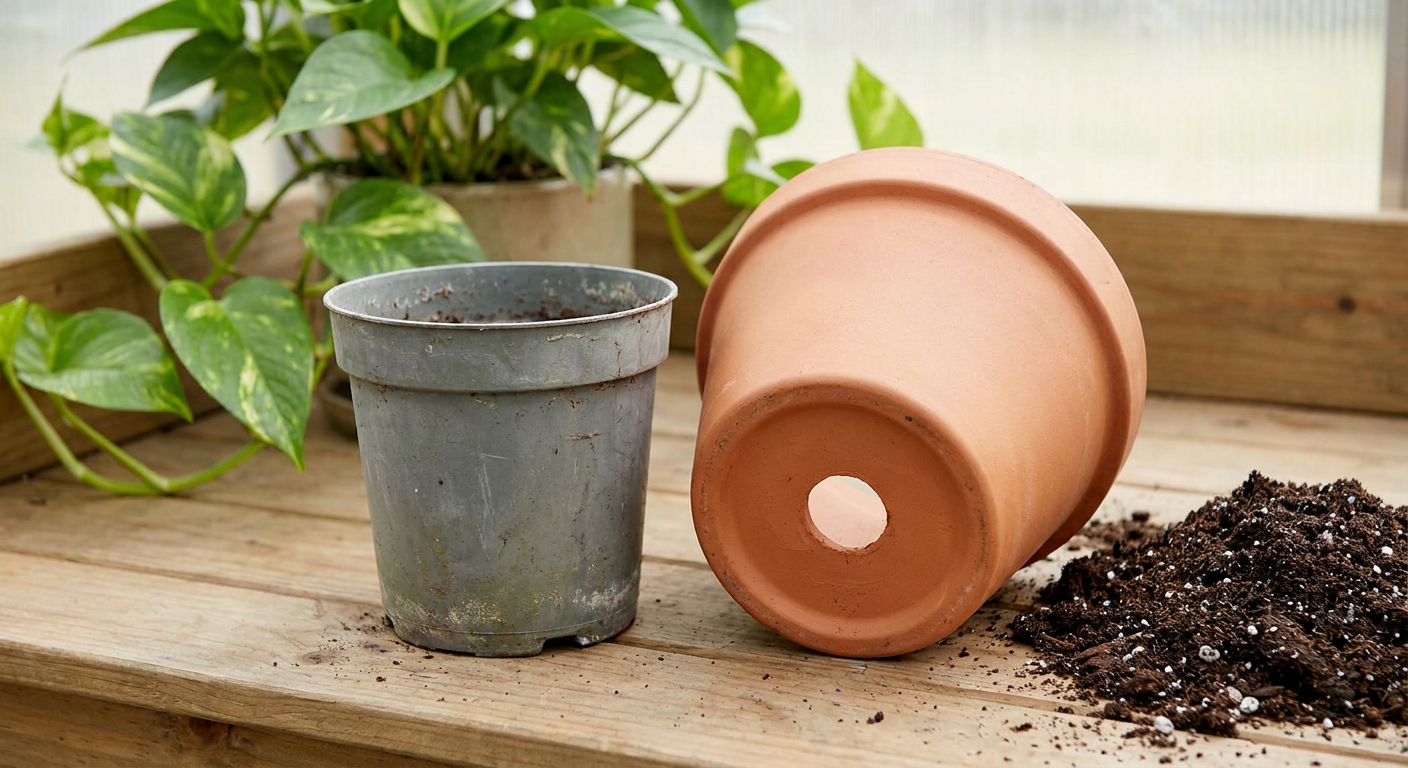
Instructional illustration generated with AI for Howmigo. For a crowded root ball, choose a pot just one size larger, roughly 2–5 cm (about 3/4–2 in) wider in diameter than the old one. Check that drainage holes are open. Use suitable houseplant potting mix, not garden soil. Do not add a layer of stones at the bottom.
4. Slide the plant out gently
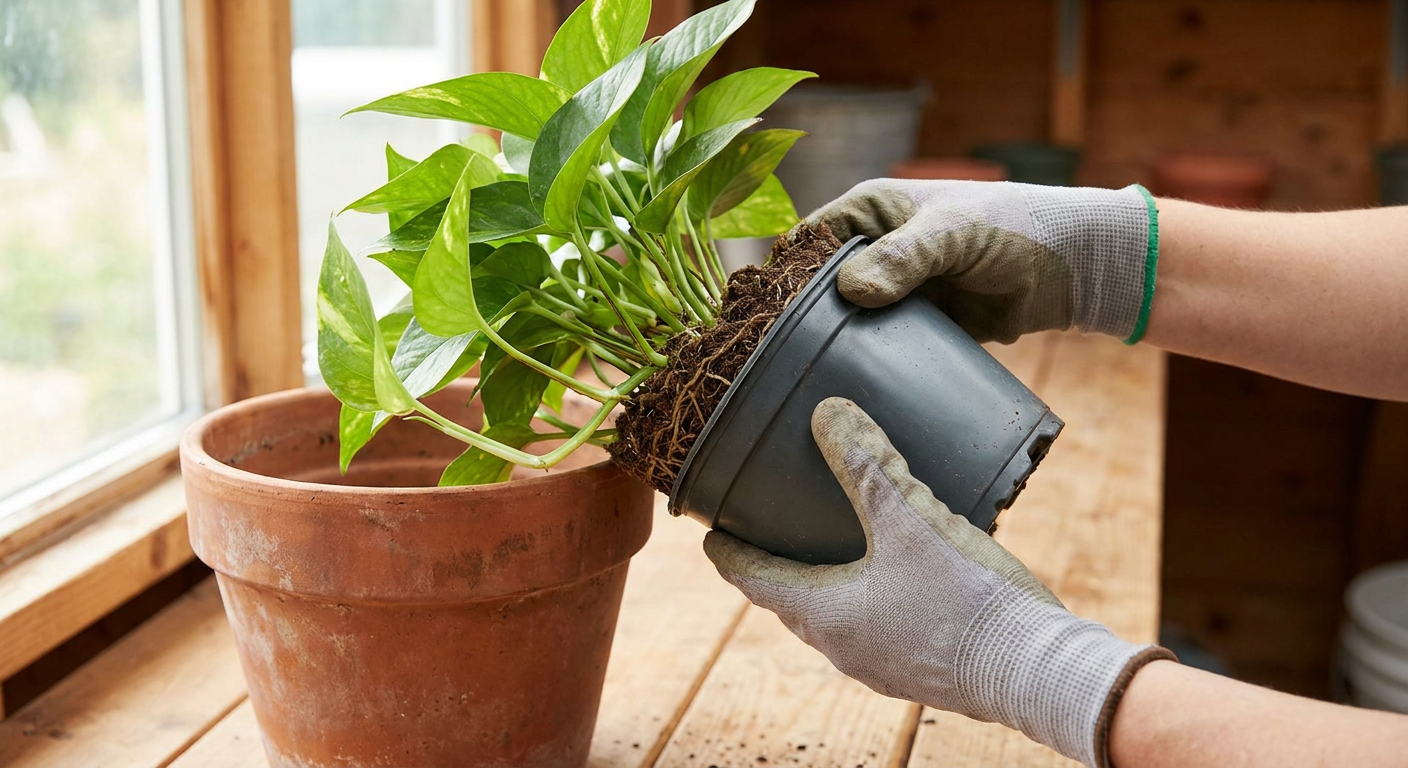
Instructional illustration generated with AI for Howmigo. Work with a slightly moist, not waterlogged, root ball. Tilt the pot, support the root ball at the soil surface and gently squeeze the sides of a flexible pot. Slide the plant out, tapping the pot if needed. Never pull it out by its stems or leaves.
5. Inspect and loosen the outer roots
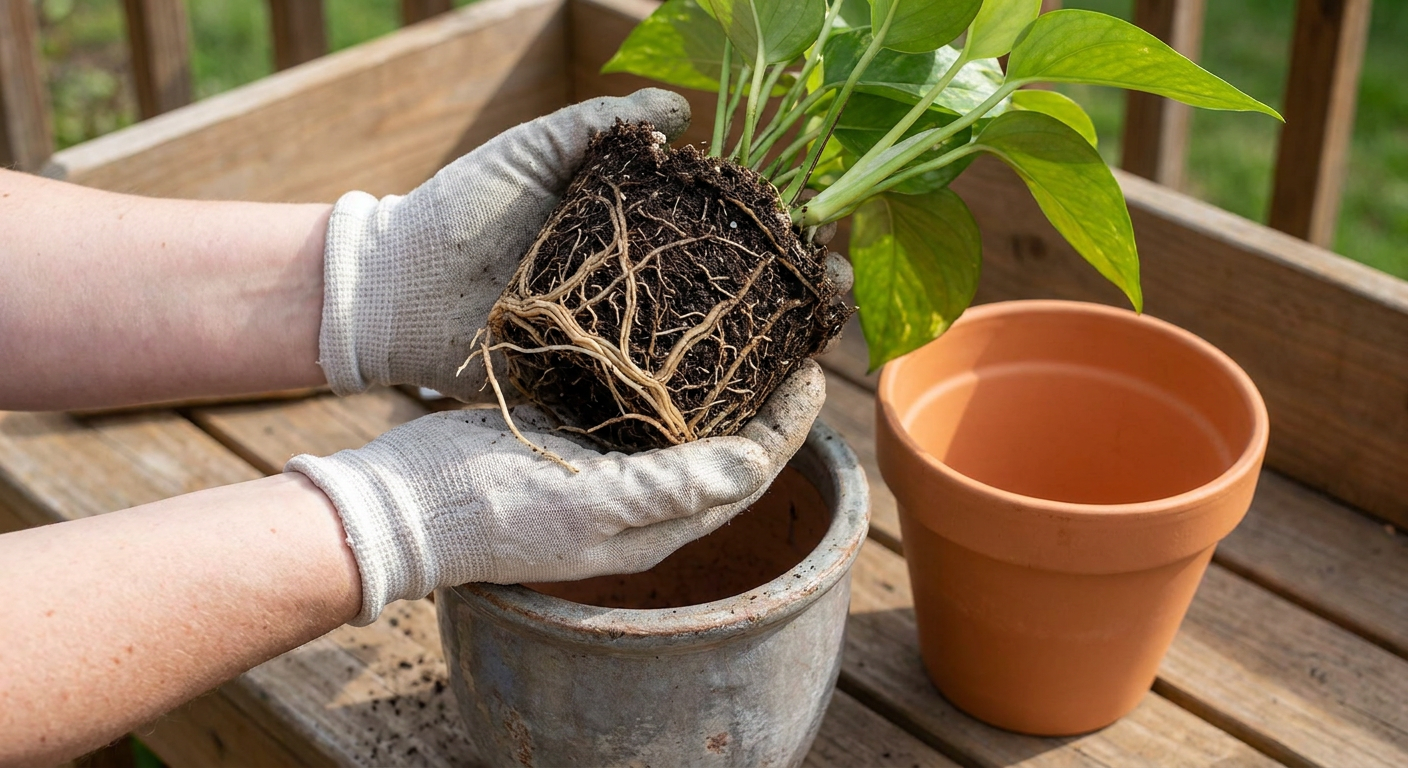
Instructional illustration generated with AI for Howmigo. Gently tease apart a few tightly circling outer roots with your fingers, leaving most of the root ball intact. Healthy roots should feel firm. If many roots are mushy or smell rotten, pause routine repotting and address root rot first; simply moving to a larger pot will not solve it.
6. Add a base layer of potting mix
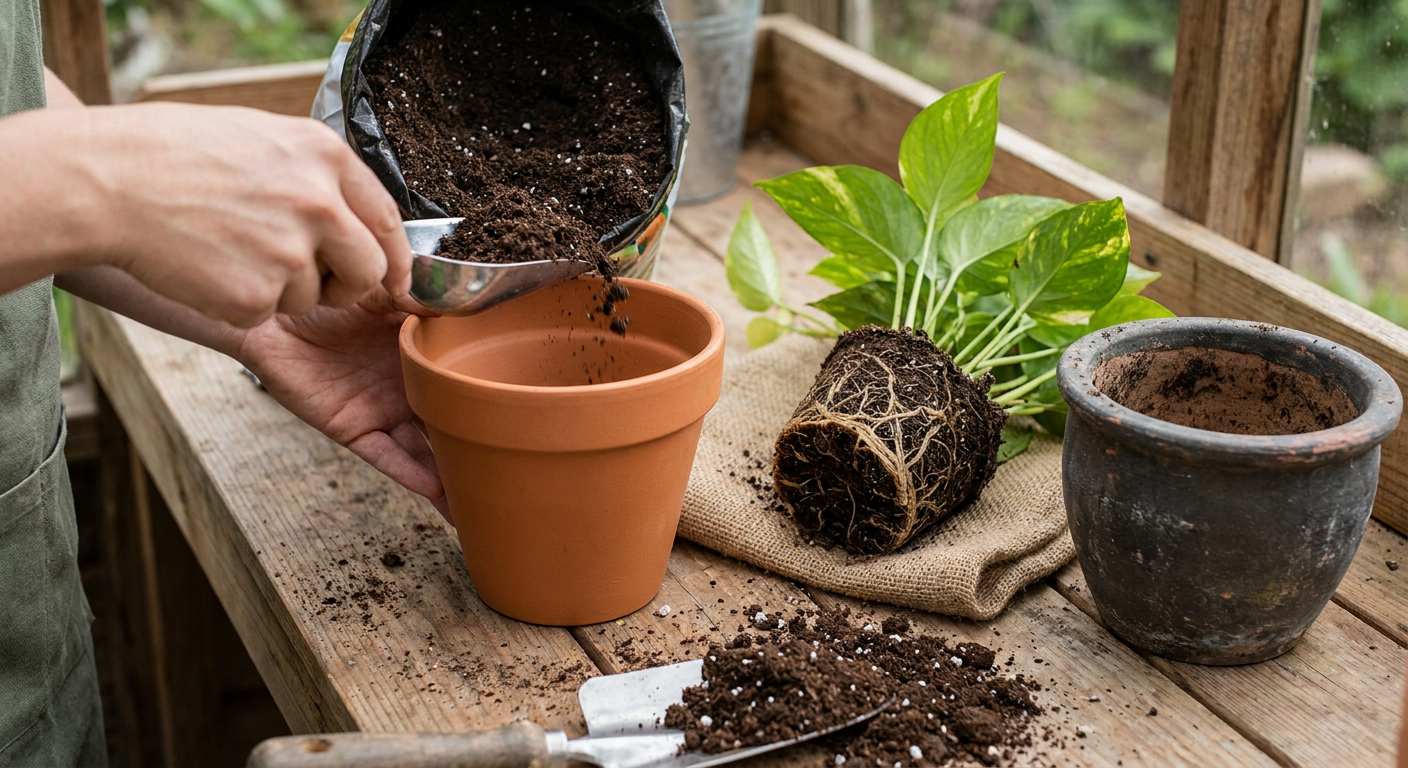
Instructional illustration generated with AI for Howmigo. Scoop fresh potting mix directly into the bottom of the new pot. Test the height by setting the root ball inside. Adjust the base layer so the original soil surface will sit about 1–2 cm (about 3/8–3/4 in) below the rim, leaving room for watering.
7. Position the plant at its original depth
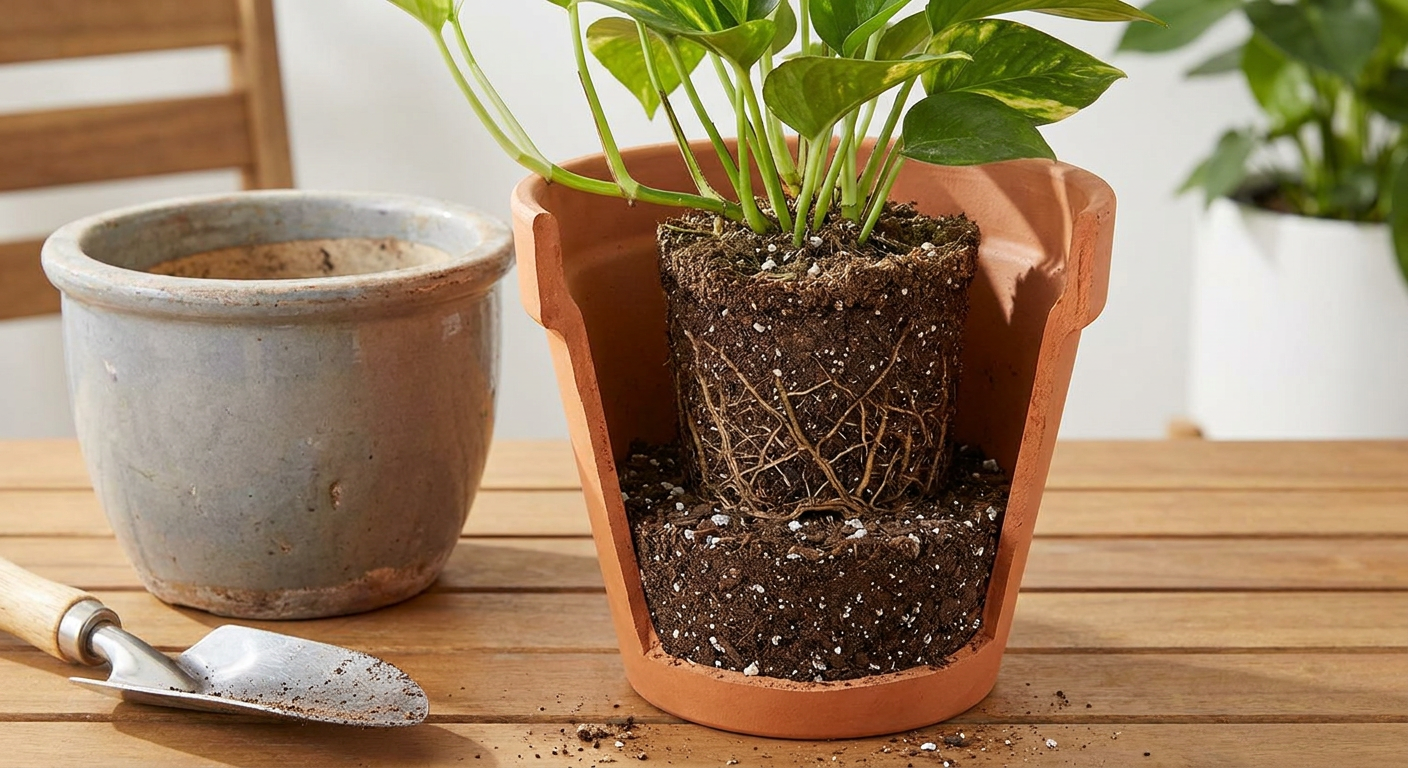
Instructional illustration generated with AI for Howmigo. Centre the root ball in the new pot and hold the plant upright. Keep the stems emerging at the same soil level as before. Do not bury the stem bases more deeply or leave the top of the root ball sticking above the new mix.
8. Fill the gaps around the roots
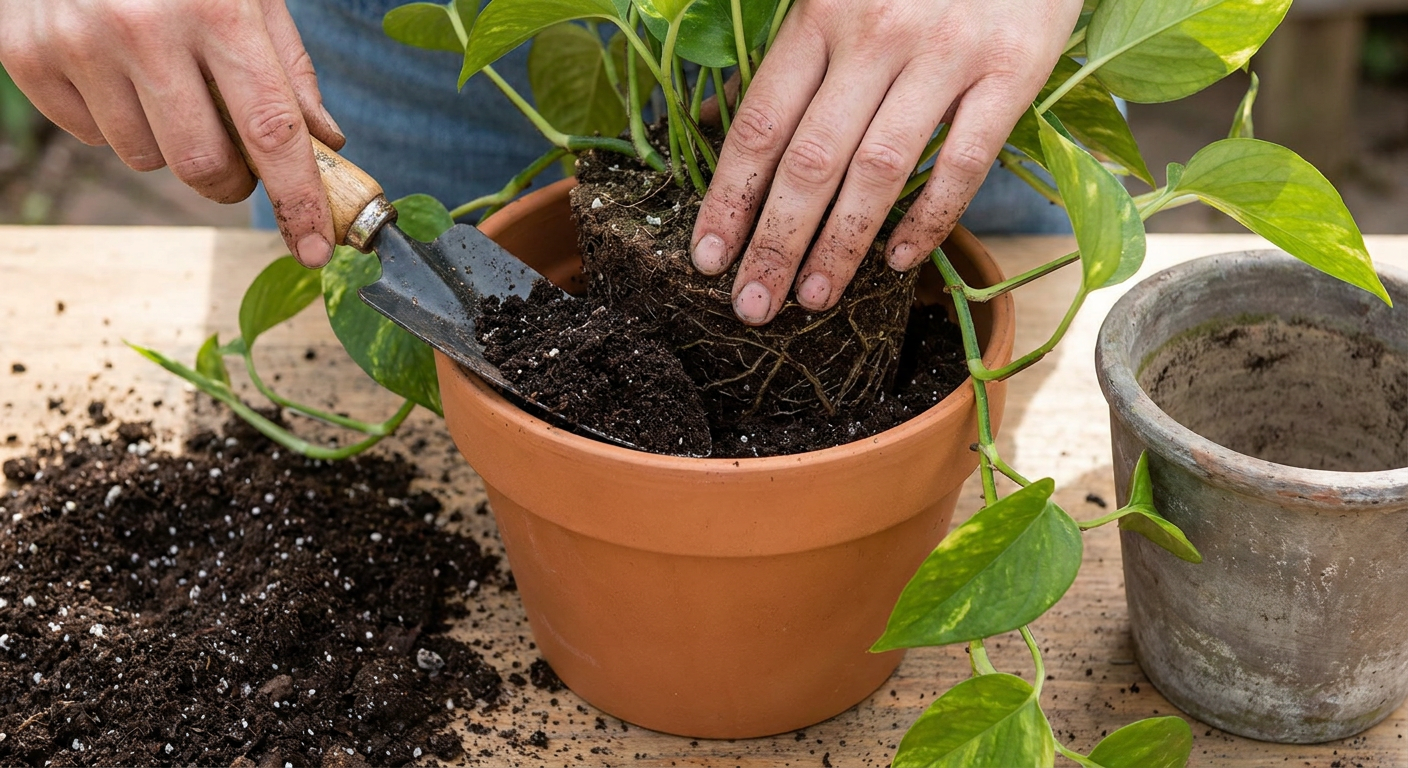
Instructional illustration generated with AI for Howmigo. Add fresh mix around the sides in small amounts. Gently settle it with your fingertips to remove large gaps without packing it hard. Keep the original planting depth and the watering space below the rim.
9. Water and let excess water drain
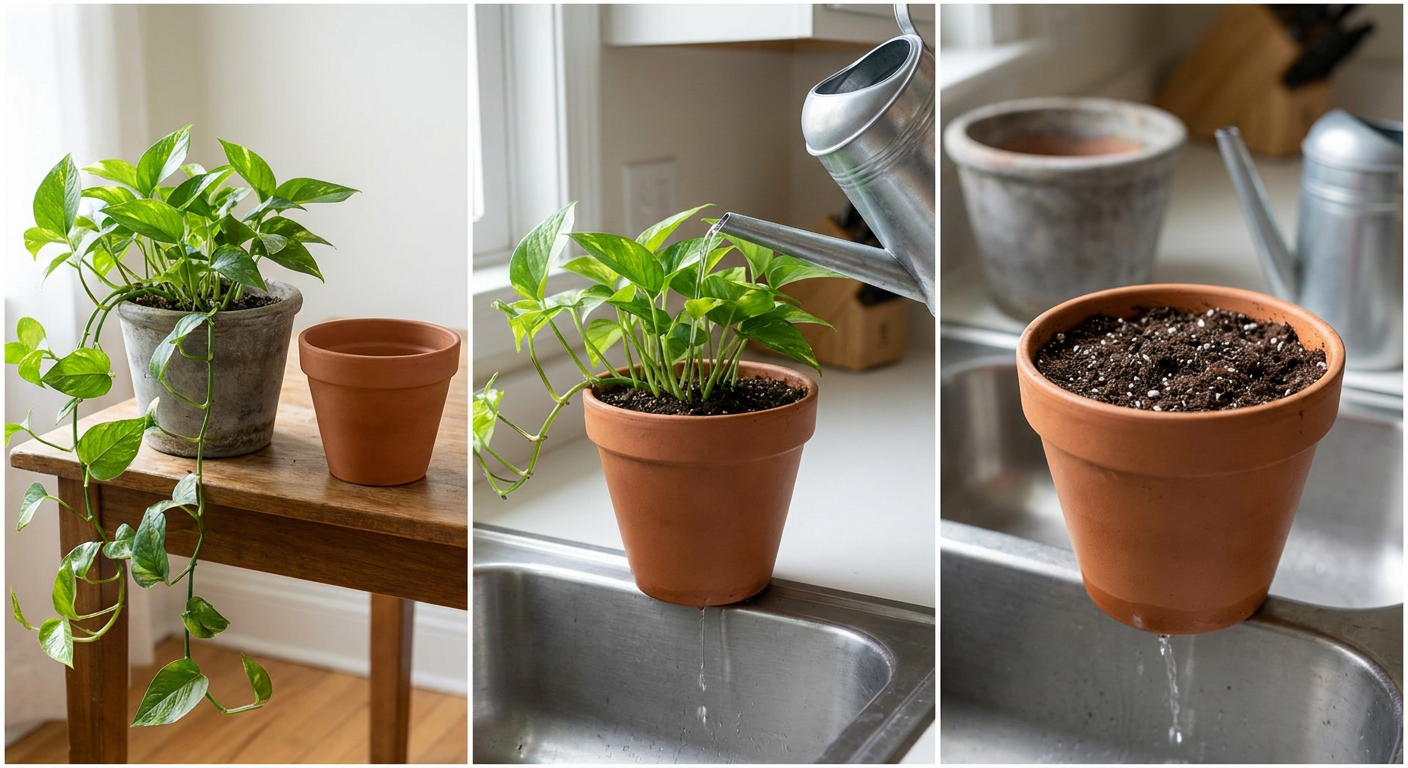
Instructional illustration generated with AI for Howmigo. For the leafy houseplants covered here, water slowly across the soil until water runs out of the drainage holes. Let the pot drain fully and empty the saucer. If the mix settles, add a little more without burying the stems. Never leave the pot standing in water.
10. Let the plant settle in
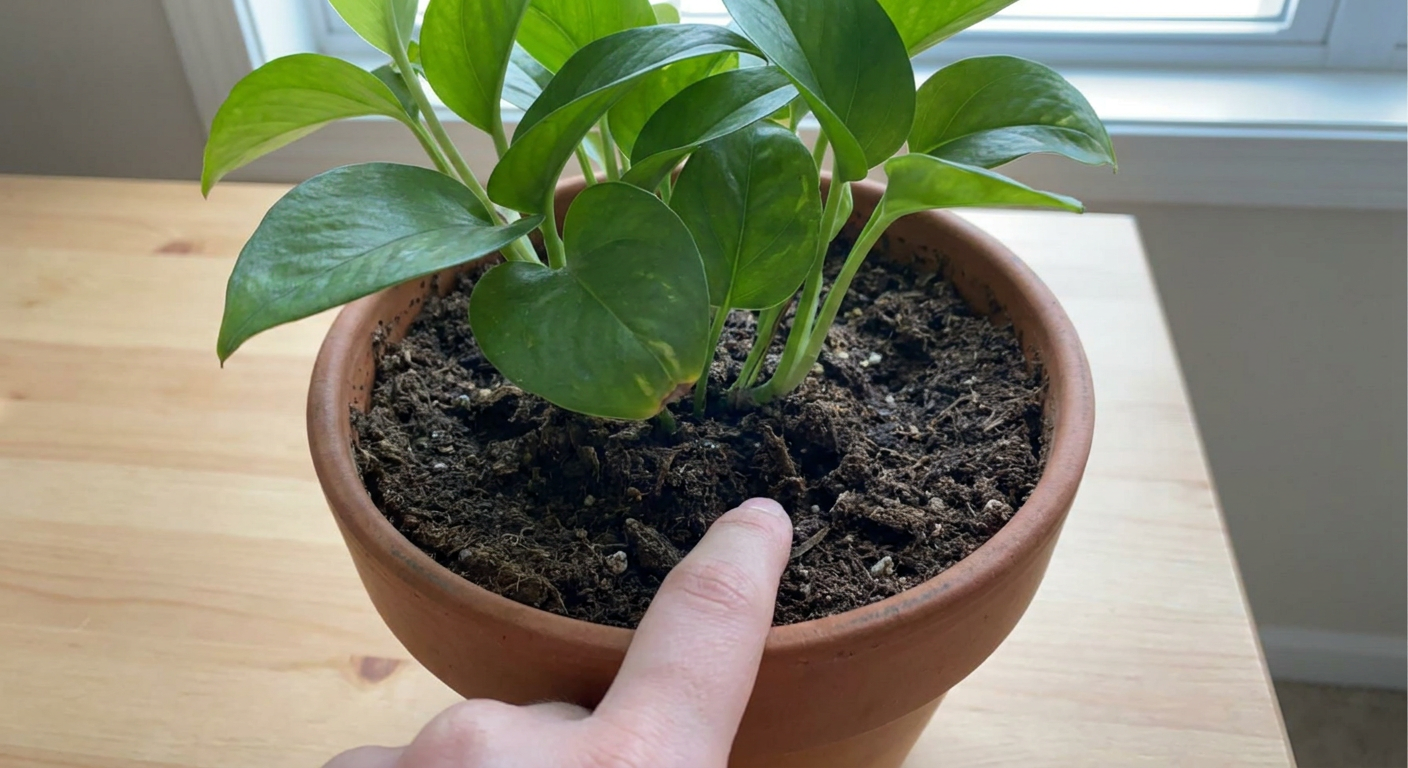
Instructional illustration generated with AI for Howmigo. Return the plant to a suitable spot with bright, indirect light, away from harsh sun and draughts. Check the mix before watering again and follow the needs of your plant rather than a fixed schedule. If the new mix contains fertiliser, follow its label before adding more. Watch for persistent wilting or yellowing.
Did this guide help you?
Was this guide useful?
Discussion
No comments yet
Ask a question, share a tip, or reply to someone else.
Sign in to commentLoading comments…