
How to Drill Into a Plasterboard Wall
Make a small, clean hole through sound plasterboard for a fixing that requires pre-drilling. This covers the board only, not drilling into masonry or studs, choosing a structural fixing or mounting heavy loads.
Updated
What you need
Tick off what you already have.
Tools
Materials
 AI illustration
Step 01 / 05
Confirm the wall and fixing requirements
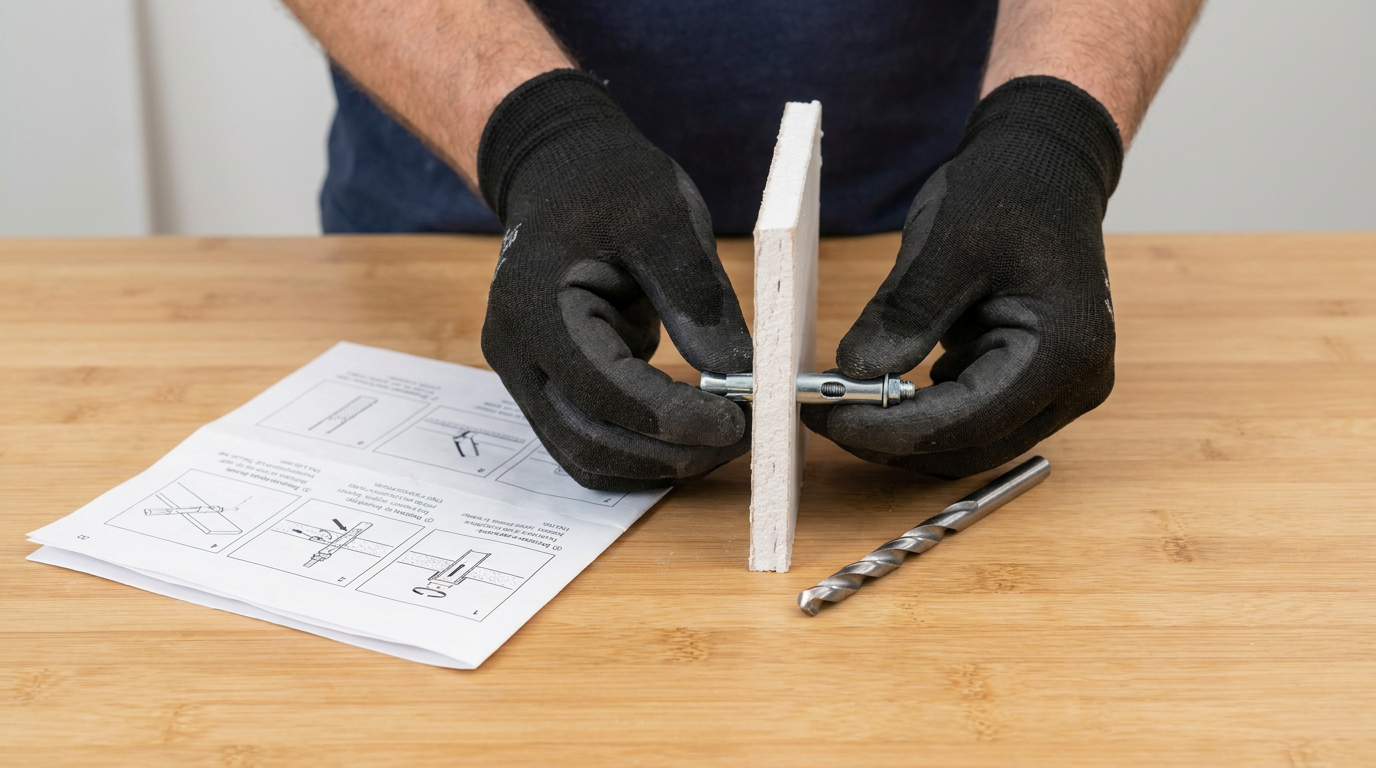
Check the wall construction from reliable plans or an accessible edge. This method is for a small hole through sound plasterboard into a known clear cavity. Confirm the board thickness and the chosen fixing's required hole diameter and cavity clearance. Some plasterboard fixings are self-drilling and need no separate hole. Do not use this method on unknown old coatings, suspected asbestos, tiled walls, damaged board, fire-rated assemblies without approved instructions or locations needing structural support. If you cannot identify the construction, stop and get qualified help.
1. Confirm the wall and fixing requirements
Instructional illustration generated with AI for Howmigo. Check the wall construction from reliable plans or an accessible edge. This method is for a small hole through sound plasterboard into a known clear cavity. Confirm the board thickness and the chosen fixing's required hole diameter and cavity clearance. Some plasterboard fixings are self-drilling and need no separate hole. Do not use this method on unknown old coatings, suspected asbestos, tiled walls, damaged board, fire-rated assemblies without approved instructions or locations needing structural support. If you cannot identify the construction, stop and get qualified help.
2. Check both sides for hidden services
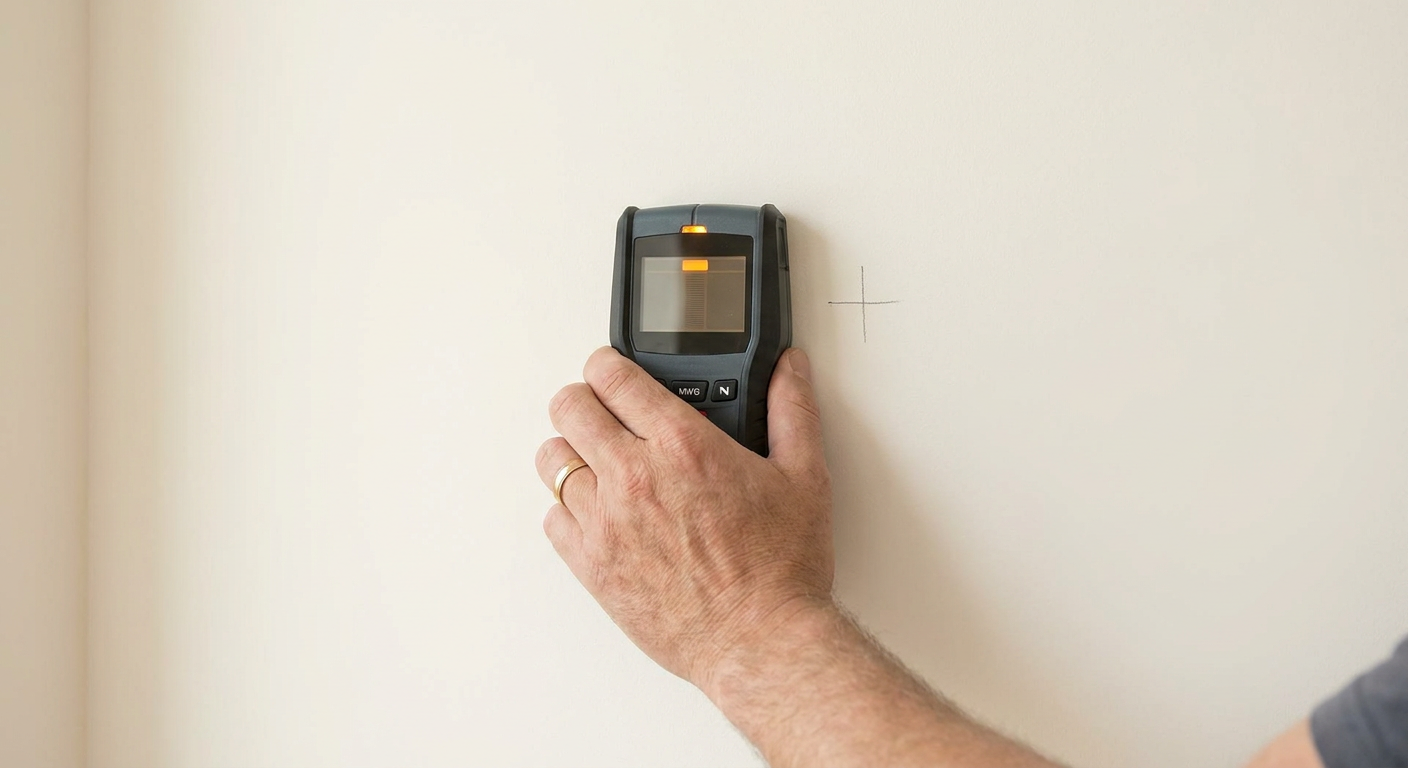
Instructional illustration generated with AI for Howmigo. Inspect both sides of the wall, where accessible, for sockets, switches, taps and pipework. Consult plans and scan around the intended point horizontally and vertically with the appropriate detector modes, following its manual. Cables may need to be live for detection; complete that check before isolating the relevant circuits and confirming they are de-energised safely. A clear detector reading is not proof that a wall is empty, especially with foil-backed board or plastic pipes. Do not drill where services may run or where you are uncertain; have a qualified tradesperson establish a safe position.
3. Mark the point and prepare the drill
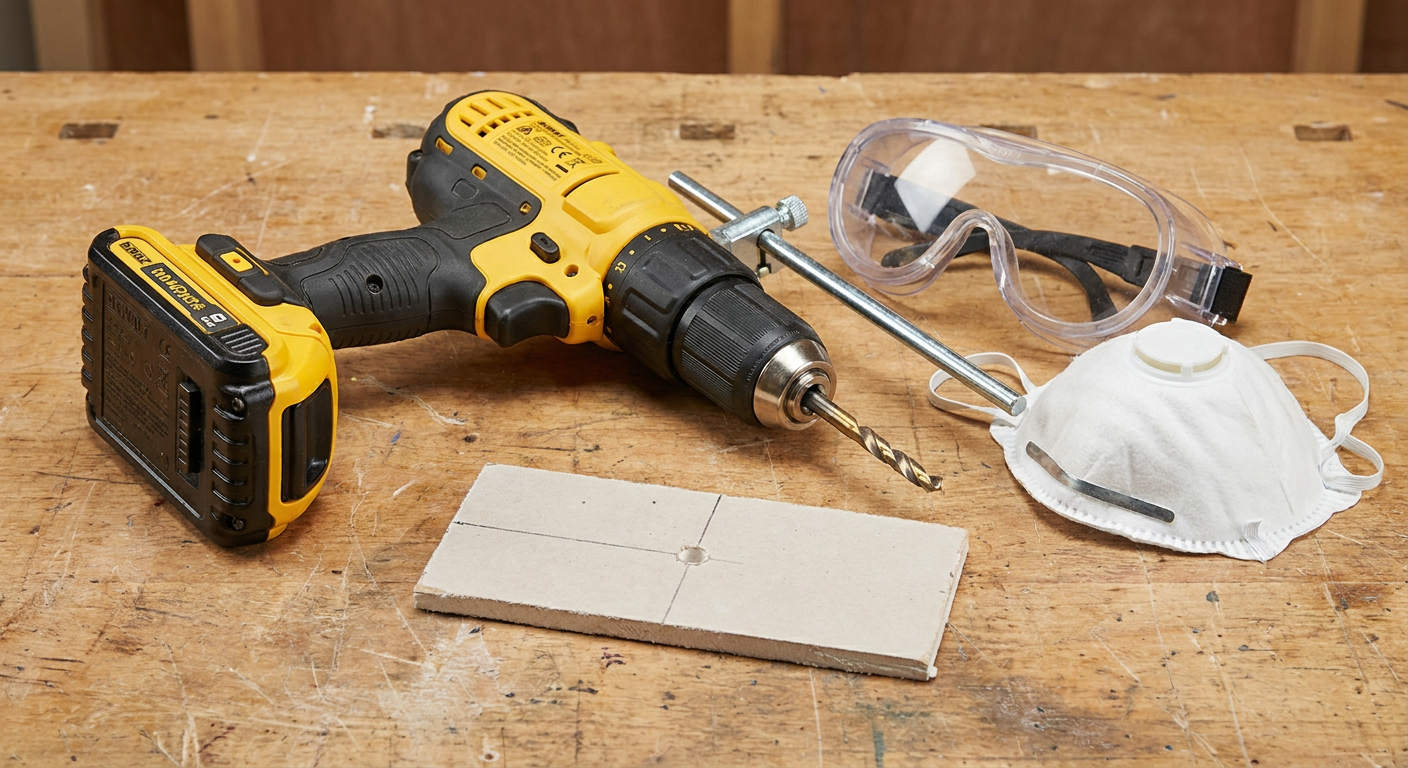
Instructional illustration generated with AI for Howmigo. Mark the confirmed safe position lightly in pencil. Clear the area, protect the floor and put on goggles and a suitable dust mask. Tie back hair and remove loose jewellery; keep gloves away from rotating parts. Remove the battery before fitting the sharp bit specified for your fixing. Tighten the chuck and select rotary drilling, never hammer action. Set a proper depth stop to pass through only the confirmed board thickness, with the minimum extra travel needed by the bit. Do not guess a depth or rely on tape as a physical stop.
4. Drill gently and stop at breakthrough
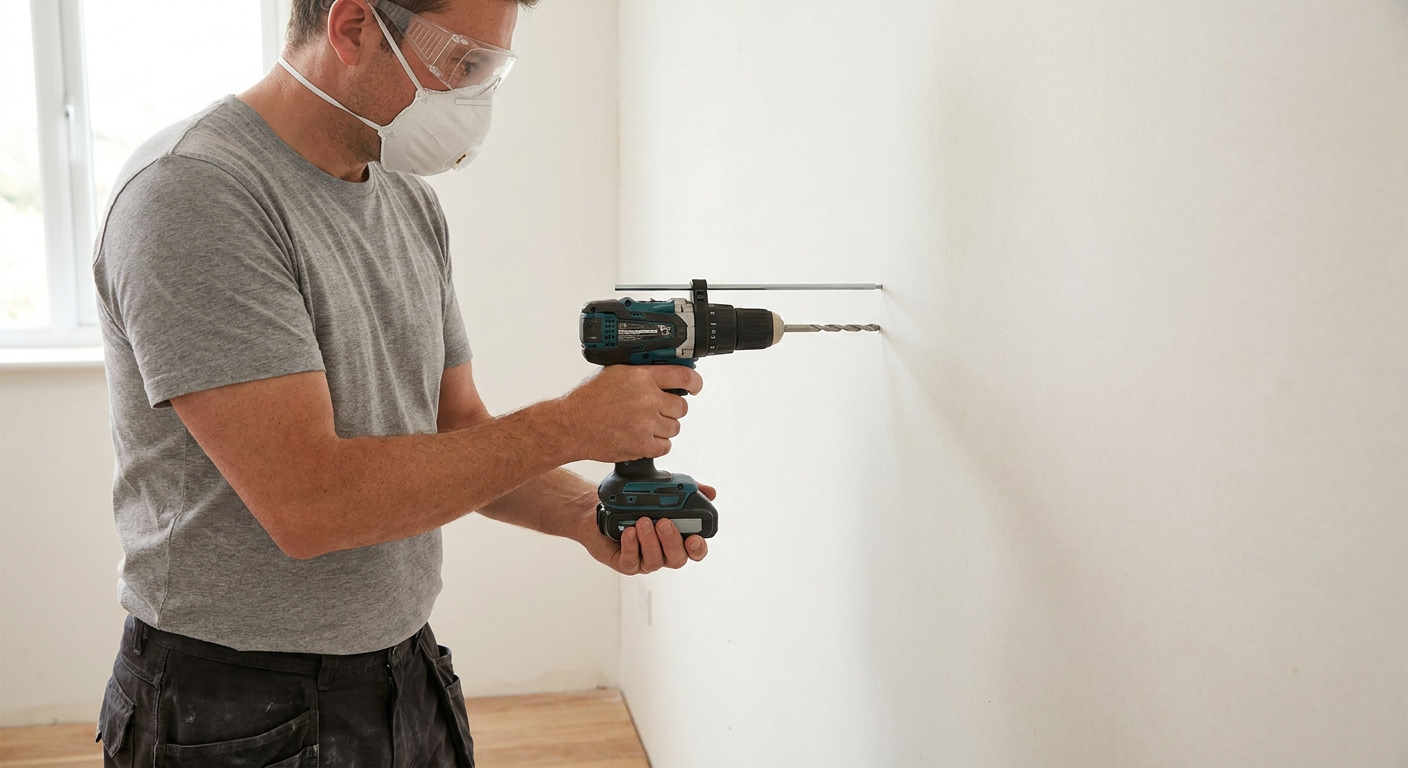
Instructional illustration generated with AI for Howmigo. Fit the battery. Stand securely and hold the drill square to the wall with both hands on its grip areas. Place the bit on the mark before starting at low speed. Use light pressure and keep the bit straight; do not wobble it to enlarge the hole. Reduce pressure as the bit passes through the board and stop advancing at breakthrough or the set depth. Stop immediately at unexpected metal, hard resistance or an obstruction. Never push through it or switch to hammer mode to investigate.
5. Inspect and clean the hole
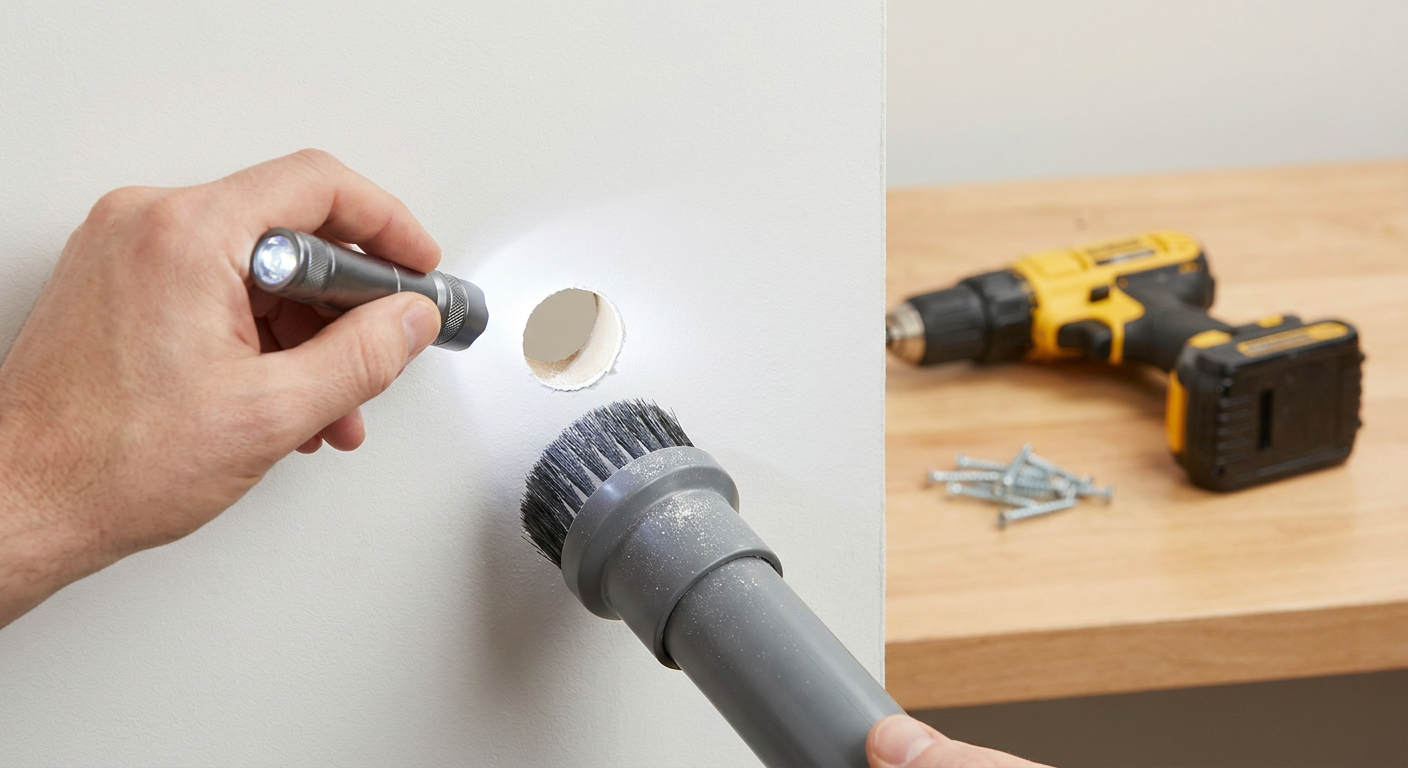
Instructional illustration generated with AI for Howmigo. Release the trigger and wait for the bit to stop before withdrawing it carefully. Remove the battery before touching the bit. Vacuum the dust using equipment suitable for fine dust; do not blow into the hole. Check that the opening is round, its edges are sound and its diameter matches the fixing instructions. A drilled hole alone is not load-bearing. Install only the specified plasterboard fixing according to its instructions. If the hole crumbles or is oversized, do not wedge in a screw: use an approved repair or fixing solution before mounting anything.
Common questions & troubleshooting
Did this guide help you?
Was this guide useful?
Discussion
No comments yet
Ask a question, share a tip, or reply to someone else.
Sign in to commentLoading comments…